How to Safely Clean
Wrong cleaning erodes more vintage jewelry than time ever could — the right method depends entirely on the era, metal, and stone in your hands.
The brooch that arrived in a velvet pouch from your grandmother's estate, the Art Deco ring lifted from a dealer's case at a Paris fair, the Victorian mourning locket still holding its original miniature: each of these pieces is, in the most literal sense, a physical document. Before you reach for a cleaning cloth, understand that the single most common mistake collectors make is applying a modern cleaning standard to an object that was never built to withstand it.
Vintage and estate jewelry demands an era-aware, material-specific approach. What restores brilliance to a diamond and platinum Edwardian cluster can destroy a Georgian paste brooch. What safely lifts tarnish from solid 18-karat gold will strip the finish from a rolled-gold or pinchbeck piece. The key is knowing what you're holding before you touch it.
Know Your Metal First
The metal beneath the stones governs almost every cleaning decision. Solid gold, platinum, and sterling silver are the most forgiving bases and can tolerate mild soap solutions and gentle brushing. Plated metals, filled gold, and early alloys are a different matter entirely. Ammonia, which is a fixture in commercial jewelry dip solutions and often recommended for refreshing fine gold, is corrosive to soft or plated surfaces. On rolled-gold Victorian bracelets or the pinchbeck pieces that preceded them, ammonia accelerates delamination rather than reversing it. The same applies to many early 20th-century white metal alloys used in costume and semi-fine production; what looks silver may be pot metal with a thin electroplated finish, and harsh chemicals will dissolve that layer permanently.
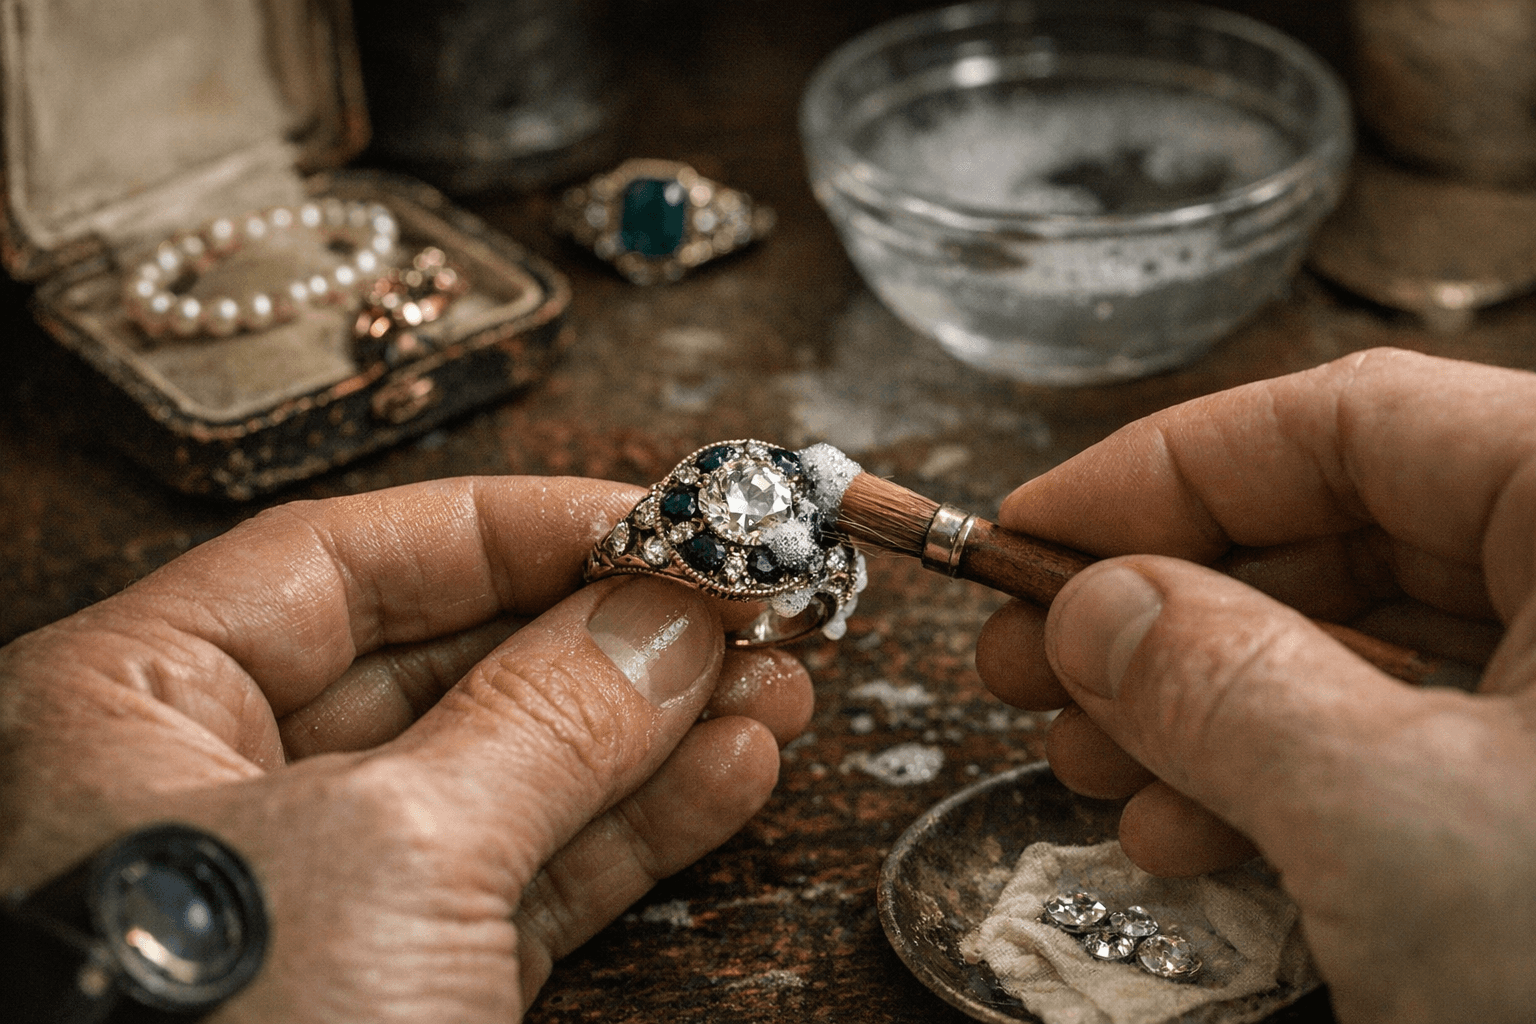
The safest baseline for any metal you're uncertain about is lukewarm water with a small amount of mild dish soap, applied with a soft baby toothbrush and rinsed quickly. Dry immediately with a lint-free cloth. Never leave a vintage metal piece soaking. Heat is equally treacherous: boiling water, steam, or high-heat ultrasonic units can loosen settings, melt Victorian glued-in foil backs, and in extreme cases, shatter stones.
Porous Stones vs. Resilient Ones: A Crucial Distinction
Diamonds, sapphires, and rubies are non-porous, with tightly packed crystal structures that make them relatively tolerant of water, mild detergents, and even diluted ammonia solutions. These are the stones collectors tend to over-protect while under-protecting the ones that genuinely need it.
Soft, porous gems, including pearls, opals, and turquoise, absorb water along with whatever chemicals or minerals it carries. The water may evaporate, but those residues remain in the gem, often causing lasting damage. Pearls, strung or set, should never be soaked. The correct approach is to wipe them gently with a damp, lint-free cloth after wearing, and never immerse a strung pearl necklace in water, since moisture trapped against the silk cord accelerates rot and weakens the strand.
Ammonia can damage porous gems including opal, lapis lazuli, malachite, and pearls. Acetone is equally dangerous: as an organic solvent, it can dissolve the jeweler's epoxy holding together some jewelry mounts, such as the tiny pavé-set split pearls found in late Victorian and Edwardian work. Emeralds, despite their hardness on the Mohs scale, are typically heavily included and often oiled; ultrasonic cleaning strips that filler treatment and can deepen existing fractures.
Era-Specific Cautions
Victorian, Edwardian, Art Deco, and Retro pieces each carry structural characteristics that change the risk profile of any cleaning attempt.
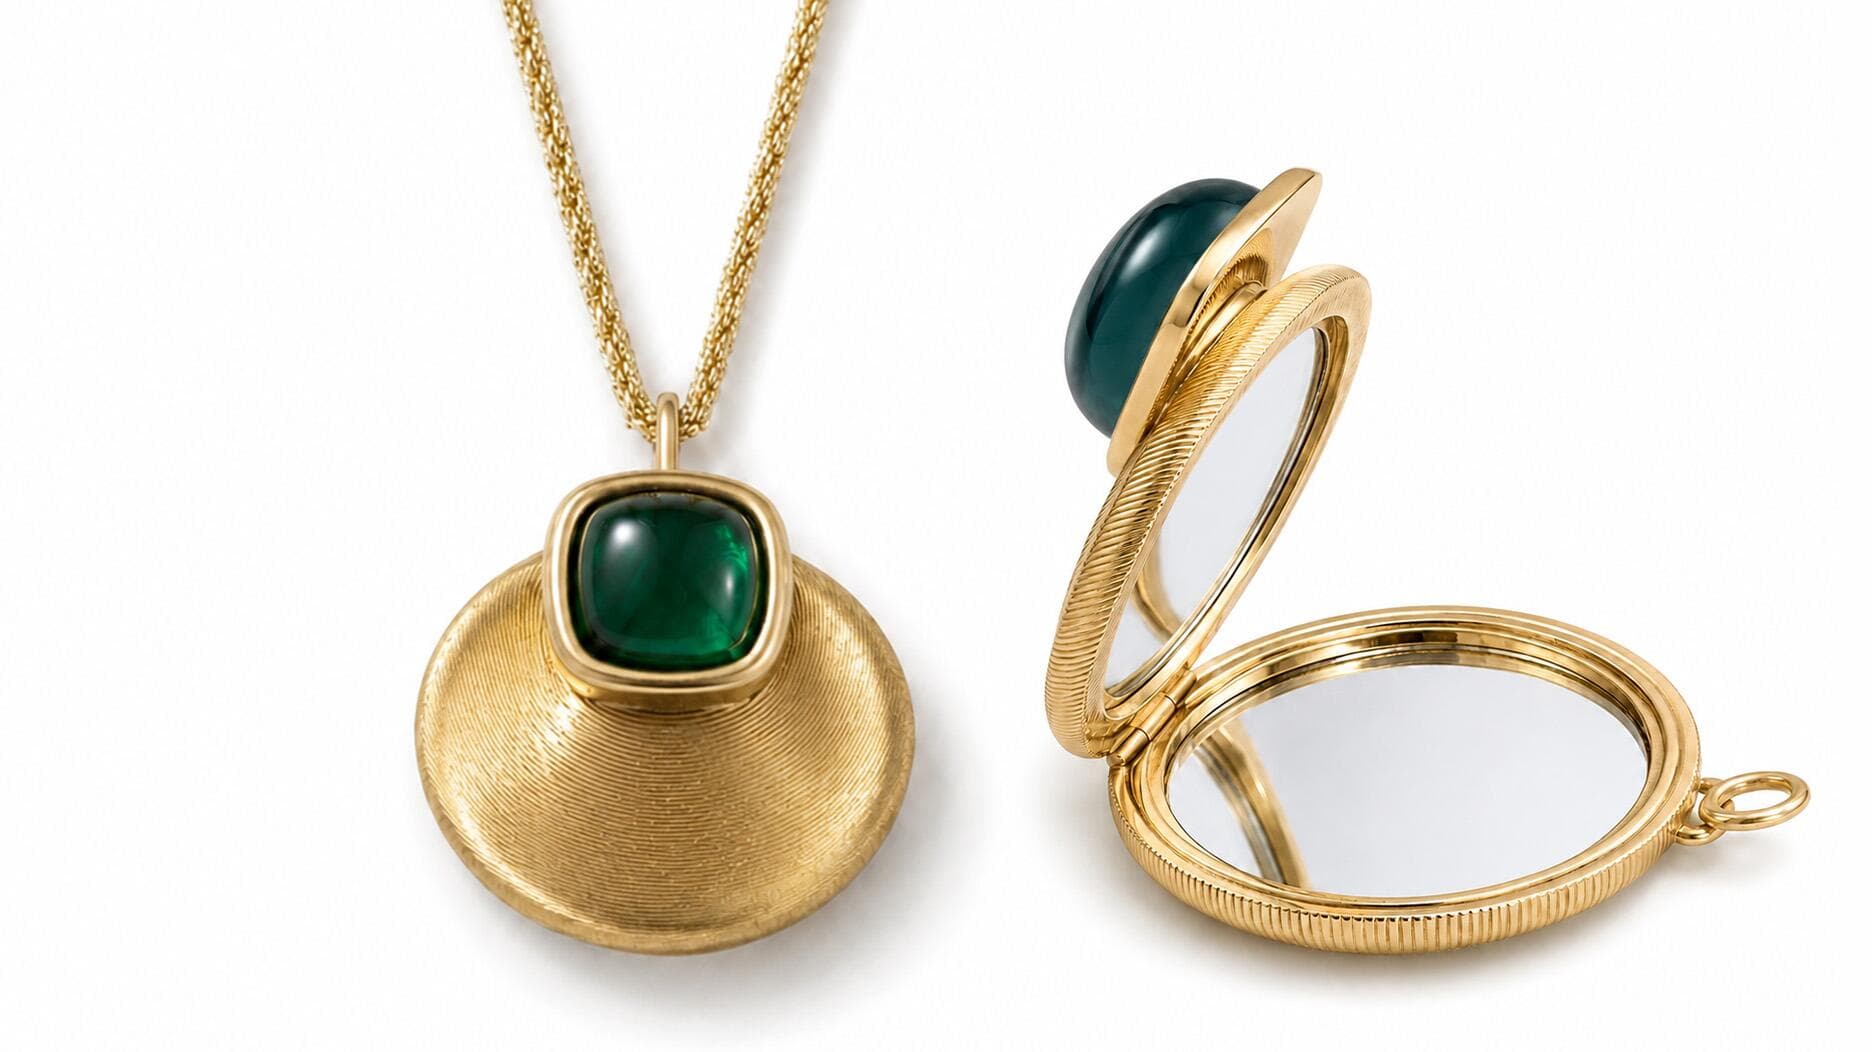
*Victorian (roughly 1837-1901):* This era produced an enormous range of work, from gold mourning jewelry set with hair and enamel to paste brooches with open-backed foil settings. Some Victorian paste settings use a cast construction that replicates the look of earlier Georgian crimped collets, but with open backs designed to reflect light through foiled glass stones. Submerging these pieces dissolves the foil, instantly killing the stone's brilliance. Never use ultrasonic cleaning, dip solutions, or steam on anything you suspect contains paste, early glass, or enamel.
*Edwardian (roughly 1901-1915):* The Edwardian period is recognized for its use of millegrain: the micro-miniature beaded or ridged borders that surround settings and edge the metalwork, giving a handmade, lace-like delicacy to platinum and white gold pieces. Millegrain is technically a series of tiny raised beads, and it is vulnerable. Abrasive polishing compounds, stiff brushes, and even aggressive wiping can flatten or fracture it.
*Art Deco (roughly 1920-1940):* Art Deco jewelry is distinguished by geometric symmetry, and its characteristic step-cut stones, particularly emerald cuts and Asscher cuts, were chosen to mirror the era's clean architectural lines. These open-faceted cuts reveal inclusions and residue easily, so they appear to need frequent cleaning. Resist the impulse toward aggressive dipping; a soft brush and soapy water applied by hand is sufficient, and the step cuts will reward the effort with their characteristic hall-of-mirrors depth.
*Retro and mid-century pieces (1940s-1960s):* This era often used gold fill, vermeil, and rose gold alloys alongside cultured pearls and synthetic stones glued rather than set. Check that all stones are properly secured before any wet cleaning.
The Diagnostic Checklist: When Cleaning Becomes Conservation
Before any cleaning session, examine the piece under good light, ideally with a 10x loupe. If you encounter any of the following, set the cleaning cloth down and consult a conservator:
- Loose or missing millegrain that has shifted, flattened, or detached from its edge
- Fractured solder joints, visible as dark lines or visible gaps at join points on bands, gallery wires, or collet borders
- Delaminated or crazed enamel, where the glassy surface has begun to lift, crack, or separate from the metal substrate
- Fogged or loose stones that rattle in their settings
- A setting where the stone sits noticeably higher or lower than it once did, suggesting prong wear or collapse
- Visible inclusions in organic materials such as coral, ivory, or shell that have darkened or expanded
Proper enamel repair, for instance, is not a matter of filling a gap with colored glue; it requires artisan-level skill, and any attempt to "clean through" a damaged enamel surface will almost certainly worsen it. Jewelry restoration at the conservation level involves processes including re-millegrainingworn edges, resoldering fractured joints, and in some cases removing incorrect earlier repairs before doing anything new. Some esoteric materials found in antique jewelry have little intrinsic value but are very difficult to replace, and some gemstones are cut in ways no longer widely available, requiring custom cutting at great expense. This is not hyperbole: a Georgian table-cut garnet, a Victorian carbuncle cabochon, or an early step-cut synthetic sapphire from the 1920s cannot simply be sourced from a modern supplier. Cleaning aggressively on a fragile setting risks losing a stone that is genuinely irreplaceable.
The Case for Patina, and What to Do Before Restoration
Patina is not dirt. On silver, the soft darkening that settles into engraving, repoussé work, and chased detail is precisely what gives antique pieces their visual depth and age-appropriate character. Collectors seek out patina and signs of age; they reflect a genuine connection to the object's history. Polishing antique silver to a bright mirror finish destroys the very quality that makes it valuable, both financially and narratively. Preserve it.
If restoration is genuinely warranted, photograph the piece from every angle before any work begins. Document every visible hallmark, maker's mark, assay mark, and date letter at high resolution. These marks are the piece's birth certificate, and aggressive polishing or chemical dipping can efface them permanently, stripping provenance evidence that cannot be reconstructed. Keep all appraisal records, auction catalogues, and provenance documents with the piece, ideally in acid-free paper alongside it in storage.
For storage itself, keep pieces individually wrapped in acid-free tissue or in separate pouches to prevent metal-on-metal contact. Store pearls lying flat, away from heat and humidity fluctuations. Keep opals in a slightly humid environment; they contain water in their structure and can craze in very dry conditions.
Professional Service: When and How Often
Fine and estate jewelry in regular wear warrants professional inspection at least once every two years. A qualified bench jeweler will check prong integrity, solder joints, and clasp function, and can clean ultrasonic-safe pieces using appropriate settings. For pieces worn occasionally, every three to five years is reasonable, with a home visual check before each wearing.
Choose a jeweler with demonstrable experience in antique and estate work specifically. Ask whether they understand the difference between cleaning and conservation, and whether they know to preserve rather than remove patina. The best vintage jewelry dealers can refer you to specialists; auction house jewelry departments also maintain lists of conservators for estate pieces of significant value.
A piece that has survived a century deserves care calibrated to what it is, not what is convenient. The reward is a jewel that carries its full history intact.
This article was produced by Prism’s automated news system from verified source data, official records, and press releases, then run through automated quality and moderation checks before publishing. The system is built and supervised by the people who set the standards it runs under. Read our full AI policy.
Did this article answer your question?