Complete starter guide to custom mechanical keyboard builds
A long-form guide walks newcomers through choosing layout, parts, build steps, tuning, and firmware so you can plan costs and avoid common first-build mistakes.

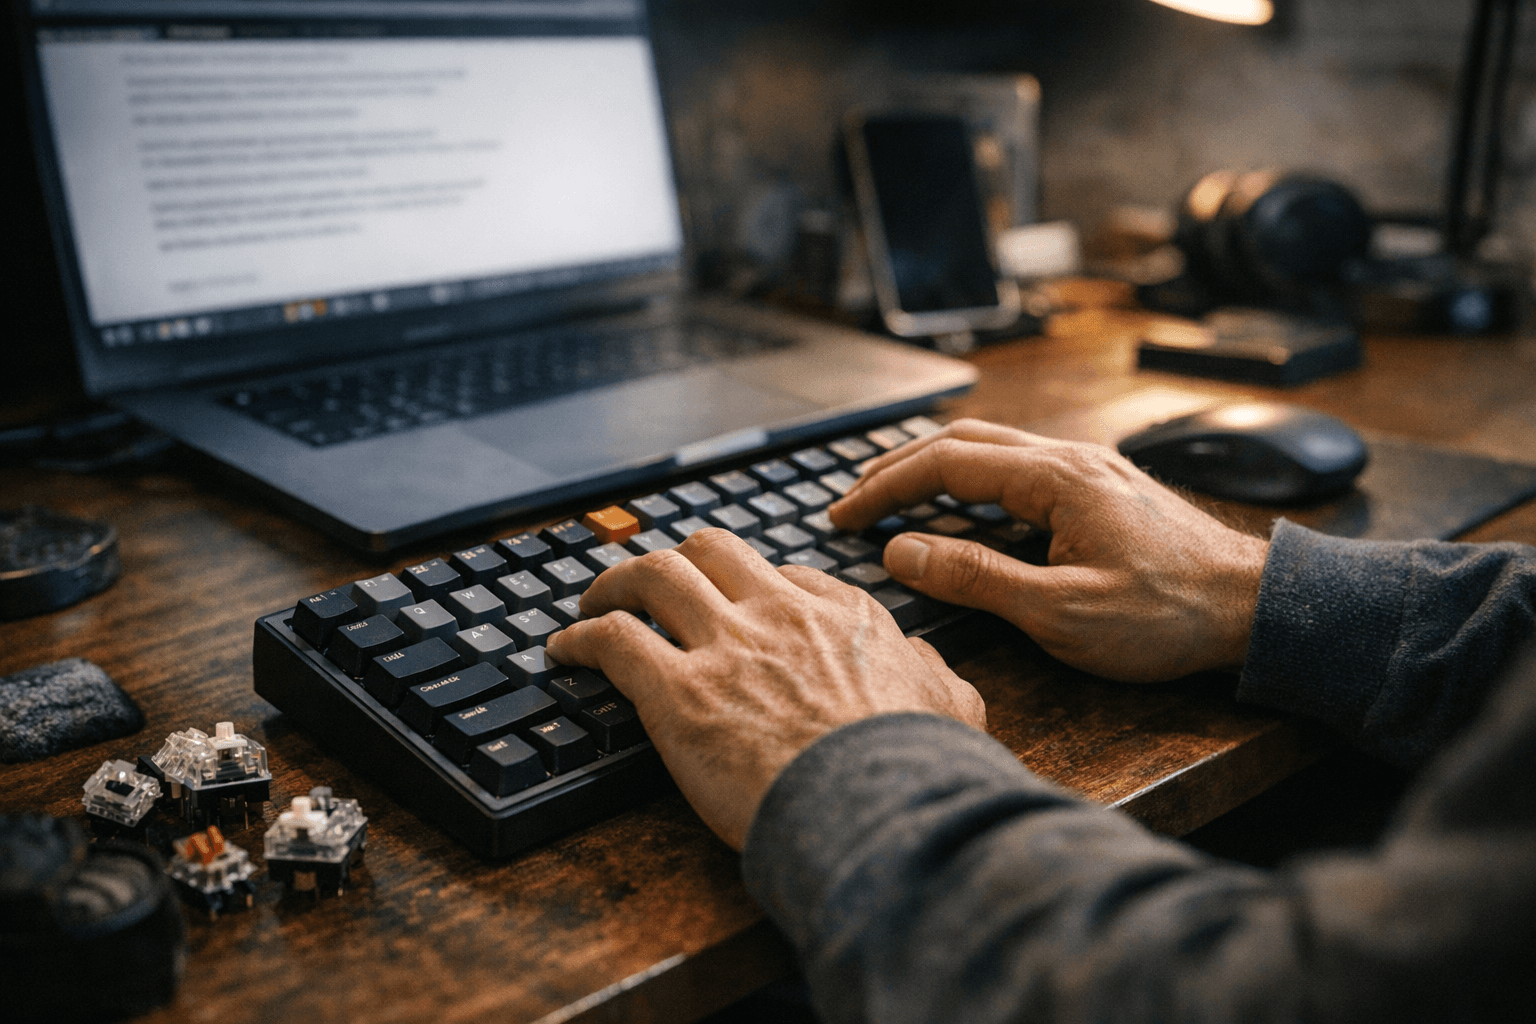
If you’re ready to move from factory boards to a custom mechanical keyboard, start with one clear goal: define the experience you want. Pick a size and layout first, 60%, 65%, 75%, TKL, or 100%, because that choice dictates case, PCB, plate, and keycap needs. Smaller layouts favor compact typing and portability; TKL and 100% keep full keys and function rows for heavier text or spreadsheet work.
Switch choice shapes the core feel. Decide between linear, tactile, or clicky switches and consider actuation weight, stem compatibility, and whether you want pre-lubed or dry parts. Keycap material and profile matter for sound and feel: ABS tends to be softer and shinier, PBT more durable and textured. Pick a profile that matches typing comfort, Cherry and OEM are common, SA or cylindrical profiles change hand travel and sound character.
Mounting, plate, and case style influence resonance and flex. Gasket mounting offers a softer, cushioned feel and muted sound; tray and top-mounted designs deliver firmer feedback and more pronounced acoustics. Stabilizers require attention, properly lubed and clipped stabs eliminate rattle and improve consistency. Hot-swap PCBs let you swap switches without soldering, ideal for experimentation; soldered PCBs are more work but can unlock custom wiring or unique layouts.
Plan the mods you’ll actually use. Lubing switches and stabilizers, adding switch films, and inserting foam or tape in the case are cost-effective ways to transform acoustics and key feel. Films and tape mods reduce ping and boxiness; foam changes low-frequency response. Tools you’ll need include a switch puller, keycap puller, screwdriver set, soldering iron if you choose soldered PCBs, tweezers, and lubricant. Budget for these alongside parts to avoid surprise costs.
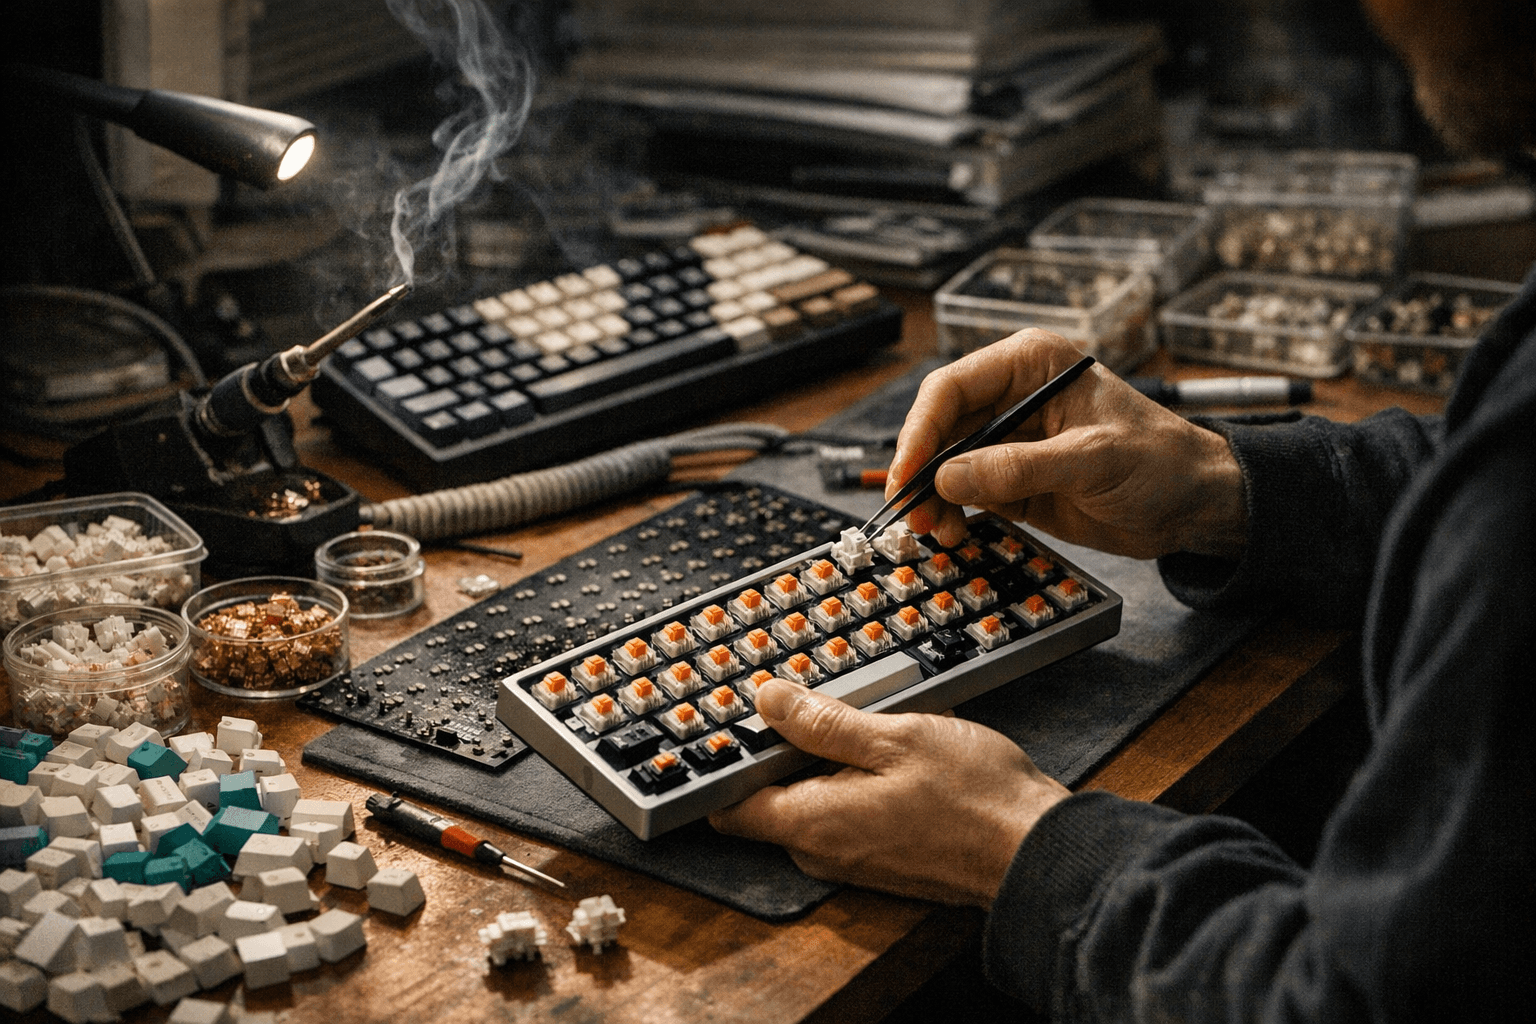
Firmware basics are essential for customization. Learn QMK if you want deep reprogramming and macro layers, or use VIA or VIAL for easier, real-time keymap changes without reflashing. Flashing basics are straightforward once you know your PCB bootloader and have the correct hex or JSON files; follow documented boot mode steps for your board and keep backups.
Recommended starter builds vary by budget: an entry-level hot-swap TKL with brown-style tactile switches, PBT keycaps, and basic stabilizer mods is a forgiving first project. Mid-tier builds add gasket mounting, lubed stabs, switch films, and quality PBT sets. Higher tiers introduce custom PCBs, artisan keycaps, and more involved acoustic tuning. Plan cost by adding case, PCB, plate, switches, keycaps, stabilizers, and tools.
The community loves digging into sound and feel, and building is part craft, part GAS therapy. Our two cents? Start simple, prioritize a layout you’ll use every day, and spend time on stabilizers and basic lubing, those small steps return the most bang for your buck.
Know something we missed? Have a correction or additional information?
Submit a Tip