Hands-on safe experiments teach nuclear reactions to hobbyists, students, educators
Practical, safe experiments—cloud chamber, spectrometer, Geiger counts, decay-chain games—teach atomic structure, energy levels, particle interactions and decay chains without touching regulated sources.
Start here: you want hands‑on demonstrations that show how atoms store energy, how particles behave, and how decay chains cascade—while staying entirely safe and legal. Below I lay out six experiments that hobbyists, students, and educators can run with household supplies and inexpensive classroom kits. Each experiment ties explicitly to one or more core concepts (atomic structure, energy levels, particle interactions, decay chains) and gives practical tips, expected observations, and safety/legal notes so you don’t cross regulatory lines.
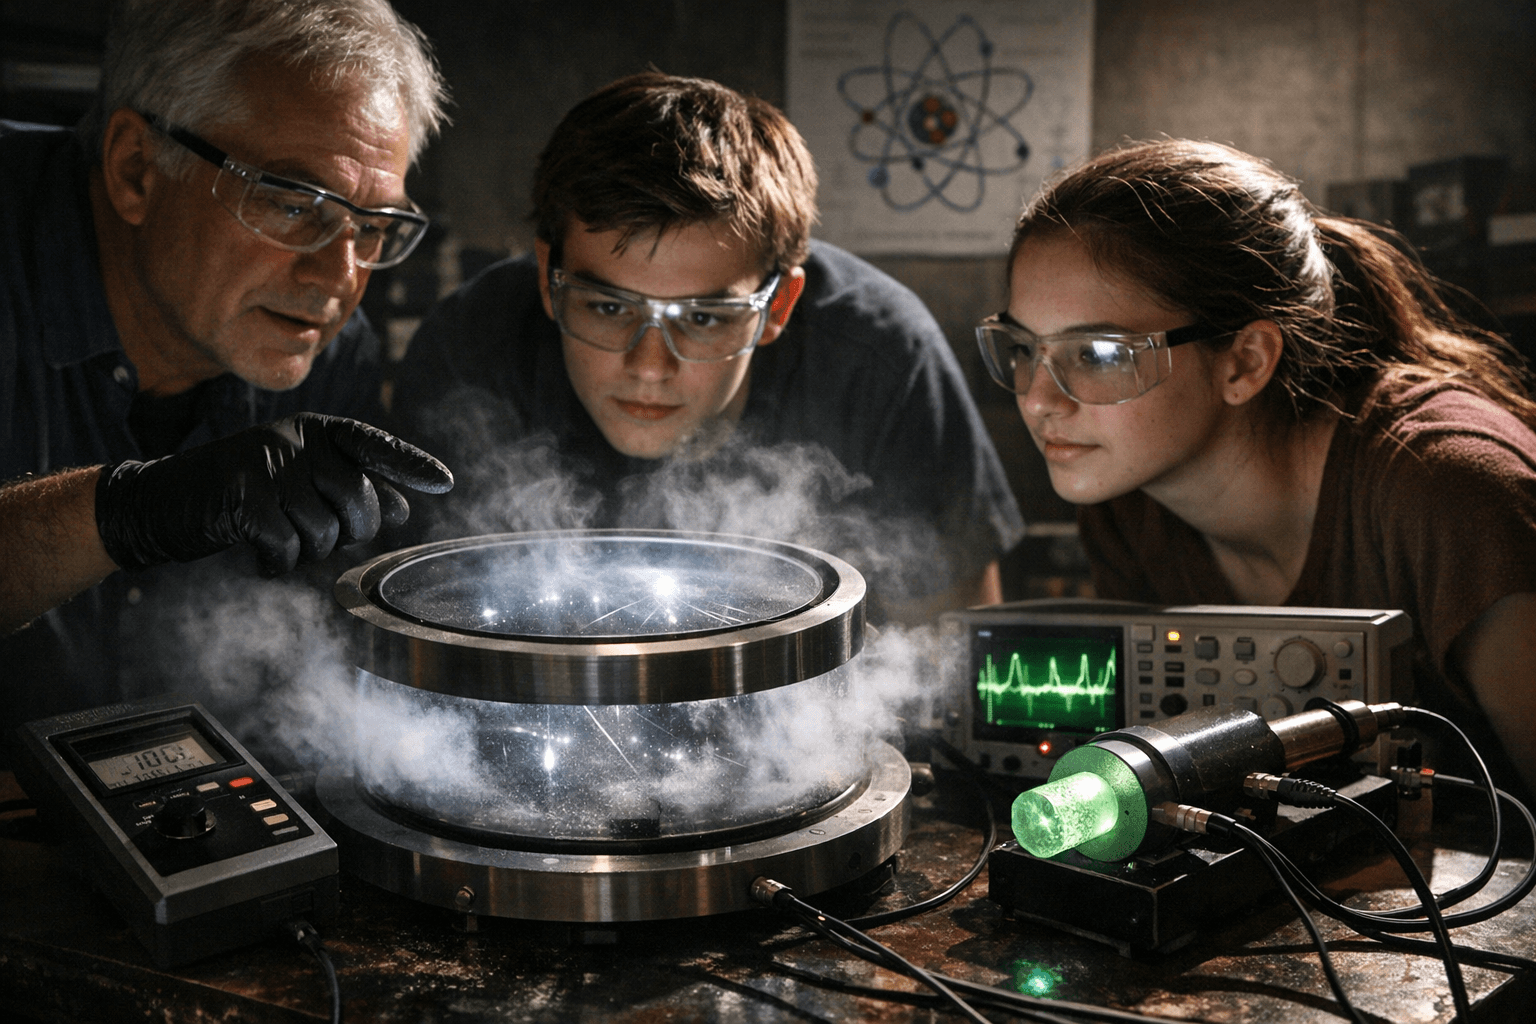
1. Build a dry‑ice cloud chamber to visualize particle interactions
A simple diffusion cloud chamber makes ionizing tracks visible and directly demonstrates particle interactions: alpha particles leave short thick tracks, betas make long thin curved lines, and cosmic muons appear as straight long tracks. Use a shallow metal pan, a 1–2 cm thick felt disk saturated with 91–99% isopropyl alcohol, a sheet of black felt or velvet for contrast, and a pound of dry ice under the pan (insulated by a plywood platform). Operate the chamber in a dim room with a bright LED angled across the felt; you’ll see tracks form within minutes—this gives immediate, visual evidence of ionization events and lets students connect particle interactions to energy deposition in matter. Safety/legal: avoid using unsealed radioactive sources; rely on natural background radiation and sealed educational sources only if allowed by local law and school policy.
2. Build a simple spectrometer to demonstrate energy levels and atomic spectra
A handheld spectrometer (cardboard, DVD or diffraction grating, and a slit) plus a low‑voltage gas discharge tube or compact fluorescent lamp lets you see discrete emission lines that map directly to atomic energy levels. Put the discharge tube (neon, argon or hydrogen educational tube where available) in a holder, view through the grating, and identify lines like the red neon lines or the characteristic blue of mercury lamps; these lines are the fingerprints of electronic energy level transitions in atoms and offer a concrete bridge from quantum numbers to observed light. Practical tip: use a smartphone camera with a small slit to capture spectra for class analysis; compare measured line positions to published tables for the gas used to reinforce the connection between energy level differences and photon wavelength. Legal/safety: only use commercial, classroom-rated discharge tubes and follow supplier instructions—never attempt to energize mains fixtures without proper ballast and training.
3. Hands‑on Geiger counter experiments: background, shielding, and counts
A monitored count rate with a handheld Geiger‑Mueller counter gives a quantitative handle on particle interactions and decay processes: measure background count rates in different locations, test simple shielding (paper, aluminum foil, plastic), and observe statistical variation over time. Set up 10‑minute counts, log counts to a spreadsheet, and compute mean and standard deviation to discuss Poisson statistics and why decay is stochastic—this directly illustrates decay chains and the probabilistic nature of nuclear decay without using open sources. Practical technique: keep the detector probe 10–20 cm from test materials to avoid mechanical contact, and run control counts before and after any test. Legal/safety: purchase Geiger counters from reputable educational vendors and do not use or handle unregistered radionuclides; demonstrate ALARA (as low as reasonably achievable) practices even with background levels.
4. Simulate decay chains with dice, cards, or software to teach half‑life and branching
To make decay chains tangible, model a chain like uranium‑238 → thorium → radium ... with a set of cards or dice where each roll represents a decay attempt and branching probabilities are encoded on the cards. Assign each isotope a half‑life class (very long, long, medium, short) and run many trials to build ensemble statistics; plot surviving fraction vs. time to produce an exponential decay curve and show how branching affects isotope inventories. This is fully legal and safe and teaches the stochastic rules behind decay chains, why intermediate daughters accumulate, and how activity evolves—essential knowledge before any discussion of real radioactive materials. Classroom tip: scale half‑lives into minutes or rolls so students can see decay in a lesson period and compare simulation output to theoretical exponential decay.
5. Model neutron moderation and energy transfer with marbles and ping‑pong balls
Neutron moderation is a central particle interaction in many nuclear reactions; emulate it safely by using elastic collision analogies. Use heavier marbles (representing neutrons) and a bed of light ping‑pong balls (representing hydrogen nuclei) inside a shallow tray: shoot a marble through the bed and watch energy transfer and scattering angles. This physical analogy demonstrates why hydrogenous materials slow neutrons effectively and why mass ratios matter for energy transfer—concepts directly relevant to moderation in reactors and to particle interactions without any live radiation. Explain limits of the analogy (no real nuclear binding involved) and connect the observed kinetic energy loss to how neutrons become thermalized in moderators like water or polyethylene.
6. Use computer simulations and data logging to extend physical demos into quantitative study
Free and low‑cost simulations let you explore atomic structure, energy levels, particle interactions and decay chains quantitatively. Run Monte Carlo decay-chain simulations, spectral line calculators, or particle track generators and compare simulated results to your cloud chamber and Geiger data to validate models. Pair simulations with inexpensive data loggers or smartphone sensors (accelerometers, light sensors) to timestamp events and build time series—this bridges tactile experiments to numerical analysis and reinforces core nuclear concepts with reproducible data. Tip: use simulations to explore scenarios you cannot do in the lab for safety reasons (e.g., varying decay constants or branching ratios) so students still experience the full parameter space.
- Always follow ALARA principles and local regulations: avoid unsealed radioactive materials unless you have institutional authorization and licensed sources from educational suppliers.
- Be explicit about what you will not do—no homemade sources, no handling of industrial radiography or medical isotopes, and no attempts to detect or extract radionuclides from consumer items.
- Expect variability: cloud chambers and Geiger counts depend on background levels and weather; run multiple trials and set expectations for students that these are probabilistic phenomena.
- Prepare backup demos: if the cloud chamber shows few tracks, have spectral lines or simulation output ready so the lesson still demonstrates the concepts.
Practical safety, legality, and teaching pitfalls
Conclusion These six hands‑on experiments give parallel, reinforcing ways to teach atomic structure, energy levels, particle interactions, and decay chains while keeping everything legal and safe. Run the cloud chamber and Geiger counts for real-world particle evidence, use spectra and discharge tubes for quantum transitions, simulate decay chains with dice for intuition, and model neutron moderation with marbles for mechanics—then tie it all together with data logging and simulations so students leave with both a tactile memory and a quantitative understanding. This approach turns abstract nuclear concepts into reproducible classroom experiences without stepping outside safety and legal boundaries.
Know something we missed? Have a correction or additional information?
Submit a Tip

_82415.jpg&w=1920&q=75)