How to Repair Punctures, Seams and Valves on PVC and Hypalon
BetterBoat’s step‑by‑step guide shows you how to diagnose and fix punctures, seam failures and valve faults on PVC and Hypalon inflatables, practical, boat‑tested methods that actually hold.
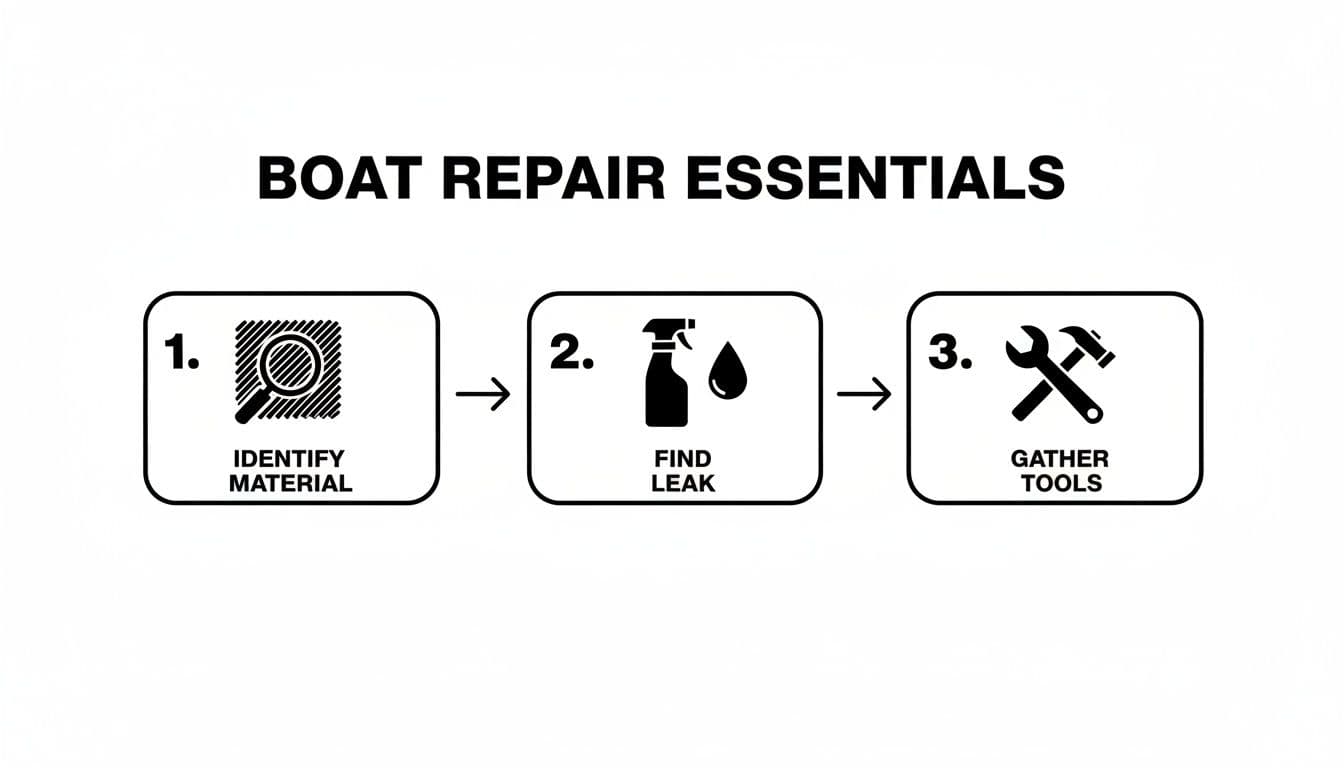
BetterBoat published a practical, step‑by‑step guide aimed at recreational boat owners who need to repair punctures, seam failures, and valve problems on inflatable boats (PVC and Hypalon). I’ve taken that framework and mixed in field experience so you can reliably diagnose problems, choose the right materials and tools, and do repairs that last.
1. Puncture diagnosis and prep
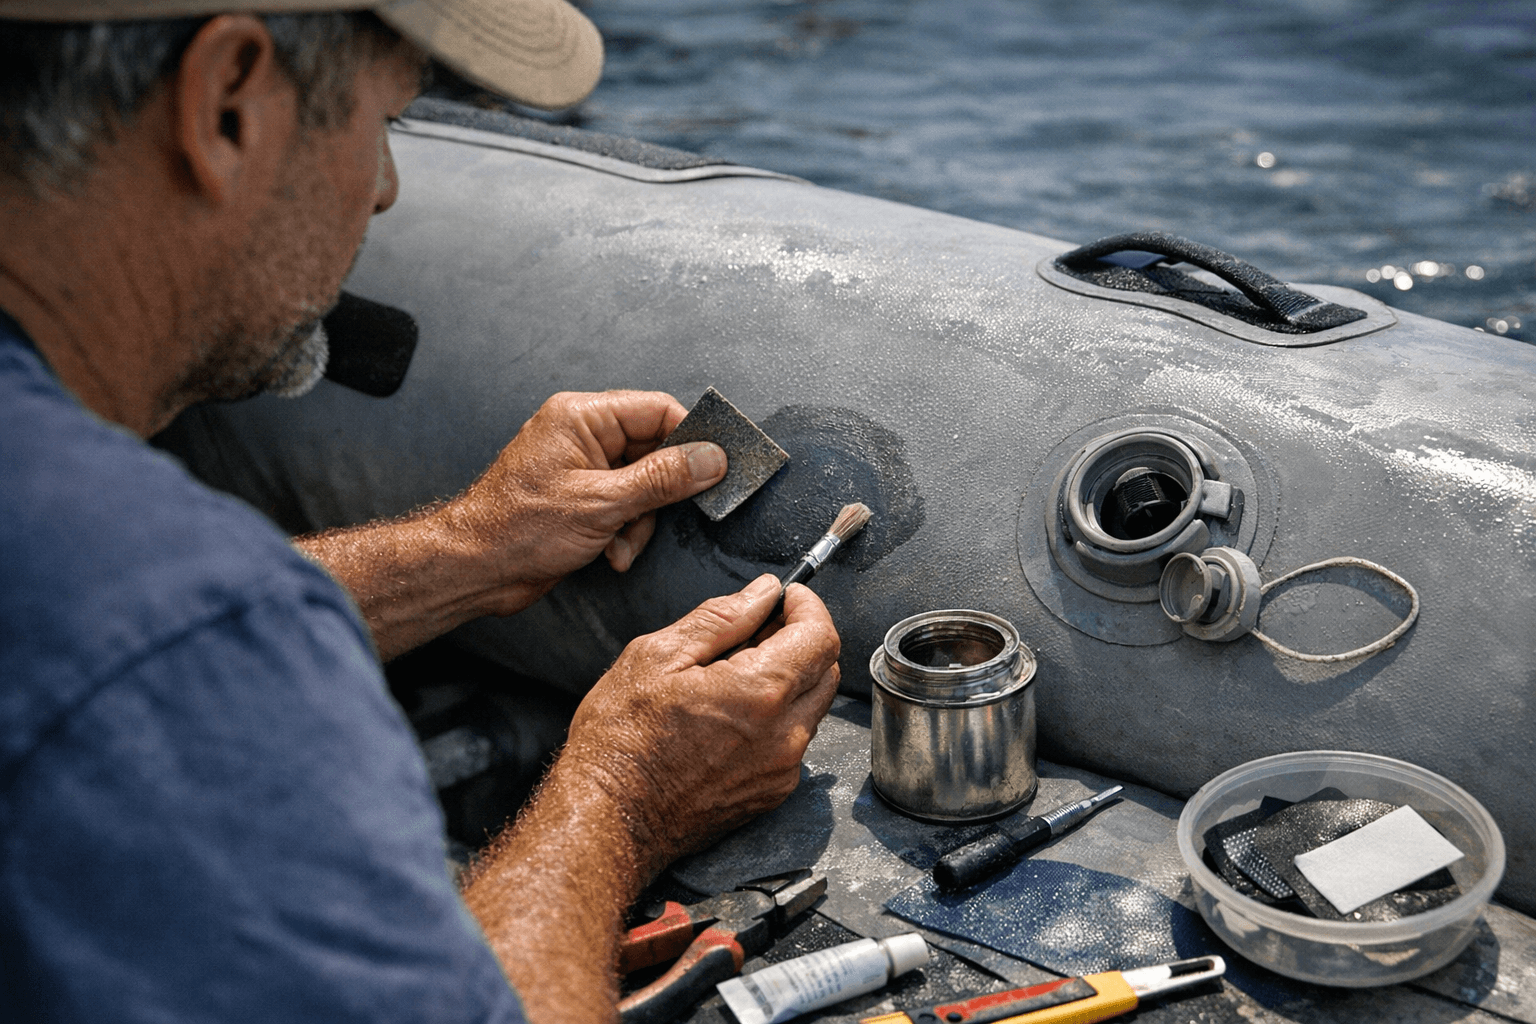
Begin by locating the leak: inflate the tube to working pressure and use soapy water or a submersion test to find escaping air. BetterBoat’s guide emphasizes methodical diagnosis, mark the spot with a pencil or removable tape once you find the bubble; don’t rely on touch alone. Next, deflate to a safe working pressure and clean the area; remove salt, grime and any antifouling residue so adhesives bond to the base fabric rather than gunk. In my experience, a light scuff with 220–320 grit sandpaper and wiping with isopropyl alcohol gives the most reliable surface for adhesives on both PVC and Hypalon.
2. Materials and tools for puncture patches
Use materials that match the fabric: PVC patches and PVC solvent cement or a compatible urethane adhesive for PVC, and a neoprene/CSM‑compatible contact cement for Hypalon. BetterBoat’s guide lists recommended materials and tools; that translates in the field to having patch material cut from the same fabric, a roll of 220–320 grit sandpaper, isopropyl alcohol, clean rags, a roller or squeegee, and mixing sticks or brushes for adhesives. Always cut patches with at least a 25 mm (1 inch) overlap beyond the damaged area and round the corners, corners concentrate stress and will lift if left square.
3. Puncture patching technique for PVC
For PVC, dry the prep area thoroughly, degrease with alcohol, scuff, and apply PVC solvent cement (or the manufacturer’s recommended adhesive) thinly to both patch and substrate. BetterBoat walks readers through applying adhesive to both surfaces and allowing a tack time; you should follow the adhesive manufacturer’s recommended open time but test for tackiness by touch, the adhesive should be tacky but not wet. Then apply the patch, roll from center out with a small roller, and clamp or weight while curing. Pressure‑test after the full cure time, overnight at minimum, and recheck for edge lifting or bubbles.
4. Puncture patching technique for Hypalon
Hypalon (CSM) doesn’t take PVC cement, it needs a neoprene‑compatible contact adhesive or a specialist Hypalon patch kit. BetterBoat’s guide makes the distinction clear: use the adhesive specified for Hypalon substrates. Clean and scuff harder than for PVC (Hypalon is less porous), apply adhesive to both faces and allow the recommended flash time before joining. Press firmly, roll out trapped air, and protect the repair from flexing for the full cure period. If you’ve got a deep gouge, build the repair in thin layers rather than one thick glob of glue; multiple thin applications cure better and resist slicing open under load.
5. Seam failure diagnosis
Seam failures usually show as long leaks along tube joins rather than single spots; pressurize and run soapy water along seams to find the start and end of the failure. BetterBoat advises a full inspection of adjoining fabric; a failed seam often indicates bonded fabric breakdown around the stitch line or adhesive seam separation. Measure the length of the failure, a small localized separation (a few centimeters) can be patched, but long sections or widespread adhesive delamination often require re‑seaming or professional attention.
6. Repairing glued seams on PVC and Hypalon
For small seam separations on glued seams, peel back enough material to expose a clean bonding surface, scuff both faces, clean with alcohol, and reapply the correct adhesive as per BetterBoat’s step‑by‑step approach. For PVC glued seams use the PVC solvent/adhesive; for Hypalon use the CSM/neoprene contact cement specified for that fabric. Use a thin bead of adhesive and press the seam closed, rolling firmly to restore contact along the entire seam. If the seam is under heavy load (tow points, transom tubes), reinforce with an external patch strip overlapping 25–50 mm and extending beyond the repair to distribute stress.
7. Repairing stitched or sewn seams
Stitched seams that have chafed or cut stitches need to be re‑stitched and re‑bonded. BetterBoat’s guide highlights that sewing alone doesn’t replace lost adhesive, you should reapply adhesive to the seam flap and then hand‑stitch with UV‑resistant polyester thread and a curved sailmaker’s needle if you’re confident. If you’re not practiced with seam sewing, consider using a seam tape applied with the correct adhesive or taking the tube to a professional sailmaker; poorly done stitches can create new leak paths and stress concentrators.
8. Valve diagnosis and simple fixes
Valve problems commonly come from damage to the valve body, a worn O‑ring, or a jammed core. BetterBoat’s guide walks readers through isolating the issue: remove the removable core (if present) and test with a known good core or check the valve seat for debris. In many cases a simple clean, replacement O‑ring, or a new core gives an airtight seal again. Keep a spare valve core and O‑rings in the grab bag, they’re cheap and save an anchor‑down repair.
9. Valve replacement and reseating
When the valve body is cracked or the seat is damaged, you’ll need to remove and replace the valve. BetterBoat’s instructions recommend removing the old valve, cleaning the area thoroughly, and re‑bedding the new valve with the correct adhesive for your fabric (PVC adhesive for PVC tubs, neoprene adhesive for Hypalon). Ensure the valve flange sits flat; use a consistent bead of adhesive around the flange and clamp lightly while it cures. After cure, inflate and check for leaks around the flange with soapy water; a proper reseat will be airtight at working pressure.
10. Final testing, finishing and when to stop
After any repair follow BetterBoat’s advice: allow full cure times, pressure‑test at working pressure rather than maximum, and flex the repaired area gently while testing to reveal edge lifts. Patch edges can be finished with a thin bead of compatible sealer for abrasion protection and UV resistance. If repairs keep failing, seams are delaminating over a long run, or multiple repairs exist in one panel, replace the bladder or consult a professional; repeated patching is cheaper short‑term but can hide systemic failure that becomes dangerous on the water.
A pragmatic wrap: the BetterBoat guide is a solid how‑to framework, and the key to long‑lasting repairs is matching adhesives to fabric, preparing surfaces thoroughly, and respecting cure times. Bring the right tools, spare valve parts and the correct adhesive for your fabric, and you’ll get most inflatables back on the water as good as new, but know when a weld or bladder replacement is the safer, smarter choice.
Know something we missed? Have a correction or additional information?
Submit a Tip

