Practical Sailor's Guide: Essential Tools, Stitchwork and Patches for Sail Repairs
Practical, hands-on checklist for basic sail repairs and stitchwork, plus when to call a sailmaker; helps cruisers keep sails serviceable offshore.
A small tear does not have to end a cruise. Carrying the right tools, knowing a few stitches and keeping a stash of patch materials can turn a potentially crippling sail failure into a manageable repair that holds until a professional can do the heavy lifting. This guide lays out the starter kit, stitchwork basics, patch options and clear thresholds for escalating to a sailmaker.
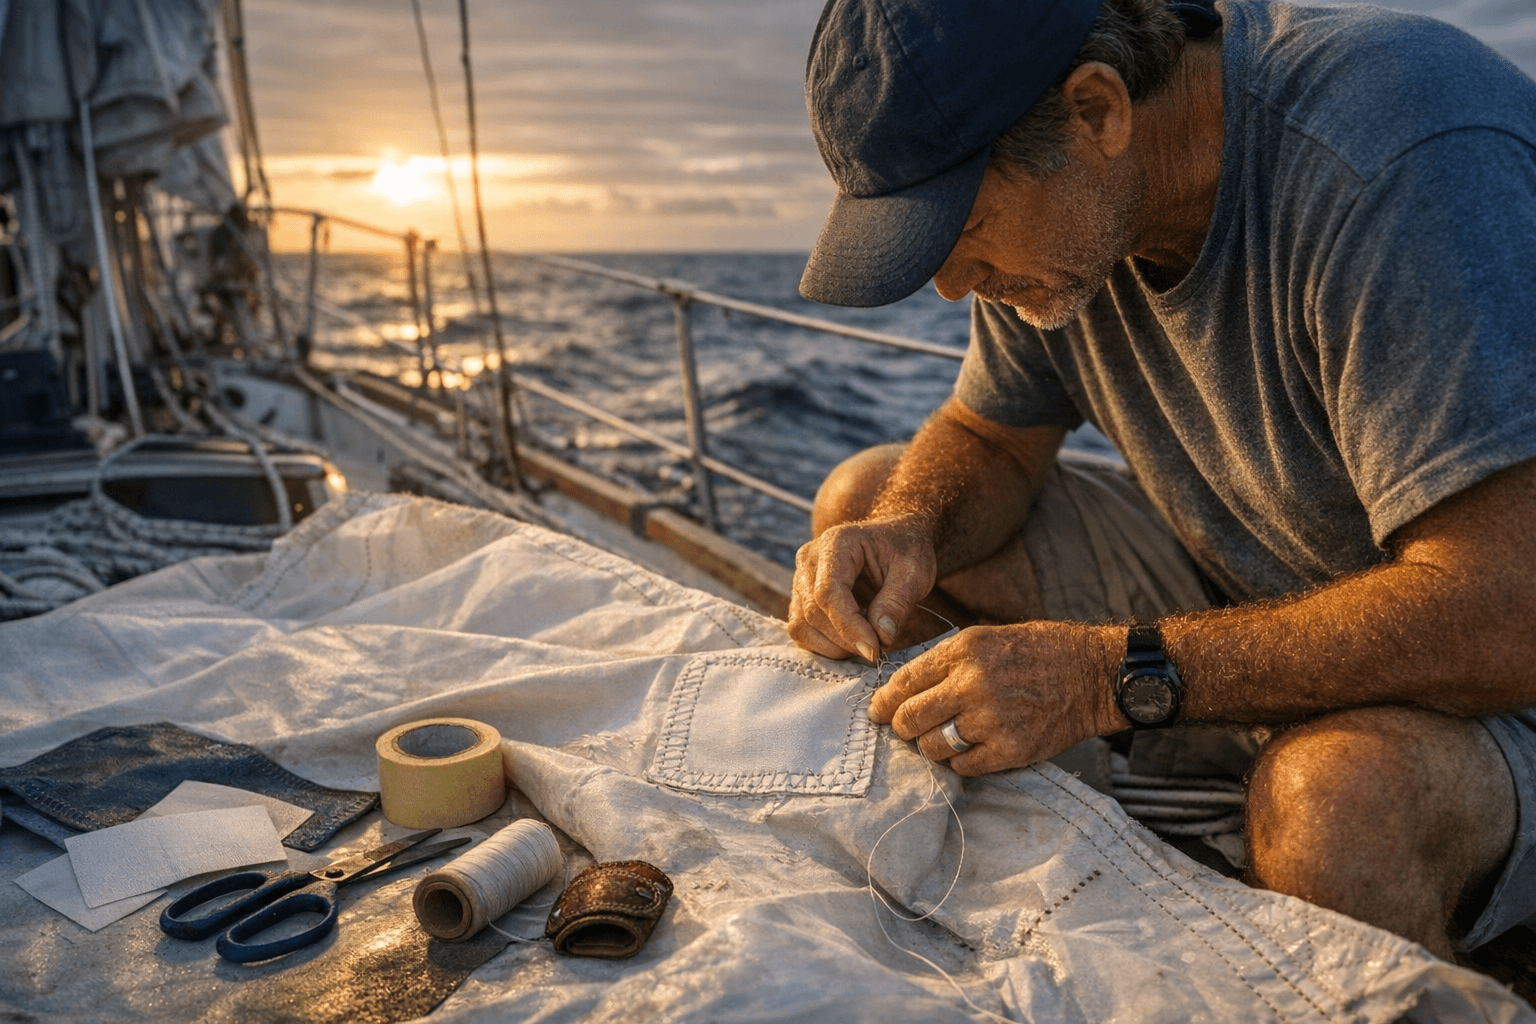
Start with the tools that do the work. A sailmaker's palm to drive needles, heavy needles sized for canvas and Dacron, an awl for opening stitch holes, and strong sailmaker's scissors or snips are table stakes. Add sturdy thread rated for UV and load, a roll of adhesive repair tape, a small selection of Dacron fabric for patches, and a compact container to keep everything dry and accessible. Practicing on scrap cloth at the dock will make these tools useful in a blow when hands are cold and time is short.
For patches, stick with materials that match the sail's construction. Adhesive repair tape buys time on short passages and is excellent for quick temporary reinforcement of chafe areas and small tears. Dacron patches, sewn in place, restore shape and load carrying capacity on woven cruiser sails. Use overlapping patches on both sides when possible, trimming corners to reduce peel, and sew through both patch and base cloth to reestablish load paths where stitching matters.
Hand-stitch techniques are simple but effective. A tight running stitch can close a straight tear, while a backstitch or overlapping whipstitch delivers stronger, load-bearing seams. Keep stitch spacing small and consistent, and use a sailmaker's palm to maintain leverage when driving needles through heavy cloth. Practice tying off with secure lock stitches and bury ends inside the patch to reduce snagging. On laminates and high-performance materials, adhesive tape alone is often only temporary; sewn repairs may not be feasible without specialist tools and fabrics.
Short-handed offshore crews benefit from a compact repair kit and a rehearsed workflow. Store a basic kit in a waterproof bag near the companionway, include pre-cut Dacron patch squares, extra needles and thread, adhesive tape, a fid or marlinspike for line work, and a small lamp. When a failure happens, stabilize the sail by easing loads, flaking or bagging damaged panels, and applying tape or a patch to keep the tear from propagating until you can stitch or get professional help.
Know when to escalate. If primary seams, the head, clew or tack fittings, or the luff tape are compromised, if laminate delamination is present, or if multiple panels are shredded, call a sailmaker. Professional repairs restore proper shape and load paths and will extend sail life beyond a field fix.
Keeping sails serviceable starts with practicing simple stitchwork, packing a no-nonsense kit and recognizing limits. Do that, and you turn many emergency repairs into routine maintenance, keeping boats moving and voyages on schedule.
Know something we missed? Have a correction or additional information?
Submit a Tip