Beginner's guide to FDM 3D printing, printers, filament, and slicers
Skip the upgrade spiral: your first month is about PLA, first layers, and a dry spool, not exotic filaments.
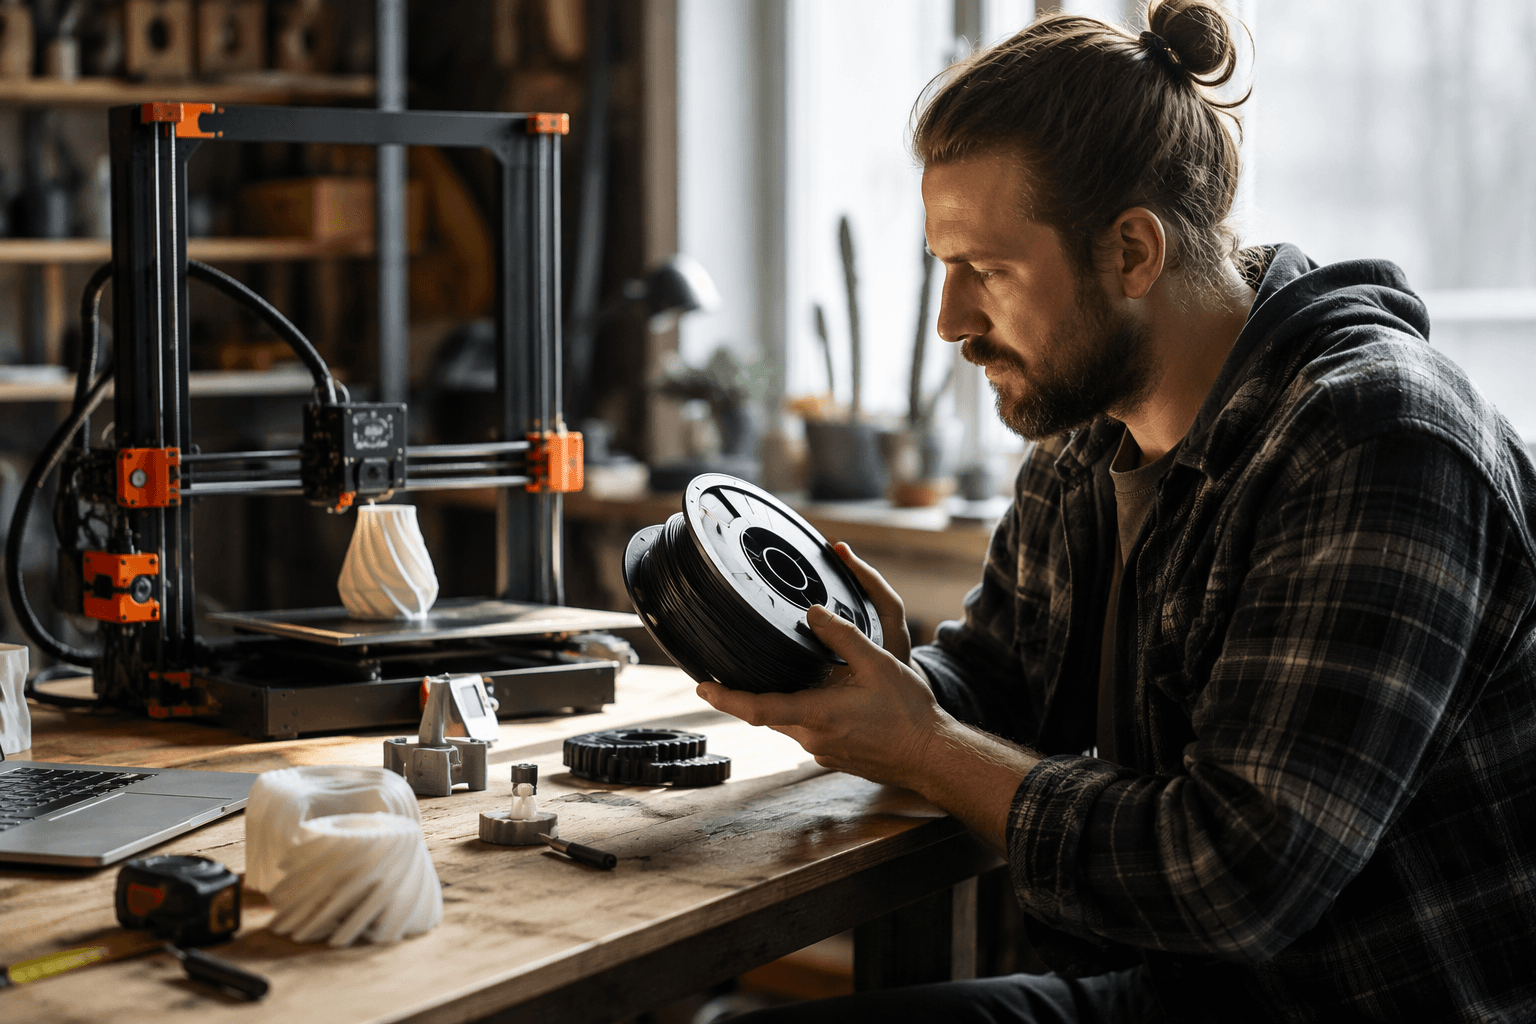
A clean first layer and a dry spool of PLA matter more in the first month than any upgrade part. Treat that month like survival mode, not a shopping spree: start with PLA, get the first layer right, and resist the urge to bolt on upgrades before you know what the machine is doing.
Start with PLA and a simple goal
PLA is the smartest first filament because it is forgiving, prints at relatively low temperatures, and does not demand an enclosure the way ABS or ASA do. Prusa calls PLA inexpensive, easy to print, and low-warping, which is exactly why it is the material that teaches you the basics without fighting back. It is the right choice for learning bed adhesion, first-layer tuning, support removal, and the simple rhythm of sending a print, checking it, and learning from what happens.
Do not treat PLA as “beginner only” in the dismissive sense. It is still the best way to learn how your machine behaves, because a good PLA print tells you whether your bed is level, your nozzle is clean, your slicer settings are sane, and your filament is dry. If you jump straight to ABS or ASA, you stack the deck against yourself with worse layer adhesion, more warping risk, and the need for controlled heat management that is much harder to judge when you are still learning the machine.
Know what kind of printer you actually bought
A printer is not just a brand name on the box. The motion system matters, and the big fork in hobby FDM is usually between bedslingers and CoreXY machines. Bedslingers move the bed in Y, which is simple and common, while CoreXY handles bed motion differently and can change how the printer handles speed and vibration.
Print quality comes from the whole setup, not just the logo. A well-tuned bedslinger can produce clean prints, and a poorly set up CoreXY can still make a mess. In the first month, your job is to learn how your exact machine moves, sounds, and starts a print, then use that knowledge to make sensible choices instead of assuming a more expensive frame will solve weak first layers or bad slicer settings.
The slicer is where the print is actually made
New owners often think the printer alone creates the object, but the slicer is what turns a model into toolpaths. This is where layer height, infill percentage, wall count, nozzle temperature, bed temperature, retraction distance, and print speed get set, and those numbers control the balance between appearance, strength, and print time.
Default profiles are usually the right place to begin. That is not laziness, it is smart baseline work. Once you have a reliable profile for your printer and your PLA spool, calibration prints become useful instead of random, because you are tuning one variable at a time rather than guessing at ten settings at once.
A good first-month slicer habit looks like this:
- Use the printer profile that matches your machine exactly.
- Leave the stock PLA profile alone for the first few prints.
- Change one thing at a time, then print a known test model again.
- Keep notes on what fixed stringing, poor adhesion, or rough top layers.
The first layer decides whether the rest of the print is worth keeping
Every troubleshooting rabbit hole starts at the bed. FacFox’s calibration guide calls a good first layer crucial to a good final print. If the nozzle is too close to the bed, you get squished lines and ugly drag marks; if it is too far, the filament does not bond and the print peels up before the second layer has a chance.
This is where bed leveling, nozzle-to-bed distance, and first-layer watching become non-negotiable. Check the nozzle is clean, make sure the bed is level, and stand there for the first layer before you walk away. That one habit prevents warped corners, poor adhesion, and a lot of the “my printer is broken” panic that usually turns out to be a tiny Z offset problem.
Keep filament dry before you blame the machine
A surprising number of “printer problems” are really filament problems. Open spools absorb moisture, and once that happens you start chasing underextrusion, stringing, and brittle-feeling prints that seem to fail for no obvious reason. New spools often come with desiccant for a reason, and if your filament lives in the open on a shelf, you are making extra work for yourself.
You do not need to build a lab-grade dry cabinet on day one, but you do need a plan. Keep PLA sealed when you are not using it, store it with desiccant, and pay attention if a spool starts acting inconsistent. A dry spool will not fix bad settings, but it removes one of the easiest ways to sabotage a beginner print.
Do not buy upgrades before you know what problem they solve
The first month is when people buy bed sensors, replacement fans, exotic plates, and ten other “must-have” parts they barely understand. Most of the time, the real problem is still basic setup: first layer, filament condition, or a slicer profile that was never meant for the material they are trying to print. If your PLA parts are failing, a new hotend is usually not the answer.
Hold off on hardware changes until you have a repeatable baseline. That means one spool of PLA, one slicer profile, one test model, and a printer that can produce the same result twice in a row. Upgrades make sense once you know exactly what limitation you are trying to remove.
A simple first-month sequence that actually works
1. Load PLA and print the manufacturer’s stock profile.
2. Watch the first layer and adjust bed level or nozzle distance if needed.
3. Print the same small model twice to check repeatability.
4. Only then start changing slicer settings like layer height, infill, wall count, and speed.
5. Keep the spool dry and stop chasing harder materials until PLA is predictable.
This article was produced by Prism’s automated news system from verified source data, official records, and press releases, then run through automated quality and moderation checks before publishing. The system is built and supervised by the people who set the standards it runs under. Read our full AI policy.
Did this article answer your question?