How to Make Bath Bombs at Home with Simple Pantry Ingredients
Keep the mix dry, press hard, and let it cure. That is the difference between a fizzing bath bomb and a crumbly mess.
The starter mix that works
If you want a small batch that behaves, keep the ingredient list tight: baking soda, citric acid, cornstarch or Epsom salt, essential oils, food coloring or mica powder, water or witch hazel, molds, and a mixing bowl. Gloves are optional, but a dry workspace is not. The whole point is to build something that feels thoughtful enough for gifting without leaning on unnecessary additives.
The reason this craft still has legs is simple chemistry and a little history. Lush says Mo Constantine invented the first bath bomb in 1989 in her garden shed, and the company says it has since sold more than 350 million bath bombs worldwide and created over 500 designs. That is a lot of fizz for an idea that starts with pantry staples, and it explains why homemade versions still feel worth making: you get the control, the customization, and the satisfaction of watching basic ingredients turn into something spa-like.
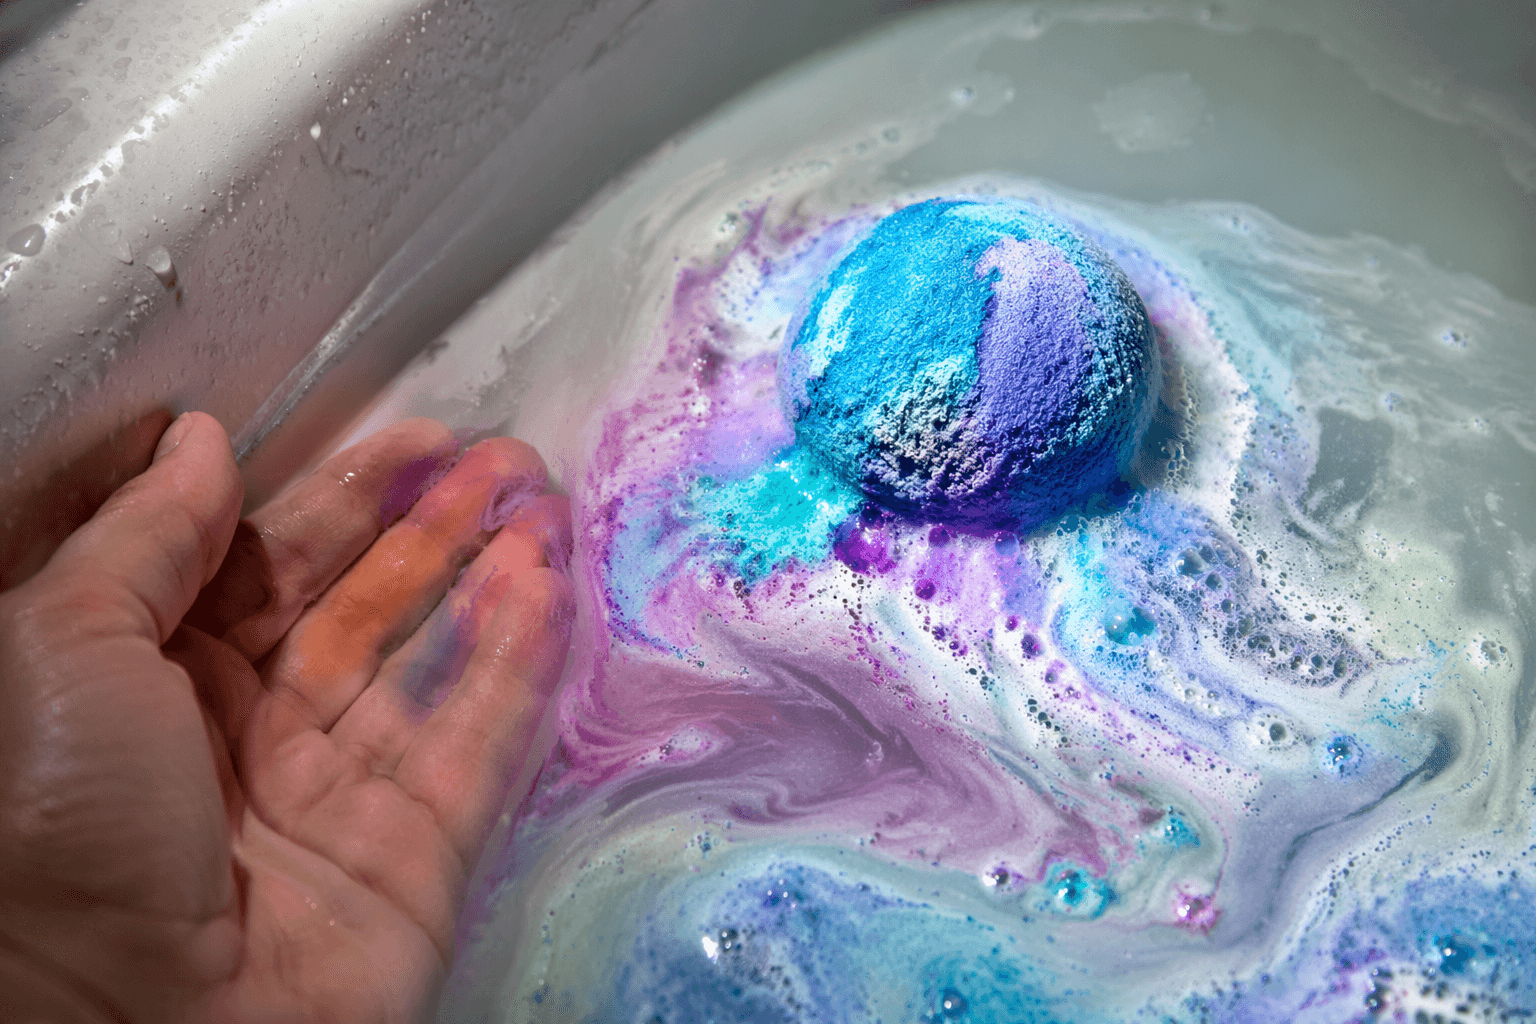
Why the fizz works, and why it sometimes fails
The chemical engine here is the reaction between baking soda and citric acid, the part that makes the bomb come alive in the tub. Science Buddies frames bath bombs as a good way to explore how ingredient ratios affect that fizz, and that is exactly why measuring and moisture control matter so much. If you get greedy with liquid, you start the reaction early and the whole batch gets temperamental before it ever sees water.
The safest way to think about it is like a tiny engineering problem. The dry ingredients need to be blended first so the citric acid is evenly distributed, then the wet ingredients need to be mixed separately so you can add them with control. Spray or drizzle the liquid into the dry mix gradually while stirring constantly, and stop the moment the texture starts to hold together instead of collapsing or foaming.
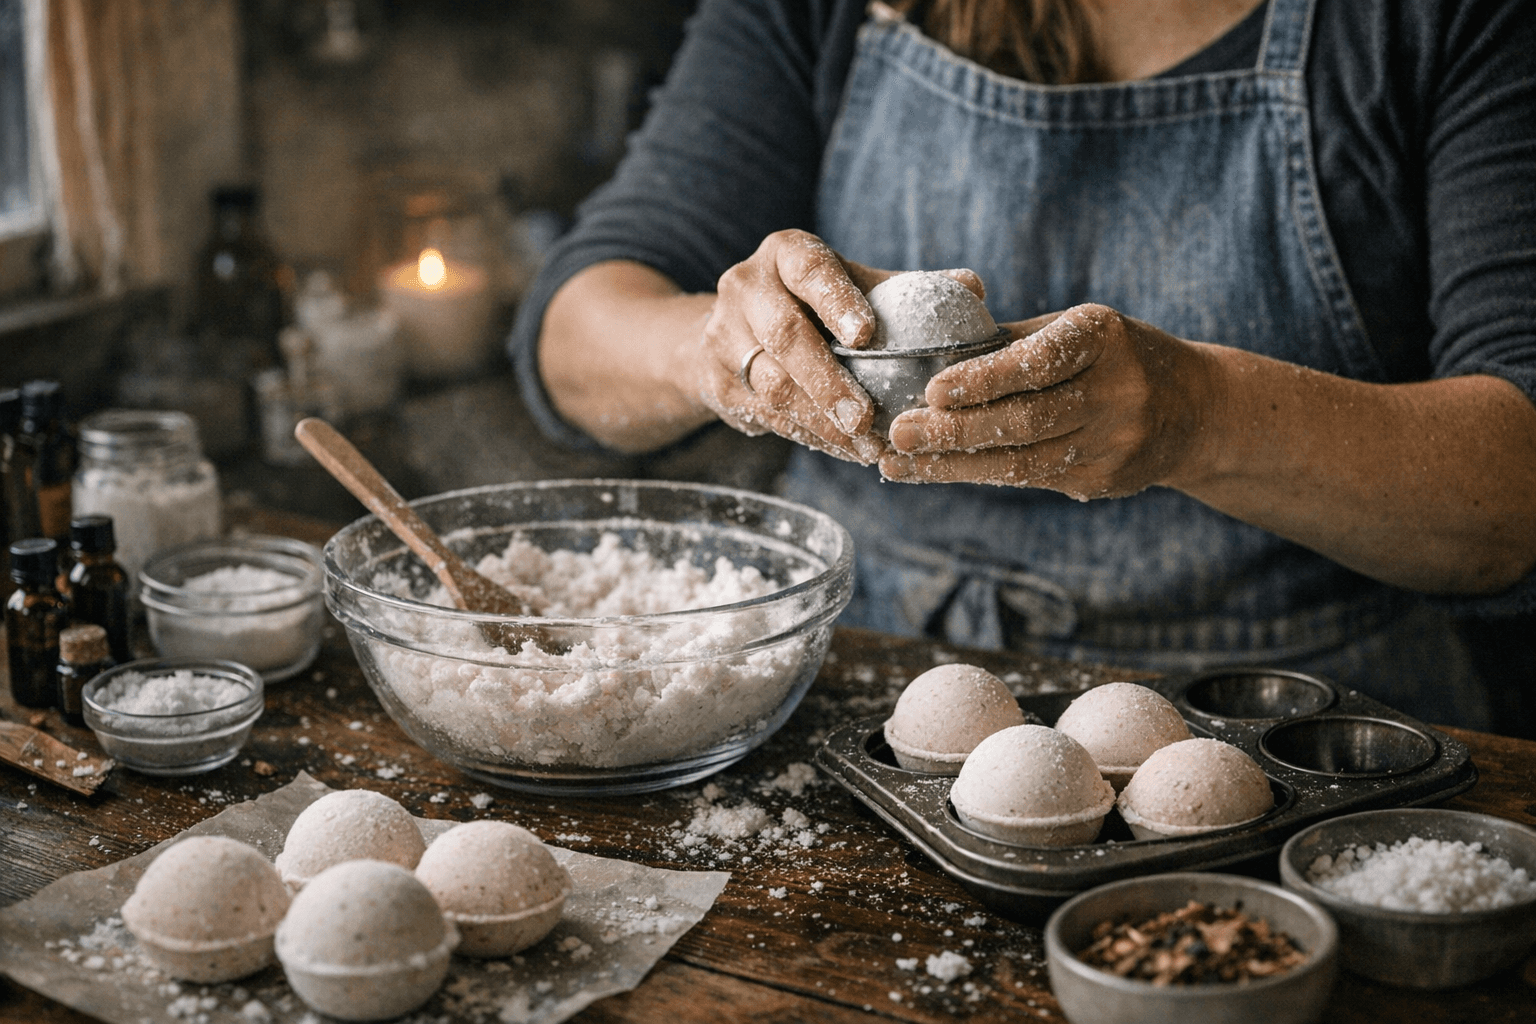
The small-batch process that keeps the batch intact
Start by mixing the dry ingredients thoroughly in your bowl. That gives you an even base and keeps one pocket from becoming too reactive while another stays dusty. In a small batch, uneven mixing shows up fast, and that is how you end up with bombs that fizz oddly or split apart in the mold.
Next, combine the wet ingredients separately, especially if you are using essential oils and color. Add the liquid to the dry mix a little at a time, stirring as you go, until the mixture feels like damp sand that clumps when squeezed. Press it firmly into the molds, because loose packing is one of the fastest routes to a bath bomb that looks pretty on the counter and falls apart in your hand.
Then let the molds sit for several hours or overnight, and give the bombs another day of air-drying once they are unmolded. That extra drying time is not fussy, it is what turns a fragile shell into something that survives handling and storage. If you want the cleanest results, store finished bath bombs in a dry container and label the scents if you made multiple varieties.
The three failure points that matter most
Crumbling usually means one of two things: the mix was too dry, or you rushed the cure. Bath bombs need enough moisture to bind, but not so much that they start reacting early, and they need time for the structure to harden. If the bomb feels sandy when you pack it, it will probably stay sandy when it hits the tub.
Activating too early is the other classic mistake. That almost always comes from adding liquid too fast, using a wet spoon, or working in a humid space, and once the fizz starts in the bowl, you have already lost some of the lift that should happen in the bath. Keep your tools dry, add the liquid gradually, and remember that patience here is not a virtue, it is part of the recipe.
Skin-safety mistakes are the one people ignore until they regret it. The American Academy of Dermatology warns that fragrance ingredients can trigger skin reactions, and even products labeled fragrance-free or unscented may still contain fragrance-related ingredients. The Centers for Disease Control and Prevention also notes that skin exposure to chemicals can cause irritation or allergic contact dermatitis, which matters because bath bombs often pack in essential oils, fragrance oils, and colorants that can be lovely for one person and miserable for another.
If you are gifting or selling, the safety line gets real
In the United States, bath bombs are generally treated as cosmetics, and the U.S. Food and Drug Administration says people and companies that market cosmetics have a legal responsibility to make sure the product is safe. The agency also has separate cosmetic labeling requirements, including ingredient-labeling rules. That means the homemade bath bomb conversation is not just about pretty molds and scent blends, it is also about what goes into the product and how clearly you identify it.
That matters even more if you are making them for anyone with sensitive skin, eczema, or fragrance allergies. There is published medical literature on bath-bomb-related dermatitis, including a 2020 PubMed-indexed case report titled "Occupational contact dermatitis due to bath bombs." You do not need to treat every bath bomb like a hazard, but you do need to respect the fact that a soothing soak for one person can be an irritant for another.
Homemade versus store-bought
This is where the tradeoff gets interesting. Homemade bath bombs usually win on customization and ingredient control: you pick the scent, the color, and whether you want a simpler formula with fewer extras. Store-bought bombs often win on convenience and polish, but you pay for the packaging, the branding, and the extra ingredients that come with a mass-market product.
The cost story is part of the appeal, too. A homemade batch stretches simple ingredients across multiple bombs, so the per-bath spend can stay low while the customization stays high. That is a useful split for personal use, small gifts, or craft-fair scale batches, because you are not just making a bath product, you are deciding exactly how much color, fragrance, and fizz you want in each one.
What to remember before you pack the mold
The formula is forgiving, but only if you respect the basics: keep the dry ingredients dry, add liquid slowly, press the mold firmly, and let the bombs cure long enough to harden. If you do that, the bath bomb stops being a fragile DIY project and starts acting like a real little product, with a clean fizz, a better shelf life, and far less crumble.
That is the real trick of homemade bath bombs. The magic is not in piling on more ingredients, it is in getting the balance right so a handful of simple pantry staples can hold together long enough to do their job in the tub.
This article was produced by Prism’s automated news system from verified source data, official records, and press releases, then run through automated quality and moderation checks before publishing. The system is built and supervised by the people who set the standards it runs under. Read our full AI policy.
Know something we missed? Have a correction or additional information?
Submit a Tip