Dwarf Fortress moat guide turns defenses into deadly engineering art
Dwarf Fortress moats are never just ditches: the best ones buy safety, beauty, and utility, while the fanciest can turn a siege into engineering comedy.
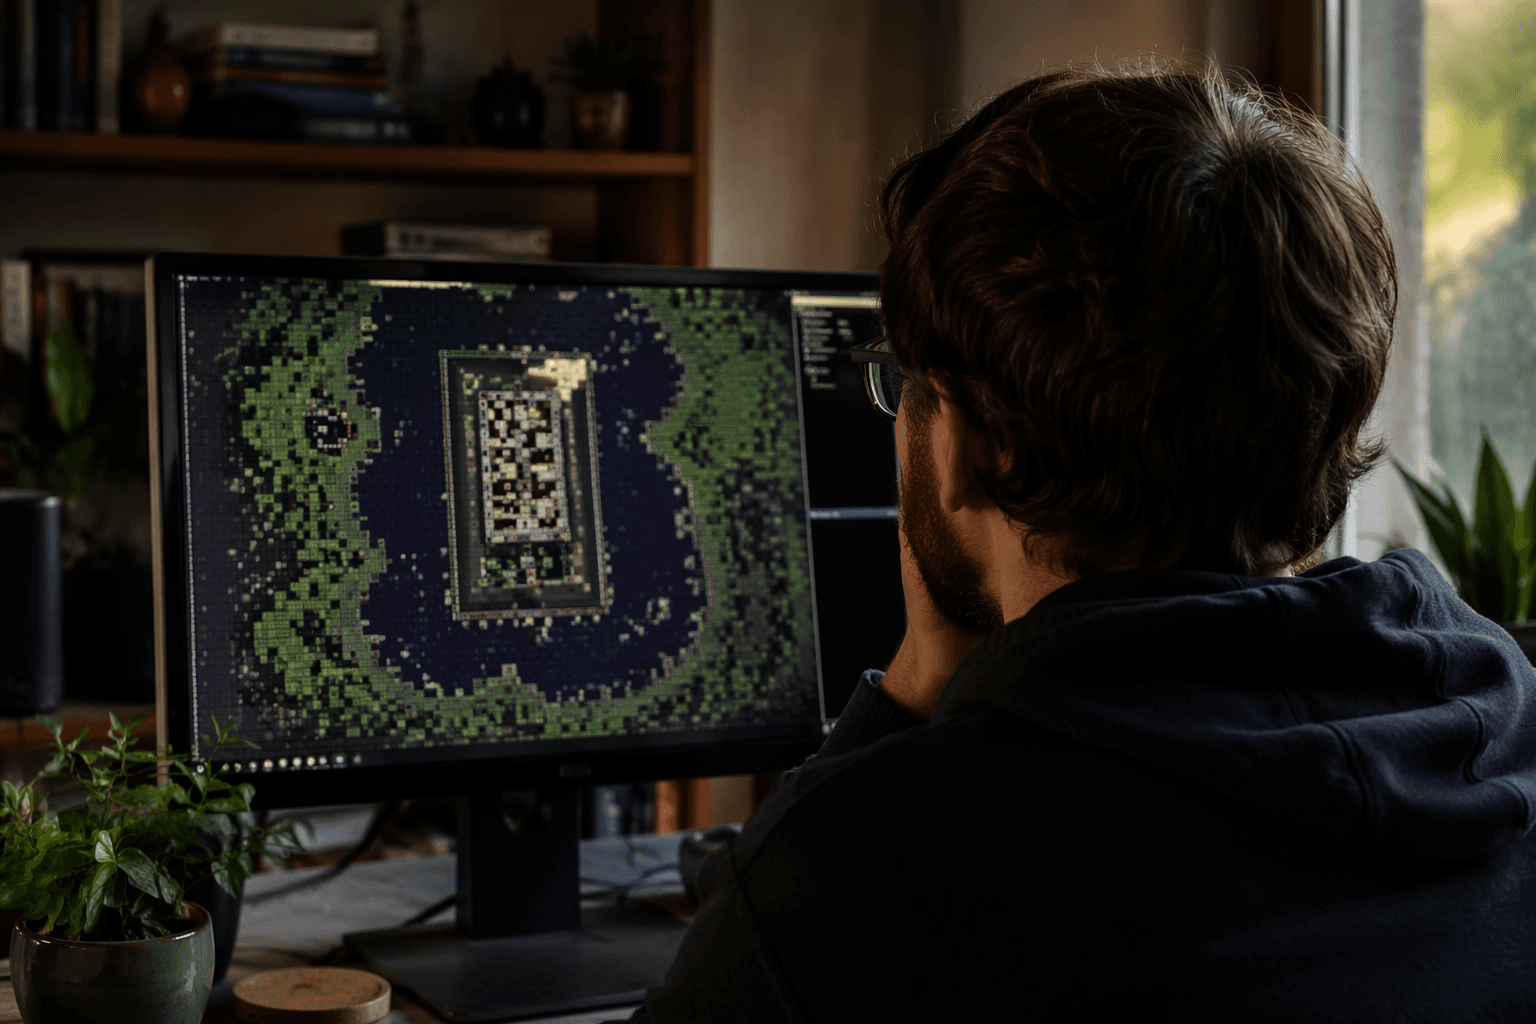
A moat in Dwarf Fortress is never only about stopping invaders. Sniper (+)’s guide treats it as a test of taste, timing, and how much absurd machinery your fortress is willing to build before the first siege horn sounds. The simplest version uses water, but the real question is always the same: do you want a defense that works, or one that also becomes a story?
Water moats: the practical starting line
The guide puts the normal water moat first for a reason. When water is already nearby, it is the most approachable option, and it is framed as both effective and efficient without demanding the kind of infrastructure that can swallow an early fortress whole. It also carries the classic Dwarf Fortress bonus of looking good while it works, which matters more than it should in a game where a beautiful machine of death is often the best kind of machine.
That usefulness goes beyond simply killing land threats. A water moat can support other fortress needs, which is exactly why it stands out as a smart first choice rather than just a defensive cliché. In Dwarf Fortress terms, that is the sweet spot: a build that solves more than one problem while still leaving room for the fortress to breathe, farm, pump, haul, and survive. If the terrain already hands you water, the moat becomes less of a vanity project and more of a clean piece of siege insurance.
The guide also points to broad moats as the safer, more practical version of the idea. That matters because the more ambitious a moat gets, the more likely it is to create new problems instead of erasing old ones. A wide, straightforward water moat keeps the design grounded in terrain control rather than turning the edge of the fortress into a permanent maintenance headache.
Magma moats: the advanced route to glorious overengineering
If the water moat is the accessible choice, the magma moat is the one that announces you have decided to make the fortress part engineering lab and part threat to itself. The guide calls it advanced, tedious, and rewarding in equal measure, and that balance is the entire appeal. It usually depends on heavy pumping or unusual geology, which means the moat is no longer just a trench, it is a project that reshapes the fortress around the available heat and the effort it takes to move it.
That is why magma moats carry such a strong Dwarf Fortress flavor. They are not just defensive barriers, they are enemy-melting machines, built on the satisfaction of taking one of the game’s most dangerous substances and turning it into infrastructure. The payoff is obvious, but the hidden costs are just as real: pumping systems, geological constraints, and the constant risk that an elegant plan becomes an expensive lesson in why magma does not forgive mistakes.
The guide’s treatment makes the tradeoff plain. A magma moat is not the most natural choice, and it is certainly not the easiest, but it can be spectacular when the fortress is ready for it. It is the kind of defense that rewards a player who is willing to invest heavily in the map itself, then watch the map answer back in fire.
Weapon moats: the moat as performance art
The rarest option in the guide is the weapon moat, and it is the one that turns defense into theater. Instead of relying on water or magma, it uses retracting bridges and trapped weapon arrangements to convert an enemy army into an elaborate disaster. In practice, that means the fortress is not just protected by the moat, it is staging the battlefield like a trap-laden stage set.
This is where the guide leans hardest into the idea of moats as player expression. A weapon moat is not the most straightforward solution, and it is certainly not the one most likely to be described as sensible without a grin. It is a kill box dressed up as engineering art, the sort of setup that can make a siege feel less like an attack and more like the enemy walked onto the wrong side of a carefully rehearsed performance.
The appeal is obvious: it is rare, theatrical, and deeply in the spirit of Dwarf Fortress excess. The risk is just as obvious, because a system this elaborate depends on timing, moving parts, and a fortress willing to trust a chain of mechanisms to do what a wall could have done more simply. When it works, it is brilliant. When it does not, it is exactly the kind of glorious self-sabotage the game has trained players to admire and fear at the same time.
Choosing the moat that fits the fortress
The guide’s real lesson is that a moat is a decision about philosophy, not just architecture. Water is the approachable answer when the terrain gives you a head start. Magma is the high-commitment option for players who want a fortress defense that doubles as industrial spectacle. Weapon moats are for the moments when the goal is not merely survival, but to turn the whole edge of the map into a statement.
A simple way to think about the choice is this:
- Pick water when you want efficiency, access, and a defense that can also support the fortress.
- Pick magma when you can handle heavy pumping or strange geology and want the payoff of a true enemy-melting setup.
- Pick weapon traps and retracting bridges when you want the moat to become a kill box and do not mind building a little absurdity into the plan.
That decision also comes back to resources, terrain, and safety, which the guide treats as the real filters before any construction begins. Dwarf Fortress always charges for ambition somewhere else, whether that bill comes due in labor, logistics, or a fortress engineer staring at a pumping stack and wondering why they ever thought this was a good idea. The smartest moat is the one that fits the land and the settlement’s capacity to maintain it, not just the one that looks best from the battlements.
At its best, a moat in Dwarf Fortress is exactly what the guide makes it sound like: classic overengineering with a purpose. It can be a survival tool, a fortress-side improvement, or a dramatic machine for humiliating an invader, and the difference between those outcomes is usually whether the design respects the land or tries to bully it. That is why the moat remains one of the game’s most satisfying defenses, because the line between smart engineering and glorious self-sabotage is thin, and Dwarf Fortress makes both look unforgettable.
This article was produced by Prism’s automated news system from verified source data, official records, and press releases, then run through automated quality and moderation checks before publishing. The system is built and supervised by the people who set the standards it runs under. Read our full AI policy.
Did this article answer your question?