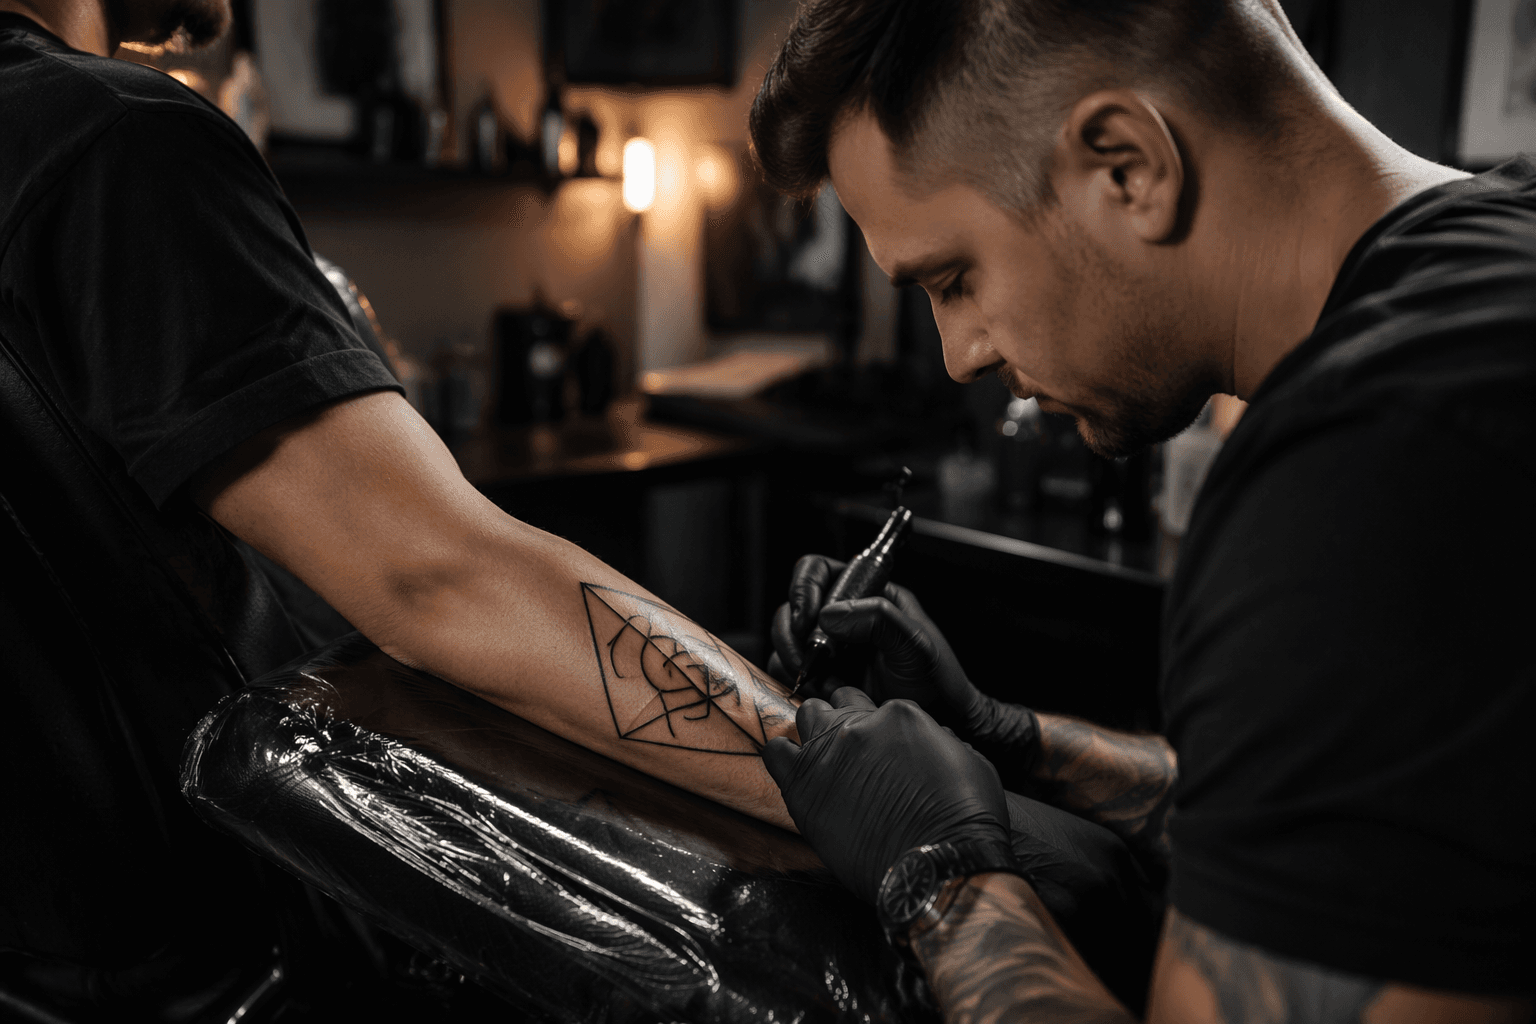
How Professional Artists Plan Complex Geometric Sleeve Tattoos Step by Step
Three failure modes kill most geometric sleeves before they're finished. Here's the exact workflow pros use to prevent them.
Three things reliably wreck a geometric sleeve: symmetry that warps across the bend of the elbow, stencil drift that compounds across a multi-session project, and healed line weight that mismatches what came before. Each one is avoidable. Each one stems from a planning gap, not a technique failure. The workflow below is how artists who specialize in sacred geometry, dotwork mandalas, tessellations, and linear blackwork actually prevent them.
Where Most Geometric Sleeves Go Wrong
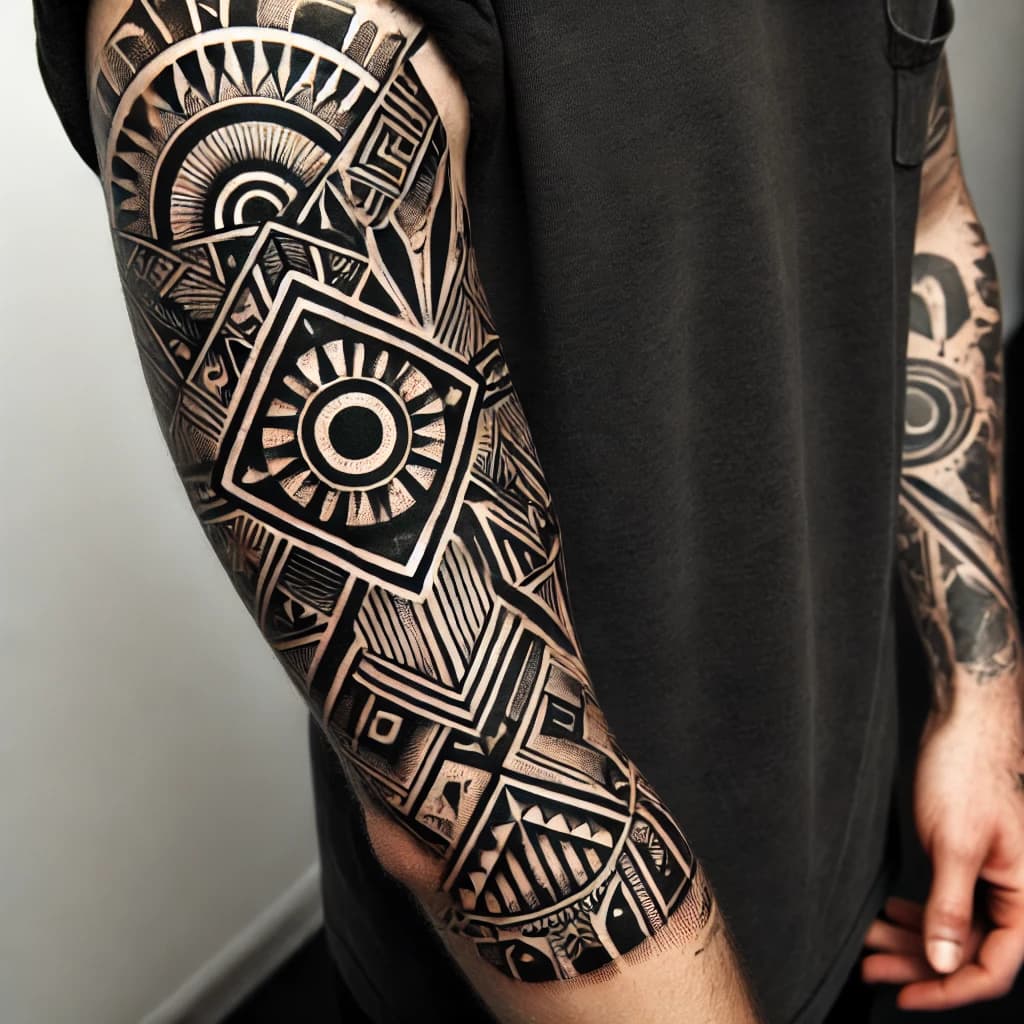
The elbow is the most punishing real estate on a sleeve. Because the skin compresses and stretches with every flex, a hexagonal grid that looks perfect on a flat stencil will optically warp when the arm moves. The same problem hits the inner wrist, the antecubital fold, and anywhere a repeating pattern crosses a joint axis. Artists who don't account for this in the design phase discover it in the healed photo.
Stencil drift is the second major failure point. On a project spanning three, four, or five sessions, even a 2mm placement error compounds. A modular design meant to align across the shoulder, bicep, and forearm can arrive misaligned by centimeters if reference points weren't locked in during the first session. The human eye can detect angle deviations as small as 2 to 3 degrees in geometric contexts, which means a mistake that seems trivial at application becomes unmistakable once healed.
Healed line weight mismatch is subtler but just as damaging. Lines executed across different sessions, with different needle configurations or varying machine pressure, heal to different apparent weights. On a continuous geometric design, that reads as a visible seam between work done months apart.
The five-step workflow below addresses all three risks directly.
Step 1: The Intake Consultation
Block 60 to 90 minutes for this, whether in studio or virtual. The goal isn't just gathering visual references; it's building a precise brief that constrains the design before any vector work begins.
Ask clients to submit photos of the arm in at least three poses: relaxed, fully extended, and flexed. These reveal how skin folds and stretches at the elbow and wrist, and they're essential for anatomy-aware stencil placement. Collect a full history of prior tattoos and any diagnosed skin conditions. Scar tissue, keloid tendency, and previously tattooed skin all change how ink deposits and heals.
Establish the client's visual vocabulary with specificity. "Geometric" covers too much ground. Pin down whether they're drawn to Metatron's Cube, the Flower of Life, honeycomb tessellation, radial mandalas, or strict linear blackwork. Establish whether the piece carries symbolic weight or is purely aesthetic, because that affects how modular the design can be and how much improvisation is acceptable once the stencil meets the body. Finally, set session-count expectations plainly. Complex geometric sleeves routinely require multiple sessions spaced over months. Clients who aren't warned in advance push schedules in ways that compromise healing between passes.
Step 2: Vector Stencil and Layout Planning
This is where most geometric sleeves are either protected or doomed. Once you understand the client's body and brief, build your stencils in vector format. Adobe Illustrator and Inkscape both maintain precision at any scale; raster designs lose fidelity when resized, which introduces the kind of line inconsistency that shows up as drift after healing.
Map the limb using your reference photos and create CAD-style layouts so that repeating modules, whether hexagons, radial mandalas, or interlocking triangles, maintain their scale relationships when wrapped around a curved surface. The critical step here is establishing modular anchors: a primary focal mandala or banding element on the shoulder or upper arm that every other element is positioned relative to. Filler geometry connecting the anchors across the bicep, elbow, and forearm should be designed last, with explicit transition logic for how it bridges the joints.

Build minimum spacing between parallel lines at the design stage. Lines that appear cleanly separated on a fresh tattoo can touch or overlap after healing, particularly in areas where skin compresses. Designing for at least 1mm of separation between parallel lines prevents that collapse. Proportion checks need to happen before any needle touches skin; once the first session is done, that reference geometry is locked in.
Step 3: Anatomy-Aware Freehand Adaptation
A vector stencil is a precision instrument, not a final answer. Once it transfers to actual skin, the job is reading the body's topography and adjusting. Muscle bellies and tendons create subtle ridges that shift with movement; placing a hard seam in a radial pattern directly over a tendon means it reads as broken in one arm position and continuous in another.
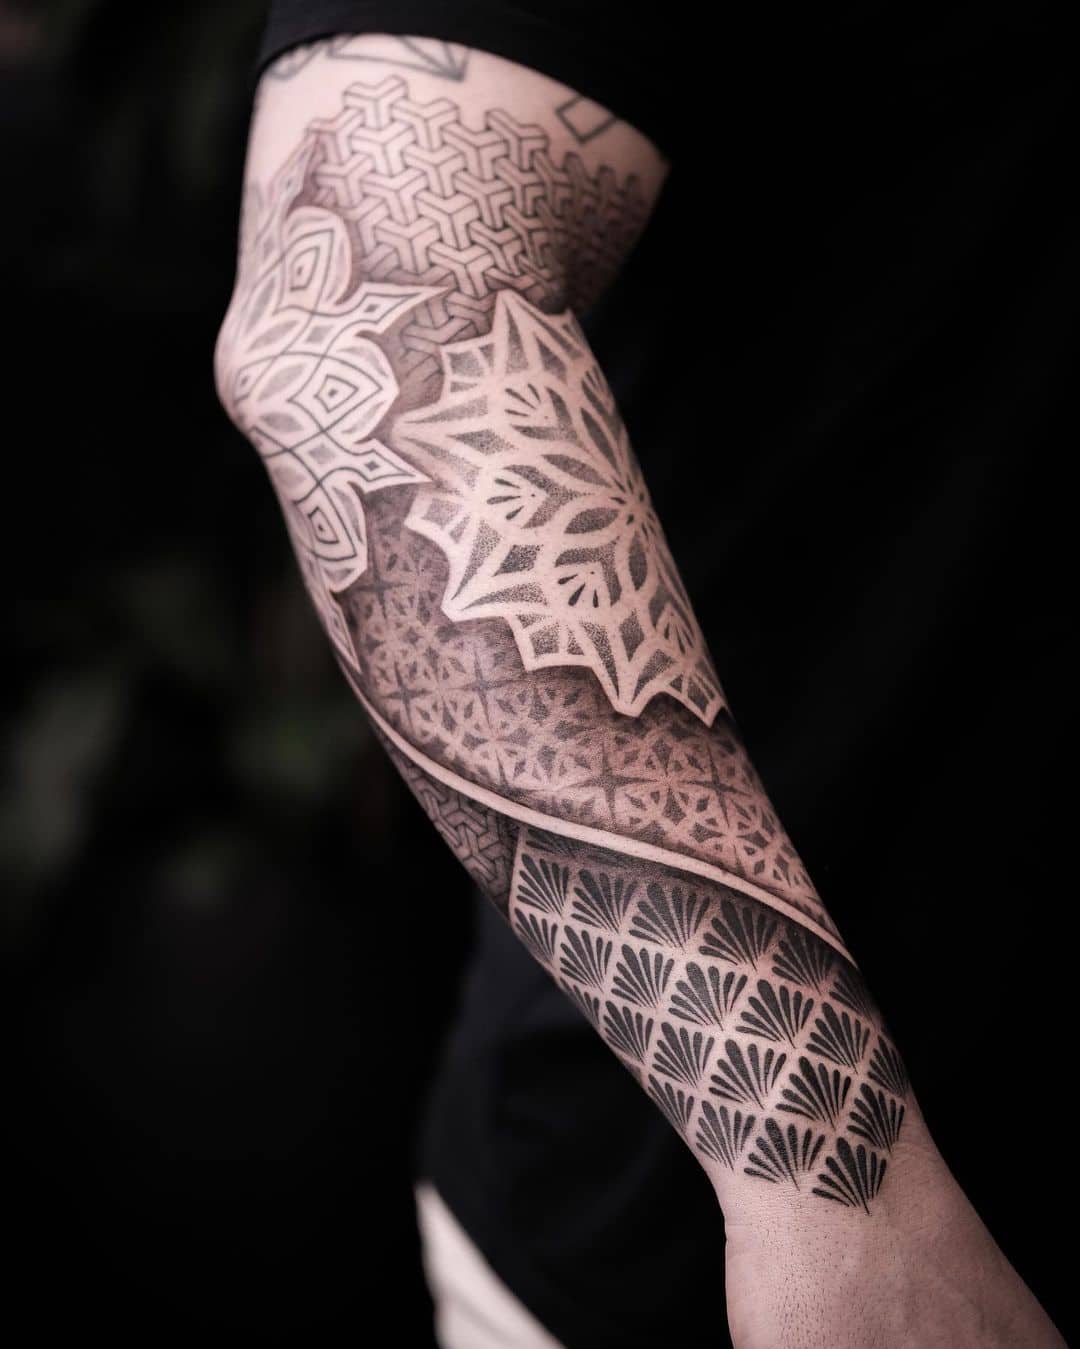
The adjustments here are made freehand, which sounds imprecise but demands the opposite: a clear understanding of exactly where the geometry needs to be continuous and where a natural seam can be hidden in the body's existing structure. The target is a sleeve that reads as intentional and uninterrupted in the poses clients actually use: arm at rest, arm outstretched, arm raised. Circular and radially symmetric designs handle the elbow's mechanical stress better than linear grids, which is why placing a mandala or sunburst form at the elbow joint rather than forcing a hard grid across it is consistently the more reliable solution.
Step 4: Session Sequencing and Multi-Pass Technique
Anchor areas go first. Tattoo the zones that control skin tension: shoulder cap, upper chest connection, upper arm. These establish the fixed reference points the rest of the design maps to. Moving into filler bands and fine linework on the forearm before the anchor areas are healed invites the kind of drift that's expensive to fix.
For dotwork and sacred geometry specifically, use a multi-pass approach. A first, lighter pass establishes the contrast range and structural outline. Later passes pack in the blacks and lay down the delicate dot gradients that give geometric work its depth. Building contrast in stages protects the micro-structure: early fine-line or dot work that gets packed over too aggressively in a single session loses its definition permanently. The staged approach also gives you honest information about how a specific client's skin heals before you commit to the densest pack work.
Step 5: Aftercare, Touch-Up Windows, and Documentation
Geometric clarity lives or dies in the healed result. Aftercare guidance for this style needs to be more precise than the generic instruction sheet. Heavy scabbing is the primary enemy of fine lines; communicate this explicitly, not as a footnote. Consistent skin hydration maintains the quality between sessions that a multi-month project requires.
Schedule a touch-up review at four to eight months post-session. This is the window where healed line retention is fully legible and any gaps, blowouts, or weight inconsistencies can be addressed before the next session compounds them. Put this in writing: a signed plan that covers the touch-up window, what is included, and how additional sessions are priced. Ambiguity on this point is a common source of disputes on long-running sleeve projects.
On the documentation side, federal public-health guidance advises studios to maintain records of inks, batch lots, and sterilization protocols. This isn't bureaucratic overhead; it protects both artist and client if a question about a specific product arises months or years later. Studios that have these systems in place handle complications professionally; studios that don't face liability exposure that proper recordkeeping would have eliminated entirely.
Geometric sleeves that hold up over years are the output of a planning process that treats skin as a moving, healing, changing medium rather than a flat canvas. The most technically skilled artists in this space right now aren't just precise with a needle; they've built repeatable systems that catch failure points before the session starts. That's the real gap between a sleeve that impresses at six months and one that still reads as intentional at six years.
This article was produced by Prism’s automated news system from verified source data, official records, and press releases, then run through automated quality and moderation checks before publishing. The system is built and supervised by the people who set the standards it runs under. Read our full AI policy.
Did this article answer your question?