Epicurious 101: Step-by-Step Guide to Making Fresh Pasta by Hand
Learn how to make fresh pasta by hand, from mixing and kneading to shaping, rolling, cooking, and finishing with sauce.

Fresh pasta is one tactile pleasure you can master with nothing more than flour, eggs, a countertop, and a willing pair of hands. The steps below walk you through the process used in the Epicurious 101 approach, tactile cues, resting, hand-shaping, roller use, and finishing in sauce, so you can build confidence and share real-deal pasta with your community.
1. Ingredients and tools
Start simple: all-purpose or "00" flour, eggs, a pinch of salt, and optional olive oil or semolina for dusting. For most batches, plan roughly 100 g (about 3/4 cup) of flour per large egg as a baseline; adjust by feel. Tools: a clean work surface, bench scraper, rolling pin or pasta roller, a fork or gnocchi board for shapes, and a large pot for cooking.
2. Mixing the dough
Make a mound of flour on your board and form a well, or combine flour and eggs in a bowl if you prefer less mess. Crack the eggs into the well and gradually incorporate flour with a fork or your fingers until a shaggy dough forms; keep mixing until there are no big dry streaks. Mixing by hand gives you immediate tactile feedback about hydration and helps you learn how the dough should come together.
3. Kneading and texture checks
Knead by folding and pushing the dough with the heel of your hand, rotating as you go; expect 8–10 minutes of steady kneading to build gluten. The right texture is elastic and smooth, not sticky, it should spring back when pressed and hold a shape without tearing. If it’s sticky, dust lightly with flour; if too dry or cracking, wet your hands and knead in a few drops of water.
4. Resting the dough
Let the dough rest for 20–30 minutes, wrapped in plastic or covered with a bowl, to relax the gluten so it rolls smoothly. Resting makes rolling easier and reduces snap-back when you shape strands or sheets. This pause is also community-friendly: it’s a great window to set the table, prep sauce ingredients, or chat with a friend while the dough relaxes.
5. Hand-rolling and hand-shaping techniques
For hand-rolled shapes like cavatelli and gnocchetti, divide dough into small logs, cut pieces, then press and roll each piece with a finger across a floured board or against a gnocchi paddle to form cups or tiny shells. Use a fork to create ridges when you want textural pockets, drag the dough over the tines or press and roll with the fork. Hand shaping teaches you control and creates those rustic shapes that hold sauce beautifully; practicing builds speed and consistent size.
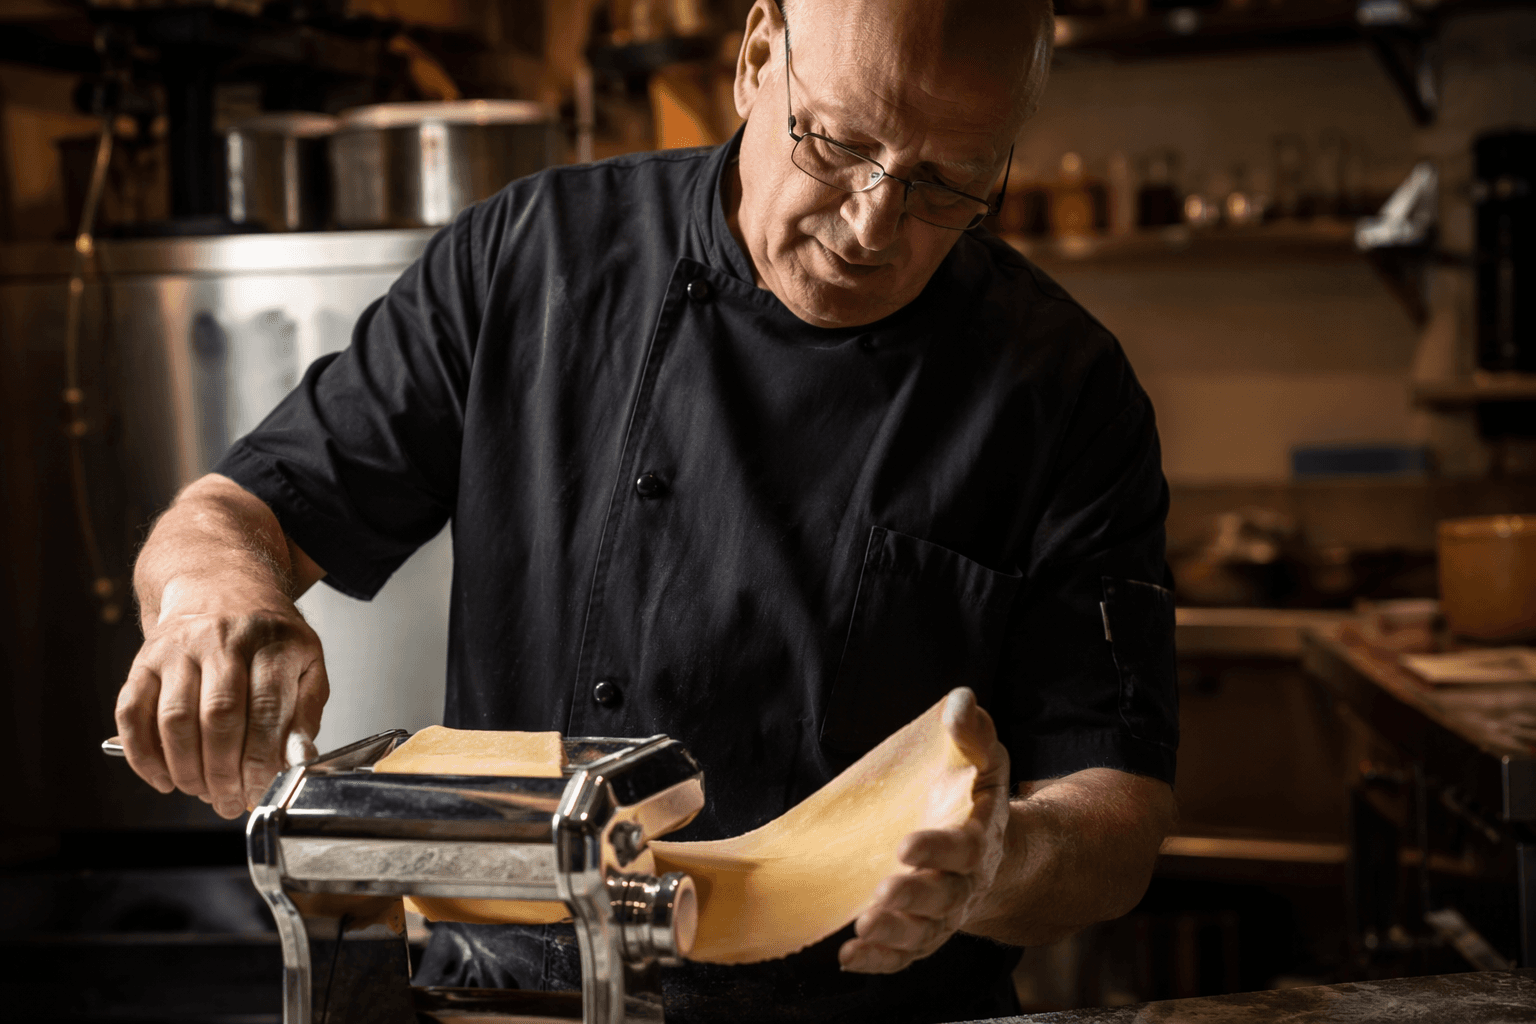
6. Using a pasta roller for sheets and long pasta
If you use a pasta machine, flatten a rested disk with your hands or a rolling pin, then pass it through the widest setting and fold or dust with semolina to prevent sticking, thinning one notch at a time. Roll sheets thinner for fettuccine or tagliatelle and use the cutter attachment or a sharp knife to slice. For spaghetti, roll sheets thin and cut into fine strands; always dust lightly to avoid clumping.
7. Cutting, portioning, and brief drying
Portion pasta into meal-sized nests by spiraling strands around your hand or a wooden dowel; dust with semolina so they don’t stick. If you plan to cook immediately, a short surface dry (10–20 minutes) helps keep strands separate. For longer storage, you can dry completely on racks or freeze portions on a tray before transferring to bags, fresh pasta prefers prompt cooking but freezes well when handled right.
8. Cooking fresh pasta and seasoning water
Bring a large pot of water to a rolling boil and salt it well, the water should taste like seawater, because fresh pasta absorbs less salt during its short cook time. Fresh pasta cooks quickly, often 1–3 minutes depending on thickness; taste for al dente rather than following dried pasta times. Reserve a cup of starchy pasta water before draining to use for sauce finishing.
9. Finishing pasta in the sauce
Finish pasta in the pan with your sauce over medium heat, tossing and adding splashes of reserved starchy water to bind and emulsify the sauce into silky coverage. A minute of pan finishing lets surfaces pick up flavors and creates a cohesive bite that plated pasta lovers expect. Finish with a knob of butter or a drizzle of good olive oil and grated cheese if the sauce calls for it.
- If dough resists rolling and keeps springing back, rest it longer; gluten needs time.
- Use semolina instead of regular flour for dusting to add grip and prevent clumping.
- If shapes are uneven, slow down and make uniform pieces, consistent size equals even cooking.
- Embrace imperfections: hand-made pasta celebrates texture and irregularity; perfection is overrated.
10. Troubleshooting, tips, and community wisdom
Sharing the process, letting neighbors or friends shape a few pieces, turns pasta-making into a community event and builds kitchen skills faster than solo practice.
Practical wisdom to take home: start small, practice one shape until it feels natural, and always taste as you go, the dough and the sauce will tell you what they need. Make a batch, invite someone over, and let the pasta be the reason for conversation as much as the meal.
This article was produced by Prism’s automated news system from verified source data, official records, and press releases, then run through automated quality and moderation checks before publishing. The system is built and supervised by the people who set the standards it runs under. Read our full AI policy.
Did this article answer your question?