How to Assess, Repair, and Prevent Fiberglass Damage on Your Boat
Fiberglass is forgiving until a cosmetic patch hides a structural crack. Here's how to diagnose, fix, and prevent hull damage before it escalates into a yard job.
The most expensive fiberglass repair is the one that gets done twice. It starts innocently: you spot a hairline on the hull, sand it back, lay on some gelcoat, and call it done. Six months later, the blister that was hiding underneath has spread, the laminate beneath is wet, and what could have been a weekend project is now a yard haul with a four-figure estimate. Correct diagnosis is not a preliminary step; it is the repair.
Reading the Damage Before You Touch It
Not all fiberglass damage is the same, and treating it as though it were is where most DIY repairs go wrong. As Louise Johnson's expert guidance makes clear, "blisters, delamination and cracks need different responses." A surface scratch that hasn't breached the gelcoat is a cosmetic issue. A stress crack radiating from a fitting or impact point may signal movement in the underlying laminate. A blister on the hull below the waterline is osmotic pressure from water that has penetrated the laminate, and it needs to be opened, dried, and treated, not simply filled over. Delamination, where layers of fiberglass have separated from each other, is the most serious category and can span areas far larger than what's visible on the surface.
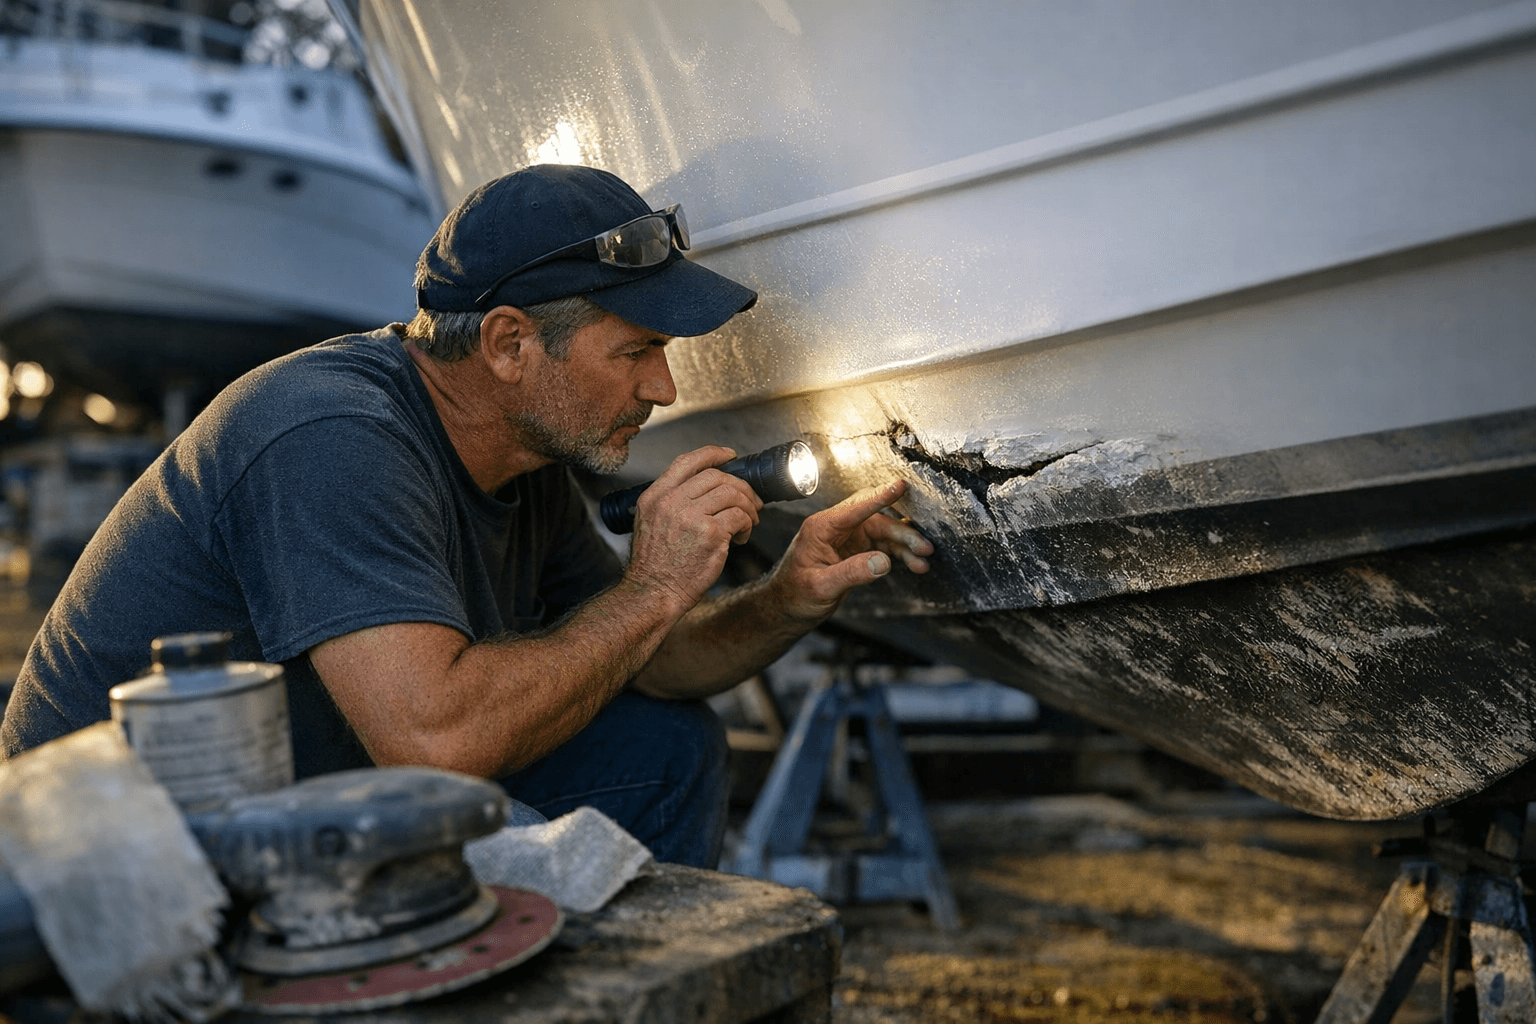
Before reaching for any tools, press around the suspect area with your thumb. Sound laminate feels rigid and returns a solid tap when knocked. Delaminated sections flex slightly and produce a dull thud. Pay particular attention to areas around chainplates, keel bolts, and through-hulls where water intrusion is most likely and structural loading is highest. A good visual inspection in raking light also reveals surface texture changes that signal problems beneath.
Tools and Materials
Getting the right kit together before you start matters as much as the technique itself. The core materials list includes an electric sander with an appropriate range of sandpapers (you'll work from coarser to finer grits across the process), fiberglass cloth in the weight suited to your repair depth, marine-grade resin, mixing containers, brushes, and full personal protective equipment including gloves, eye protection, and a respirator. Epoxy or polyester resins each have their place depending on whether you're building up structure or doing a cosmetic finish, so check what your hull was originally laid with before mixing anything.
Protective PPE is non-negotiable here. Fiberglass particulate and uncured resin are both hazardous, and working in a confined bilge or below the waterline in poor ventilation compounds the risk. Budget for disposable coveralls if you're doing anything more than a small surface repair.
The Repair Sequence
Step 1: Assess and Clean
Clean the entire area with fresh water and degrease before any sanding begins. If there's a blister, lance it, allow it to drain, and confirm the damage extent. Any trapped moisture in the laminate must be fully dried before you proceed; fairing over wet glass guarantees a failed repair.
Step 2: Sand Back to Sound Laminate
Use your electric sander to work back from the damaged area until you reach solid, dry fiberglass on all sides. This is not optional preparation; it is the structural foundation of everything that follows. Feathering the edges of the repair area at a shallow angle, typically a 12:1 taper ratio for structural work, gives the new laminate the bonding surface it needs.
Step 3: Lay the Fiberglass Cloth and Saturate with Resin
Cut your fiberglass cloth in progressively smaller layers. The smallest piece goes in first, against the deepest point of the repair, and each subsequent layer is slightly larger than the one before it. This builds up laminate thickness gradually and distributes load across the repair rather than concentrating stress at its edges. Saturate each layer thoroughly with correctly mixed resin using a brush or roller, working out air bubbles as you go. Dry cloth looks lighter in color; properly wetted cloth goes translucent. Any white or opaque patches indicate inadequately saturated glass, which becomes a void and a future failure point.
Step 4: Cure
Allow full cure before any further work. This is where ambient conditions become critical. Epoxy resin cures more slowly in cold, damp conditions; in temperatures below 15°C (60°F), cure times extend significantly and the chemical reaction may not complete properly. High humidity can also compromise the gelcoat finish applied later. Follow the resin manufacturer's specifications precisely rather than working to a fixed clock. Pulling the job too early and sanding uncured laminate contaminates the repair and weakens the bond.
Step 5: Fair and Finish
Once cured, sand the repair flush using progressively finer grits and fill any low spots with epoxy fairing compound. The goal is a surface that blends seamlessly into the surrounding hull both structurally and visually. Apply a matching gelcoat or, on areas below the waterline, a proper barrier coat to protect the new laminate from water intrusion. Color-matching gelcoat requires some patience; thin coats, proper mixing ratios, and adequate UV exposure or heat cure all affect the final result.
When to Call a Professional
Not every repair belongs in a driveway. Whole-stringer reworks, keel delamination, and major hull structural failures require shop resources, vacuum bagging equipment, and engineering judgment that go well beyond a weekend project. If your tap test reveals delamination covering a large structural section, if you're finding soft spots near the keel root, or if the damage involves any load-bearing component, get a professional assessment first. A yard inspection that confirms your repair plan is still a DIY project; discovering mid-repair that the problem is deeper than anticipated is not a situation you want to be in unsupported.
Prevention
The most effective fiberglass maintenance is the inspection that catches damage early. Regular hull checks, particularly after any impact and at the start of each season, let you address small cracks before they admit water and before water-logged laminate becomes a structural problem. UV protection matters above the waterline: gelcoat degrades under prolonged sun exposure, becomes chalky and porous, and loses its ability to shield the laminate beneath. A topside polish with UV-inhibiting wax, applied annually, significantly extends the life of the outer coat.
Timely action is the throughline in all of this. As Johnson puts it, "repairing fiberglass yachts requires a blend of skill, the right materials, and patience to ensure seamless restoration." A superficial patch applied quickly can conceal the kind of deeper structural issues that lead to far larger repairs. The boats that hold their value and their structural integrity over decades are the ones whose owners treat hull maintenance as a diagnostic discipline first and a cosmetic one second.
This article was produced by Prism’s automated news system from verified source data, official records, and press releases, then run through automated quality and moderation checks before publishing. The system is built and supervised by the people who set the standards it runs under. Read our full AI policy.
Did this article answer your question?


