How to inspect sailboat chainplates before costly rigging failure
Hidden chainplates can look fine until rust, cracks, or wet bulkheads turn a rigging check into a haul-out. One surveyor sees about eight failures a year, and 60% of pulled plates are damaged.

The expensive problem is the chainplate you cannot see. Behind cabinetry, under deck trim, or glassed into the hull, it can corrode long before the rig looks tired from above, yet it still carries the loads that keep the mast upright. When that hidden link starts to go, the repair stops being routine maintenance and becomes a structural safety decision fast.
Why chainplates deserve their own inspection
Surveyors look hard at these fittings, some boats deserve closer suspicion than others, and repair cost matters before you commit to cruising or a refit. Standing rigging transfers mast and sail loads to the hull through the chainplates, so this is not cosmetic hardware. It is the structural anchor point where the side shrouds, forestay, and backstay hand their work to the boat itself.
The trouble is access. Chainplates are often hidden belowdecks in lockers, behind joiner work, painted over, or glassed into the structure, which is why owners can sail for years without noticing a problem. On older Cheoy Lee boats, the chainplates moved inboard in the 1970s and 1980s for better headsail sheeting angles, but that made them run through the deck and down into cabinetry, bulkheads, or fiberglass knees where problems are easy to miss until someone opens the boat up.
Owner’s inspection, in order
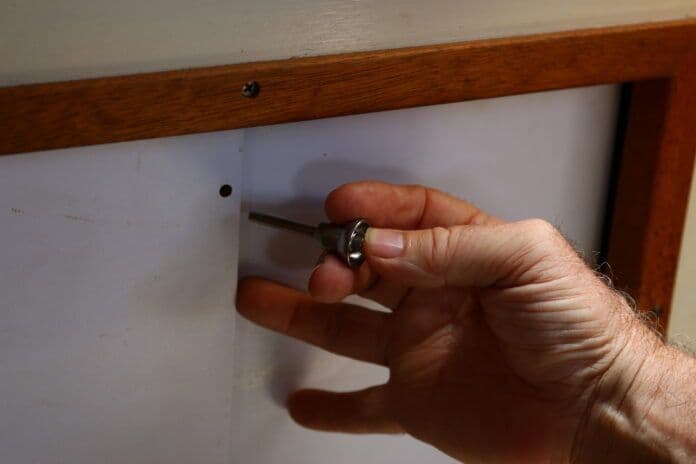
1. Start at the deck penetration and any split covering plate.
A split covering plate is meant to help inspection and form the sealant into a pressure gasket, so this is the first place to look for trouble. If the chainplate has been painted, stop treating it like a finish detail. Never paint chainplates because paint can hide corrosion and make inspection harder.
2. Look for staining before you look for drama.
Rust streaks, rust weeping from fasteners, brown shadows at the deck line, or discoloration around the turnbuckle are all clues that moisture has reached the metal. Rust stains from chainplates or fasteners are cause for concern and warrant removal and inspection, while aging bedding can open a gap that lets water in and start crevice corrosion.
3. Check the metal face for pitting, hairline cracks, fractures, and deformation.
Ross Hubbard, the Southern California surveyor quoted by Cruising World, says he sees about eight vessels with known chainplate failures a year, and at least 60 percent of the plates he removes show some problem such as pitting, cracks, or fractures.
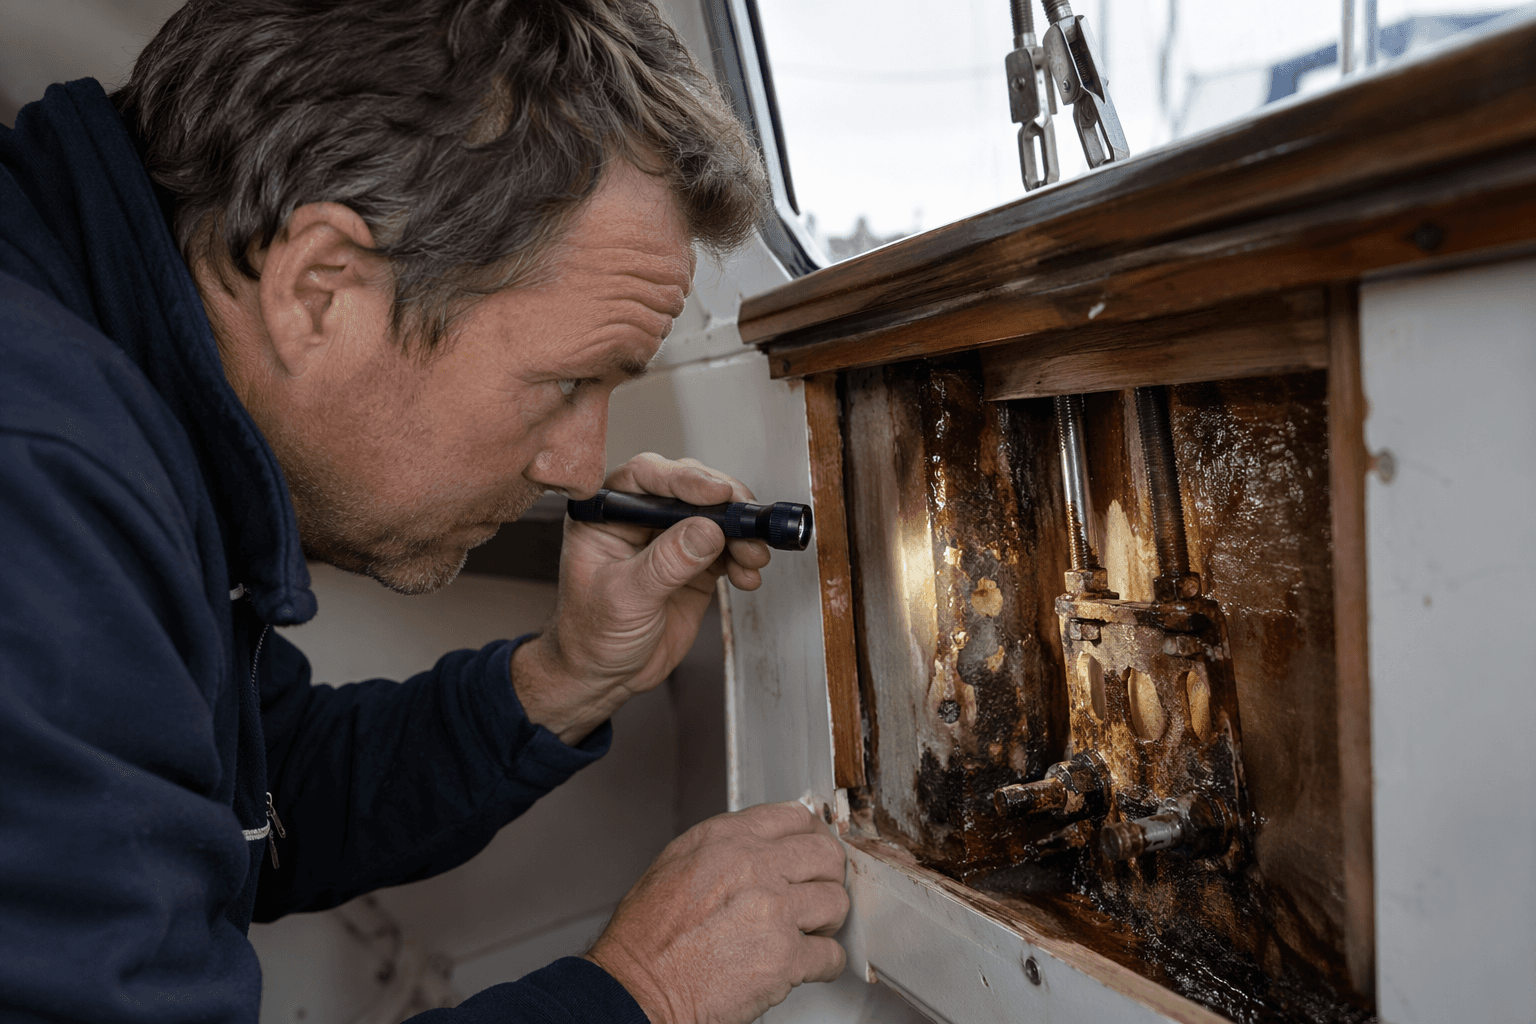
4. Trace the chainplate belowdecks, not just where it disappears through the deck.
Avocet’s chainplates were hidden behind cabinetry, and the crew found them completely rusted through only after opening the interior. Look for water intrusion points, staining on the bulkhead or knee, soft or darkened wood, cracked laminate, delamination, or any sign that the structure around the bolts is moving when the rig loads up. Check surrounding fiberglass for cracks, plus signs of water intrusion, delamination, and rot in the bulkhead or hull where the chainplate is attached.
5. Judge the material and the size, not just the shine. 304 stainless is prone to crevice corrosion when seawater gets trapped by bedding compound, 316L lasts longer, and titanium is ideal but usually too expensive for most yacht use.
A 1/2-inch turnbuckle with a 1/2-inch toggle should have a chainplate at least 3/8 inch thick, and a 5/8-inch turnbuckle and toggle need at least 1/2 inch.
When the warning signs say haul out now
If you see active rust staining, visible cracking, a plate that is pitted enough to look scalloped, or any movement at the deck, bulkhead, or knee, stop sailing until a rigging pro has looked at it. If the surrounding structure shows rot, delamination, or wet core, the problem is no longer just the metal, because the load path into the boat has already been compromised. And if the chainplate is painted over, glassed in, or otherwise impossible to inspect, that is not a comfort signal. It is a reason to plan on opening it up.
A new J/133 suffered a chainplate failure during its inaugural sail in 2005. The U.S. Coast Guard’s July 7, 2025 report on the Grace Bailey dismasting near Rockland, Maine, recommended broader collaboration with sailing organizations, marine surveyors, and the U.S. Forest Service Forest Products Laboratory to improve preventive maintenance plans and standardized inspection and documentation guidance. That report also noted more than 275 sailing vessels certificated to operate as small passenger vessels, with about 110 of them having wooden hulls.
This article was produced by Prism’s automated news system from verified source data, official records, and press releases, then run through automated quality and moderation checks before publishing. The system is built and supervised by the people who set the standards it runs under. Read our full AI policy.
Know something we missed? Have a correction or additional information?
Submit a Tip