Inspect sails and rigging thoroughly before your first spring sail
A hidden wire break or worn sail seam can end the season before it starts. Here’s how to catch the failures that matter most.

Start with the defects that can stop the season
The fastest way to lose your first spring weekend is to mistake winter wear for ordinary grime. SeaHelp’s April 21 recommissioning guide treats sail and rigging inspection as a safety step, not cosmetic housekeeping, because moisture, dirt, salt crystals, and bad storage habits can quietly weaken cloth and hardware long before the first hoist. The failures that matter most are often the least dramatic from the dock: a cracked batten, a weak seam, a rusted terminal, or a line that has been wearing from the inside out.
Spread the sails out and read the cloth panel by panel
SeaHelp’s first move is the right one: take the mainsail, genoa or jib, spinnaker, and gennaker out of their bags and lay them flat. A bundled sail can hide damage in a fold, but a spread sail lets you inspect each panel, seam, and reinforcement patch as its own problem. That is where chafe marks, UV damage, thinning cloth, small tears, worn corner reinforcements, damaged reefing points, batten cracks, delamination, and bad batten pockets show up.
The furling sail deserves special attention because brittle UV strips can fail quietly until the fabric starts to give way. Dirty, moldy fabric is not just unpleasant, it is a sign that the sail spent time in conditions that can accelerate wear. A careful owner can clean, document, and sort the obvious issues at the dock, but once you find structural damage, weakened stitching, or anything that changes the shape of the sail, the fix belongs with a sailmaker or specialist.
Treat running rigging as a hidden-wear system
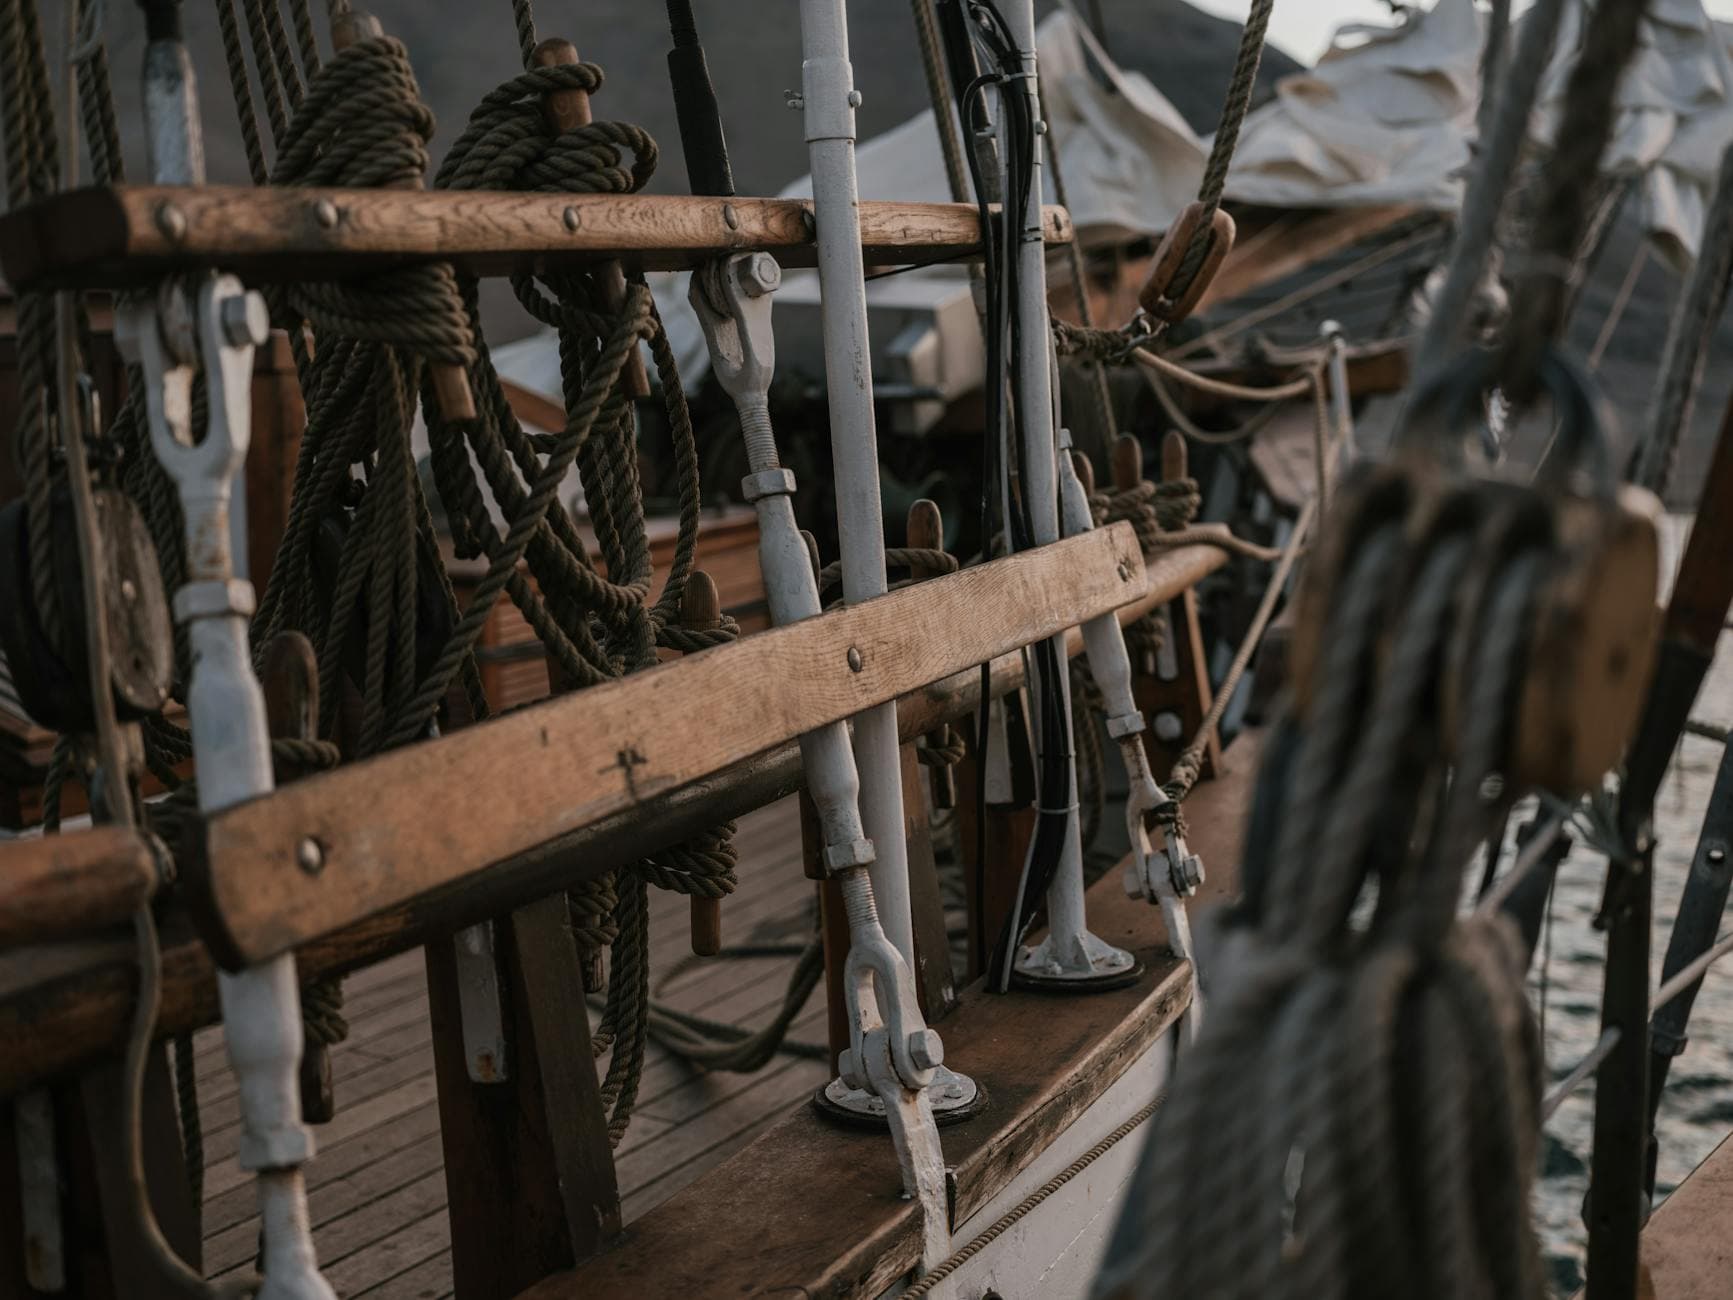
Running rigging looks easy to trust because the rope is always in your hands, but SeaHelp’s checklist makes clear how deceptive it can be. Look for chafed covers, stiff or discolored sections, core breaks, crushed spots at deflection points, fraying ends, and failing shackles or thimbles. The real danger is that lines often wear from the inside out where blocks, stoppers, and winches create hidden abrasion, so a line can seem serviceable until the first hard load exposes the weak core.
This is one of the few spring jobs where a dockside owner can catch a lot with patience. Run each line through your hands, inspect the points where it bends over hardware, and look closely at any section that feels flat, hard, or uneven. Once you see core damage, crushed fibers, or hardware that no longer holds cleanly, stop using it and replace it or have it professionally assessed before the boat goes out in real wind.
Standing rigging is where guesswork gets expensive
SeaHelp groups standing rigging with the mast and spars as one of the most important parts of a sailing yacht, and that is the right level of seriousness. Broken wire strands, rust on swage sleeves and terminals, bent or missing cotter pins, damaged shackles, corrosion on mast fittings, and play in bolts or turnbuckles are not minor cosmetic issues. They are signs that the load path may already be compromised.
SeaHelp also warns that wire ropes can age invisibly from the inside, which is why older standing rigging deserves a critical eye even when the surface still looks acceptable. Check mast grooves, sail tracks, and furling systems while you are there, because anything that snags, grinds, or misfeeds a sail adds stress where you do not want it. This is the section where a careful owner can inspect, clean, and note problems, but anything structural, anything with broken wire, or anything that suggests corrosion at a load-bearing point should trigger a call to a rigger, not a round of dockside improvisation.
Bring the right tools before you start
West Marine’s maintenance guide is useful because it turns a vague spring job into a practical dockside setup. Before you inspect, gather binoculars for a mast-top look from deck level, wrenches, screwdrivers, lubricants, stainless cleaner, rigging tape, replacement cotter pins, clevis pins, and a tension gauge. That kit lets you inspect, clean, and secure the small stuff without stalling halfway through because you are missing one pin or one tool.
Loos & Co. says its cable tension gauges measure standing-rigging tension with ±5% accuracy, which matters because tuning is not a guessing game. If you want your rig to work as a system, not just stand there looking complete, tension has to be checked with something more reliable than feel. That is especially true after winter, when even a rig that looks untouched may have shifted enough to change sail shape and load distribution.
Do not let age hide in plain sight
The calendar matters as much as the checklist. Yachting Monthly says insurance companies generally recommend replacing standing rigging every 10 years, while other sailing guides put manufacturer guidance in the 10 to 15 year range, with some stretching that to 15 to 20 years depending on use and maintenance. Blue Water Navigator recommends at least an annual standing-rigging inspection for cruising boats and a professional rig survey every 3 to 5 years, or whenever you buy a used boat with unknown rigging history.
Those benchmarks explain why spring recommissioning is not just routine upkeep. If your rig is older, if its history is unclear, or if you are planning a longer trip, the safe move is to assume that clean-looking metal can still be tired metal. The cost of missing that warning is not a small repair bill, it is a season cut short by avoidable failure.
Follow the safety logic that runs through the whole boat
The American Boat & Yacht Council develops globally recognized standards for boat design, construction, repair, and maintenance, and that same preventative logic sits underneath this inspection routine. You are not just tidying the boat for launch, you are looking for the points where load, age, and weather will meet first. SeaHelp’s message is simple and practical: catch the small damage now, repair what you can immediately, and hand the rest to the sailmaker or rigger before the wind does the testing for you.
A boat that gets through spring with its sails, lines, and standing rigging intact usually did not get lucky. It had an owner who spent one careful hour finding the flaw before the first hard puff found it instead.
This article was produced by Prism’s automated news system from verified source data, official records, and press releases, then run through automated quality and moderation checks before publishing. The system is built and supervised by the people who set the standards it runs under. Read our full AI policy.
Did this article answer your question?


