Replacing a Hood Seafurl continuous-loop furling line without stiff joins
A stiff splice can sabotage a Hood Seafurl line fast. Wardell's fix on Wind-Borne shows why flexibility matters more than a perfect-looking join.

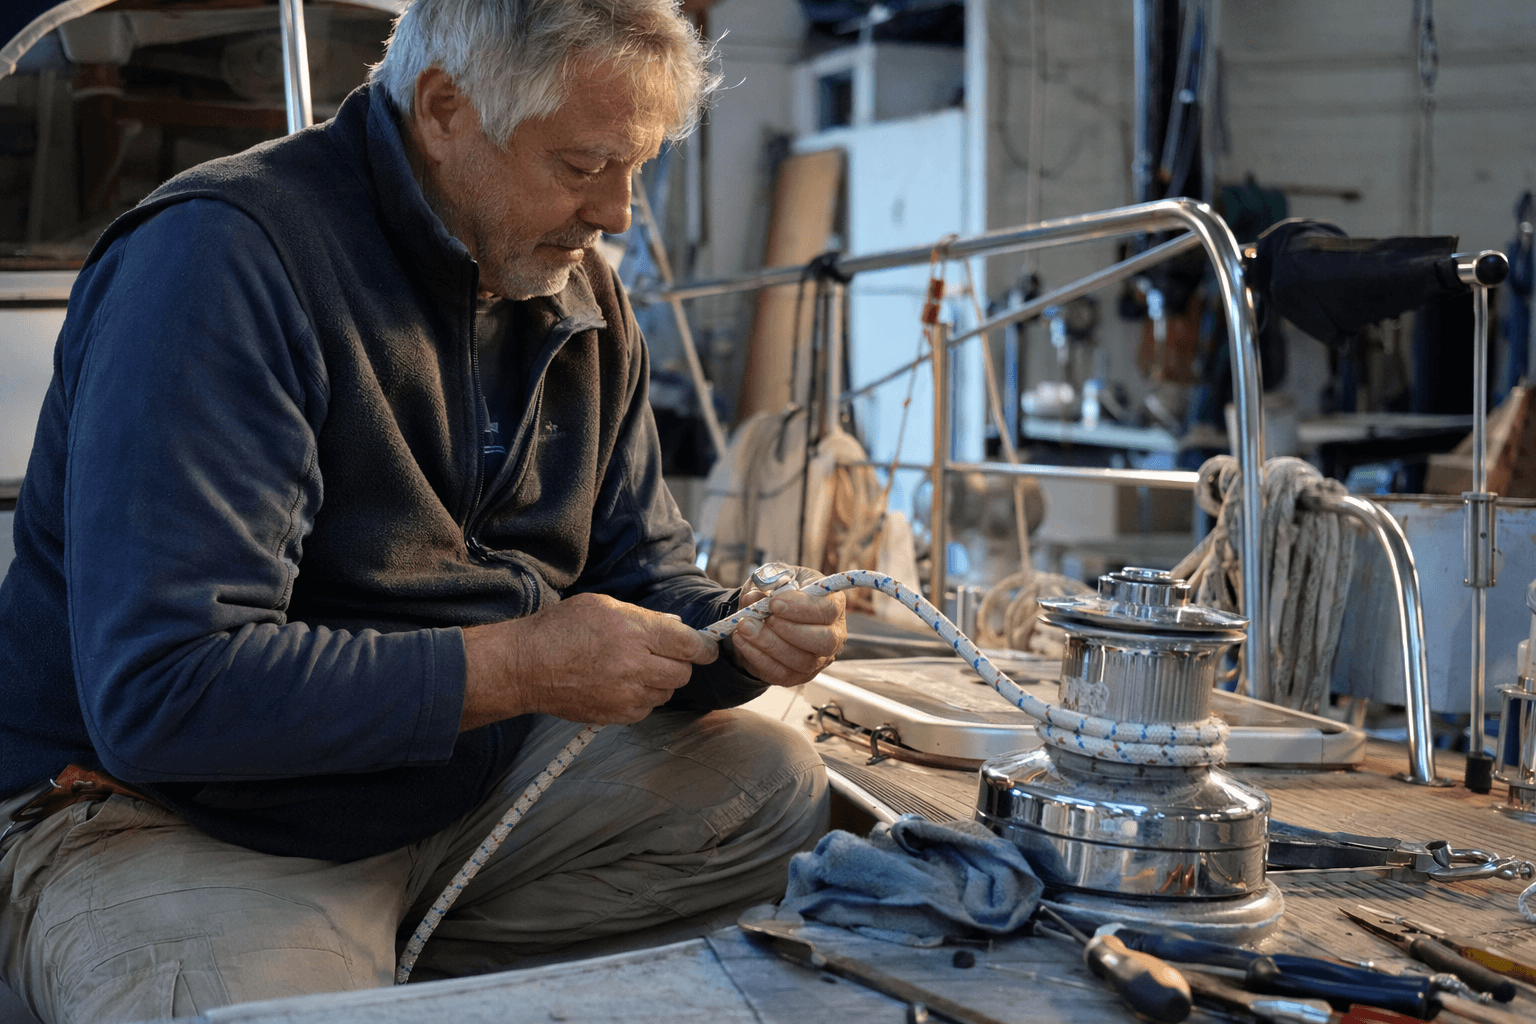
A continuous-loop furling line can look fine in the dock box and still ruin a reefing run once it starts moving through a Hood Seafurl. The hard lesson from Ferman Wardell’s Wind-Borne repair is simple: if the join feels bulky or stiff, the furler will remind you every time you try to roll the sail in or out.
Why this repair matters
Wardell tackled the problem on Wind-Borne, his 1985 Hunter 28.5, in Good Old Boat Issue 103, Jul/Aug 2015. He was dealing with the exact headache many owners know too well: a furling loop that has to keep cycling smoothly through the system without catching, flattening, or changing the hand-feel of the line. On a boat, that little difference between “moves freely” and “hangs up once in a while” can turn into a real operational problem fast.
The stakes are higher than convenience. A later Good Old Boat furler article warns that a jammed furling gear is not just annoying. “A jammed furling gear on a dark night ain’t pleasant!” it says, and the warning is blunt for a reason: a bind in the wrong conditions can lead to serious damage or injury. That is why a replacement loop has to be treated as working rigging, not just cordage.
Know the Hood Seafurl setup before you cut anything
Hood’s own Seafurl LD instructions are clear about the route. The furling line should run around the drive sheave, and the ends should be spliced into a continuous loop. That matters because the loop is not just tying off a line, it is creating a moving part that has to pass cleanly through the hardware over and over again.
The model details matter too. A Hood Seafurl 705 LD manual page specifies that Sea Furl models 810 and 915 are driven with a continuous loop of 7/16-inch line. If you are working on an older Hood system, that size reference gives you a practical starting point for checking what is already installed and whether your replacement line matches the hardware instead of fighting it.
Hood Yacht Systems’ furlers are still part of Pompanette’s product offerings, so owners are not dealing with some forgotten one-off relic. The documentation still matters, the parts family still exists, and the basic geometry of the system is still worth respecting before you start improvising.
Where the repair can go wrong
Wardell’s breakthrough came after a very specific failure. He covered the connection with 1/2-inch heat-shrink tubing, and the result was a section of line that was too stiff. That is the kind of mistake that looks neat in the shop and feels wrong the first time it has to move under load.
That failure point is especially important on a continuous loop because the join does not sit still. It has to travel through lead blocks, wrap the drive sheave, and keep enough flexibility to pass without creating drag or a clunk at the splice. If the cover turns that one spot into a hard lump, the whole system starts to feel compromised.
Practical Boat Owner later made the same point in broader terms, advising that adhesive heat-shrink can be too rigid when a splice has to pass through blocks or sheaves. Non-adhesive heat-shrink is more flexible, which matches the core problem Wardell hit: the best-looking cover is not always the best-performing one.
What worked instead
Wardell kept experimenting until he found a better answer: wrapping the join with silicone Stretch & Seal tape. That tape is a self-fusing silicone tape, and manufacturers describe it as highly flexible and stretchable. In other words, it protects the connection without turning the repair into a stiff hinge.
That is the real value of the fix. The loop still has to be protected, but the protection has to move with the line instead of against it. Wardell’s result showed that the right material can preserve the suppleness the furler needs while still giving the splice enough coverage to be usable.
For sailors who maintain their own furlers, that is a useful test to keep in mind. If a repair looks tidy but changes the way the line bends in your hand, it is probably too rigid for the job. A furling loop wants smooth travel first and cosmetic perfection second.

A practical way to approach the replacement
The sequence matters more than the gadgetry. Start by identifying the model and the line size called for in the system, then make sure the replacement loop will run around the drive sheave and through the lead blocks exactly as the original was intended to do. From there, the work is about protecting the join without changing the line’s behavior.
1. Confirm the Hood Seafurl LD model and check whether your setup matches the 7/16-inch guidance used on the Sea Furl 810 and 915.
2. Remove the old loop and inspect the drive sheave and lead blocks for any wear that could exaggerate a stiff section.
3. Form the continuous loop so the ends are properly joined for the furler.
4. Choose the lightest, most flexible protection you can that still guards the connection.
5. Test the finished loop by hand before you rely on it under sail, because stiffness shows up fast when the line starts moving.
That last step is where Wardell’s experience pays off for everyone else. The repair does not need to be elaborate to be effective, but it does need to feel right in motion. If the loop hesitates in the shop, it will do the same thing on deck.
The bigger lesson for continuous-loop furlers
This story is really about treating small rigging choices like system choices. A continuous-loop furling line is part of the headsail control gear, and every wrap, cover, and splice affects how the whole furler behaves. That means a home-shop fix can absolutely work, but only if the materials respect the movement the system demands.
The transferable lesson is simple: when a furler starts acting up, do not assume the answer is a new professional-level rebuild. Sometimes the smartest move is to compare coverings, think about flexibility first, and avoid creating a stiff spot where the line has to keep cycling. On a Hood Seafurl, that attention to the join is what keeps a straightforward replacement from becoming an all-day puzzle.
This article was produced by Prism’s automated news system from verified source data, official records, and press releases, then run through automated quality and moderation checks before publishing. The system is built and supervised by the people who set the standards it runs under. Read our full AI policy.
Did this article answer your question?


