Sail Repair Decisions, When Sewing Saves a Working Sail
A small split, loose seam, or chafe spot can still be a sewing job if you catch it early. Wait for UV damage and stitching failure to spread, and the loft starts looking cheaper than the rescue.

Start with the failure, not the fantasy
The smartest sail repair decision is not whether you can sew. It is whether the damage is still small enough to hold the sail in service without turning a working problem into a bigger bill. Leslie Linkkila and Philip Dinuovo frame sail repair that way in Good Old Boat: with clean, dry conditions, the right thread, and enough judgment to know when a stitch will save the cloth and when it will not.
That matters because the first thing to fail is often not the whole panel. Stitching is one of the weak links, and Quantum Sails notes that it is especially vulnerable to UV degradation because thread is made up of fewer fibers. North Sails also points out that chafing, wear on UV covers, webbing degradation, and stitching degradation are common off-season problems. In plain terms, the sail rarely dies all at once. It starts with one bad seam, one worn edge, one loose row of stitches.
When sewing is still the right answer
A seam split, a small tear, or a localized chafe spot is often still a sewing job if the damage is contained and the cloth around it still has life left. That is the sweet spot for DIY: stabilize the problem before it spreads, then keep sailing while you plan the next step. Good Old Boat’s guidance is clear that most durable sail work depends on basic tools and techniques, not exotic shop gear.
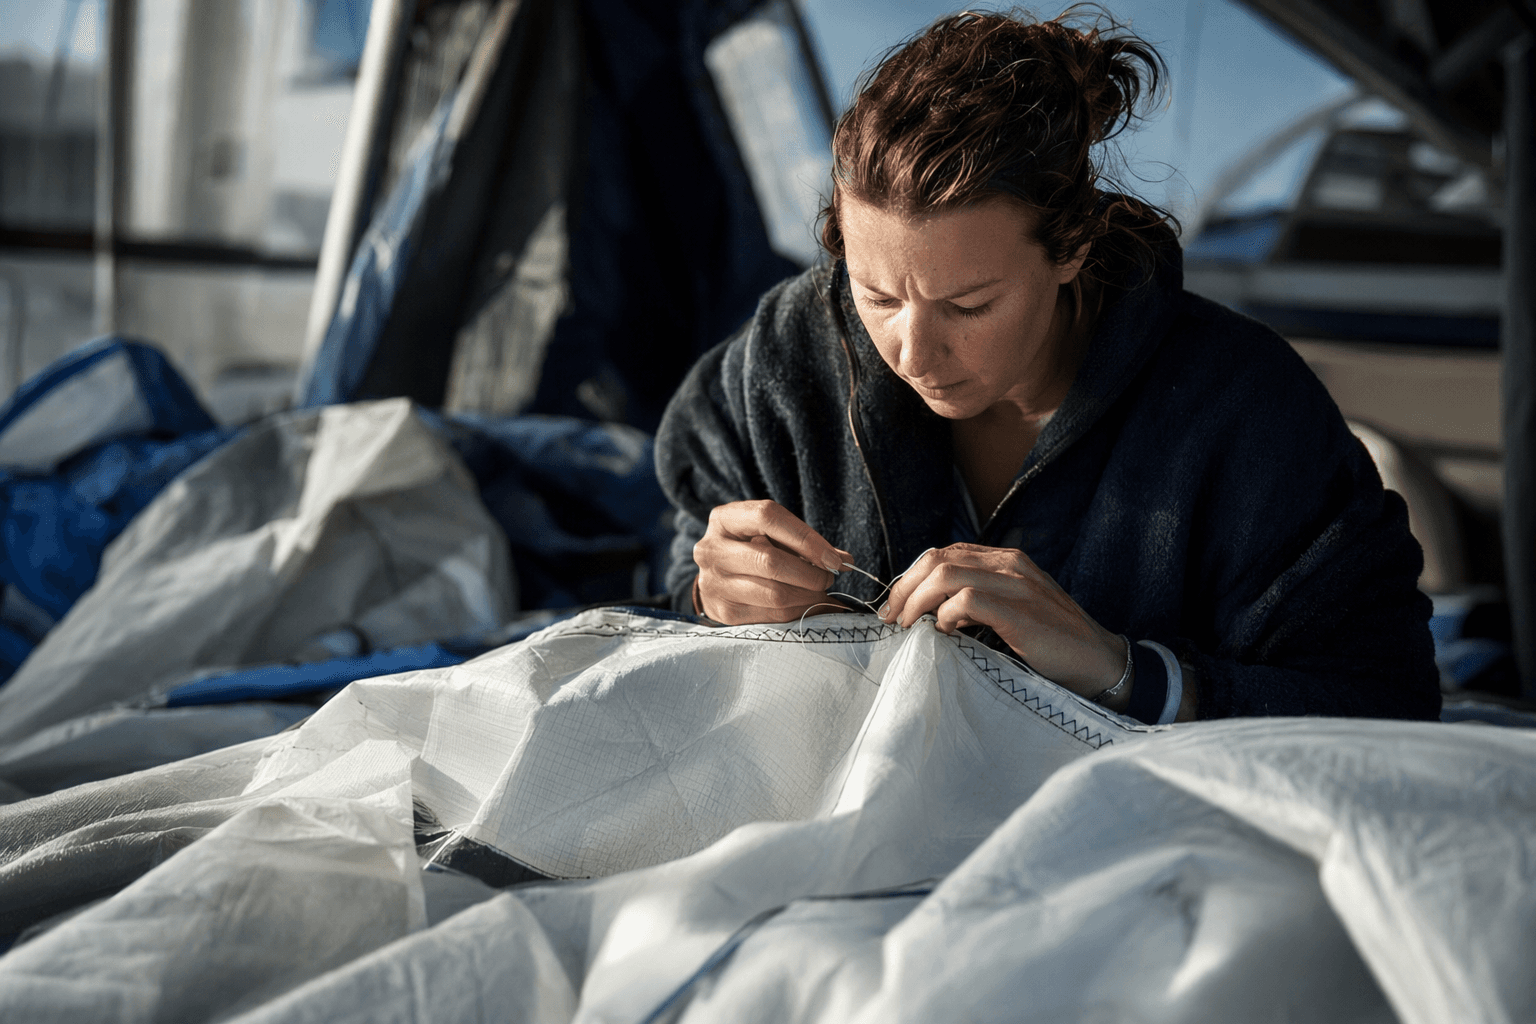
This is where a clean, dry workspace pays off. Cloth that is wet, dirty, or bunched on deck is harder to align, harder to inspect, and harder to stitch neatly. If you can spread the sail out, flatten the damaged area, and work deliberately, you give the repair a real chance of holding.
Seam split: low-cost, high-value if caught early
A split seam is one of the best candidates for sewing. If the stitching has opened but the fabric itself is still sound, a re-stitch can restore the load path before the seam opens farther. North Sails specifically says minor restitching once a year can prevent larger repairs later in a sail’s life, and that advice fits this kind of damage perfectly.
The risk rises fast if the seam has been left exposed to sun and flexing. Once the opening widens and the surrounding thread starts giving way, you are no longer fixing a seam. You are rebuilding a weakened section.
Chafe: repair the wear point before it becomes a tear
Chafe is another repair that rewards fast action. If you see a worn patch where the sail rubs hardware, shrouds, or a cover edge, sewing and reinforcement can often buy a lot more time. North Sails lists chafing among the main off-season sail-care problems, which is a good reminder that abrasion is not cosmetic. It is structural.
The question is not whether the spot looks ugly. It is whether the fibers are still intact enough to hold a patch or reinforcing stitch. If the fabric is still there and the damage is localized, a DIY repair makes sense. If the abrasion has thinned the panel so much that it is feathering or pulling apart, the loft should be looking at it.
Blown stitching: often the first sign that the sail needs attention
Blown stitching is the classic warning light. The sail may still fly, but the load is no longer being distributed the way it should. Good Old Boat’s sail-repair guidance says most sail repair work is done with heavy-duty industrial sewing machines that can take heavy-gauge round needles and V92 or V138 bonded polyester UV thread. That is exactly the level of repair most blown stitching needs when the damage is more than a short run.
Sailrite describes V-92, also called Tex 90, and V-138 UV bonded polyester thread as suitable for sail and canvas work, and says good outdoor bonded polyester threads offer high strength, stretch control, UV stability, and resistance to abrasion, saltwater, mildew, and needle heat. That combination is why sailmakers trust these threads for work that will keep flexing in sun and spray. If the stitching failure is limited, re-sewing can be a smart save. If the thread is failing everywhere you look, the problem is no longer one seam.
When the loft is the better call
There is a point where sewing becomes false economy. Panel tears that run deep into the body of the sail, damage that reaches multiple seams, or deterioration that keeps extending beyond the immediate patch all push you toward professional attention. North Sails’ warning is simple and practical: annual inspection helps extend sail life and keeps small issues from becoming major ones. Once major damage has already arrived, the repair is often no longer a quick stabilization job.
UV damage is the real trap here. Because stitching is often the first element to fail, a sail can look serviceable until the surrounding cloth starts giving way. Quantum Sails notes that a small section can sometimes be re-stitched without sacrificing the whole sail, which is exactly why early inspection matters. Wait too long, and that small section turns into a much larger repair area.
Panel tear: assess the spread, not just the hole
A panel tear is the point where you need to think like a load tester. If the tear is short, isolated, and not running from seam to seam, a patch and stitch may still be enough to preserve the sail. But if the tear has reached a loaded corner, a seam line, or a stressed edge, the risk climbs sharply.
That is the threshold where DIY repair can become a delay instead of a solution. The cost is not just the fabric in front of you. It is the possibility that the sail fails under load later, when you least want to be dealing with it.
What belongs in your repair decision, and your kit
Good Old Boat’s message is that the right answer often depends on preparation. A heavy-duty industrial sewing machine is the standard for most sail repair work, but hand sewing still matters offshore when machine sewing is not available. Practical Sailor notes that long-term cruisers often carry a hand-cranked sewing machine for sails, awnings, and sail covers, which makes sense when you are far from a loft and need a workable fix now, not next week.
- heavy-gauge round needles
- V92 or V138 bonded polyester UV thread
- a way to sew straight and zigzag seams
- hand-sewing tools for offshore use, including twine, large needles, and a sailmaker’s palm
- a clean, dry place to spread the sail out before you start
A useful setup is not complicated:
That last point is not a luxury. It is what keeps a repair from becoming a wrestling match with wet cloth and distorted stitching.
The rule that saves sails
The best sail repair strategy is not heroic. It is early, boring, and effective. Inspect the sail every year, watch for chafe and stitching degradation, and restitch minor damage before the problem moves deeper into the cloth. North Sails says that yearly attention can prevent larger repairs, and Good Old Boat’s repair guidance points to the same conclusion from the DIY side: learn the basics well enough to make a usable repair, then choose the right path before the sail is pushed past its limit.
For cruisers, that judgment buys time under sail, fewer surprise bills, and more confidence when the nearest loft is a long way off. The sail that stays in service is usually the one that got attention while the damage was still small enough to sew.
This article was produced by Prism’s automated news system from verified source data, official records, and press releases, then run through automated quality and moderation checks before publishing. The system is built and supervised by the people who set the standards it runs under. Read our full AI policy.
Did this article answer your question?


