Why deck hardware installation is structural, not just cosmetic
A winch or track only looks cosmetic until bedding fails and the core starts going soft. The Minestrone refit shows why load paths, sealing, and backing support decide whether a deck upgrade lasts.

Deck hardware is part of the structure, not decoration
On Rupert Holmes’s Quarter-Tonner, Minestrone, the deck gear refit only made sense after the boat had already been through a long structural rehabilitation. That is the part owners miss when they treat winches, tracks, and stanchion bases like bolt-on accessories: every fitting is part of how the deck carries load, sheds water, and stays stiff. Once leaks start working into the structure, the damage is rarely local for long.
That is why the real question before any new hardware goes down is not just, “Where do I want the winch?” It is, “What load path am I creating, what is underneath this spot, and how will I keep water out after the holes are cut?” Minestrone’s refit is a good reminder that a clean-looking install can still be a structural mistake if the deck, the core, and the bedding system are not thought through as one job.
Why the hidden damage matters first
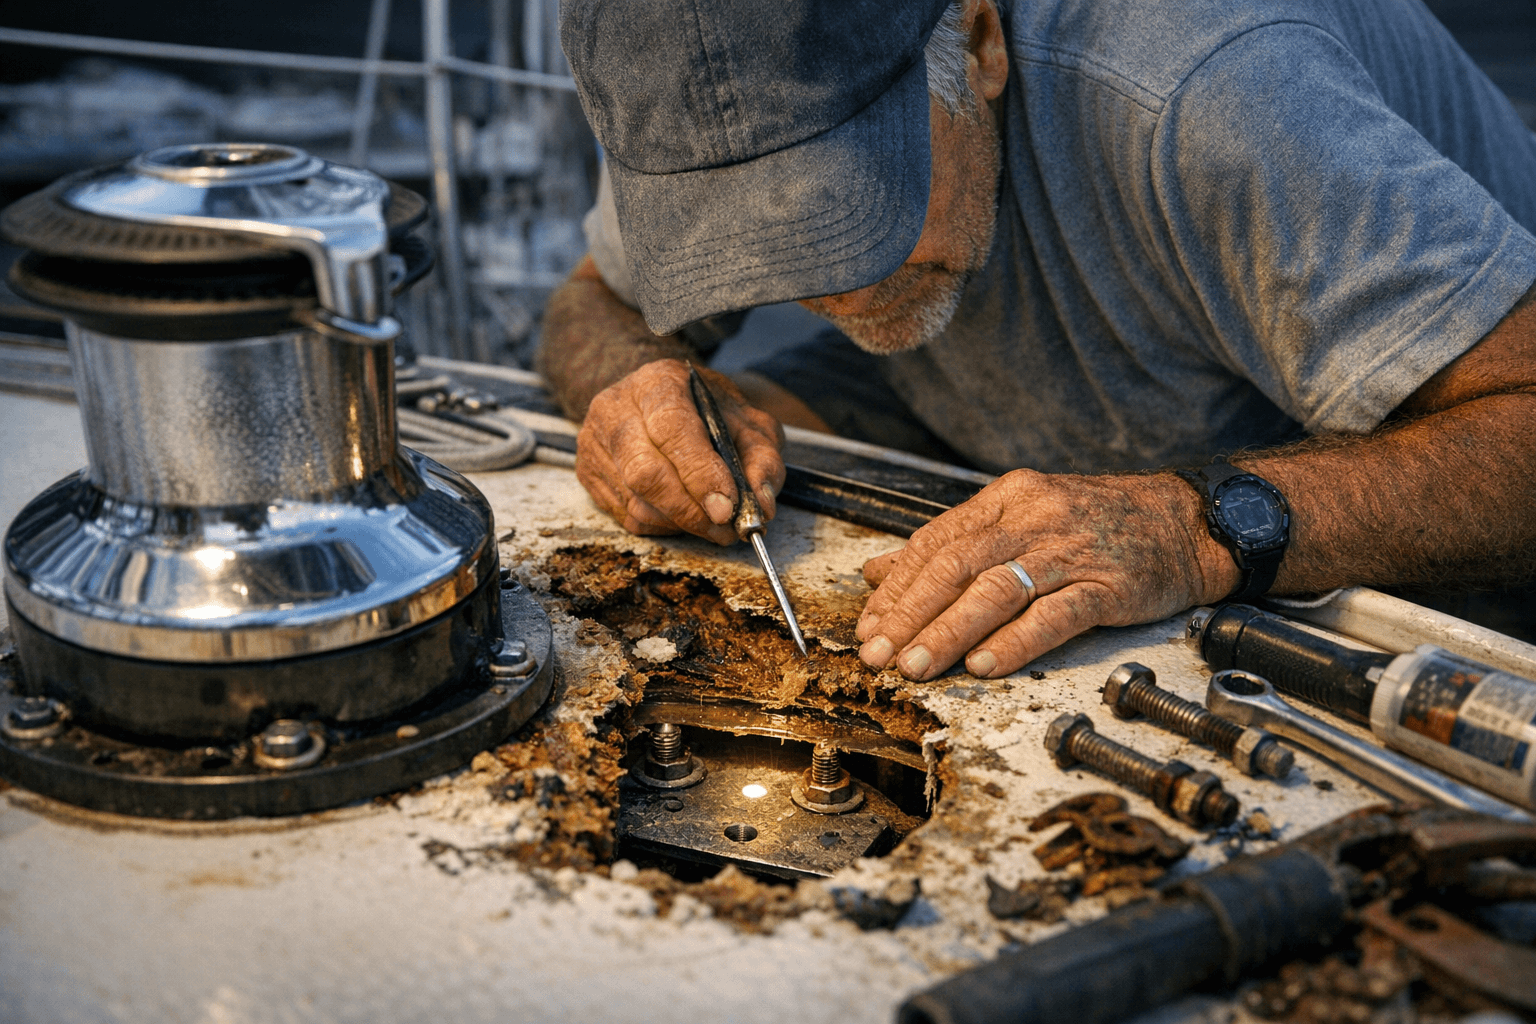
Holmes points out that many of the problems on the GRP-over-plywood deck came from leaking fittings, and that same failure mode threatens conventional fiberglass boats whenever water reaches foam or balsa core. The core is hidden, which is exactly why owners underestimate it. You may not see the damage until the deck has already lost stiffness, the hardware starts to move, and the repair bill gets much bigger.
That is the nasty part of deck leaks: the failure is slow, then suddenly expensive. A fitting that only drips at the fasteners can still soften the surrounding structure over time, and once the deck begins to flex, the bedding gets stressed harder and the leak cycle feeds itself. If you are drilling for new hardware, the cost of getting it wrong is not just a weepy cabin top. It can be crushed core, a weak mounting area, and fittings that eventually tear out under load.
The rig change changed the hardware job
Minestrone’s new deck layout became simpler after the rig was changed to carry a larger mainsail and non-overlapping jibs. That let the chainplates move outboard and the genoa tracks get shortened, which is a perfect example of why deck hardware is never just about one fitting at a time. The hardware, the rig geometry, and the sealing strategy all had to agree with each other.
That matters because the loads from the rig do not care about convenience. Move the chainplates outboard and shorten the genoa tracks, and you are changing where the forces land on the deck and what kind of backing support the structure needs. A smart refit starts with the bigger system, not the hole saw. If the load path is wrong, the prettiest install on the dock is still the one that comes back later with cracks, leaks, or loose bolts.
Bedding is the failure mode you can actually control
Holmes is blunt about the most preventable problem: bad bedding. In his case, low-grade silicone had been used before, and it had leaked for years. That is the kind of slow failure that owners often live with until the deck starts telling the truth through stains, soft spots, or hardware that no longer feels solid.
The rebuild depended on meticulous prep, not just on choosing new fittings. Old residue had to come out, the surface had to be sanded to create a mechanical key, and the final seal had to be made with a marine-grade adhesive sealant, Sikaflex 291. That sequence matters because bedding only works when the surface is ready for it. Smearing sealant over contamination is not sealing; it is delaying the next leak.
What to check before you cut the deck
Before you commit hole saw to deck, stop and think like a structural repairer, not a shopper. Check where the load will enter the deck, what the core material is, and whether there is enough backing support to spread the force. Then decide how the fitting will be sealed so water cannot migrate into the structure around the bolt holes.
A good pre-cut check list is simple:
- Confirm the fitting’s job, whether it is taking sheet load, rig load, or just holding gear in place.
- Map the backing structure so the load is not concentrated into a weak patch of core.
- Decide on the bedding plan before drilling, including how you will seal each bolt hole.
- Remove old sealant completely if you are replacing an existing fitting.
- Sand for a clean mechanical key so the new bedding has something reliable to grip.
- Use a marine-grade adhesive sealant suited to the job, not a casual silicone shortcut.
That last point is where many deck jobs go sideways. The seal should be built around the bolt holes and the mating surfaces, not left as a messy skin around the edge that only looks sealed. If the job relies on a smear to hide problems, the leak usually returns, and this time it may return with a softened core behind it.
The right install is the one that stays dry and stiff
The Minestrone refit shows the proper order of operations: fix the structure, rethink the rig and deck layout, then install the hardware with a sealing strategy that treats water intrusion as the enemy. Once you see how a leaking fitting can weaken a deck over time, a winch base or genoa track stops looking like a cosmetic upgrade and starts looking like a structural decision.
That is the real lesson for any DIY sailor. A durable deck installation is not defined by how neatly the bolts line up on day one. It is defined by whether the deck stays stiff, dry, and secure after seasons of load, spray, and movement.
This article was produced by Prism’s automated news system from verified source data, official records, and press releases, then run through automated quality and moderation checks before publishing. The system is built and supervised by the people who set the standards it runs under. Read our full AI policy.
Did this article answer your question?


