Engagement ring settings: prong, bezel, halo, flush, tension trade-offs
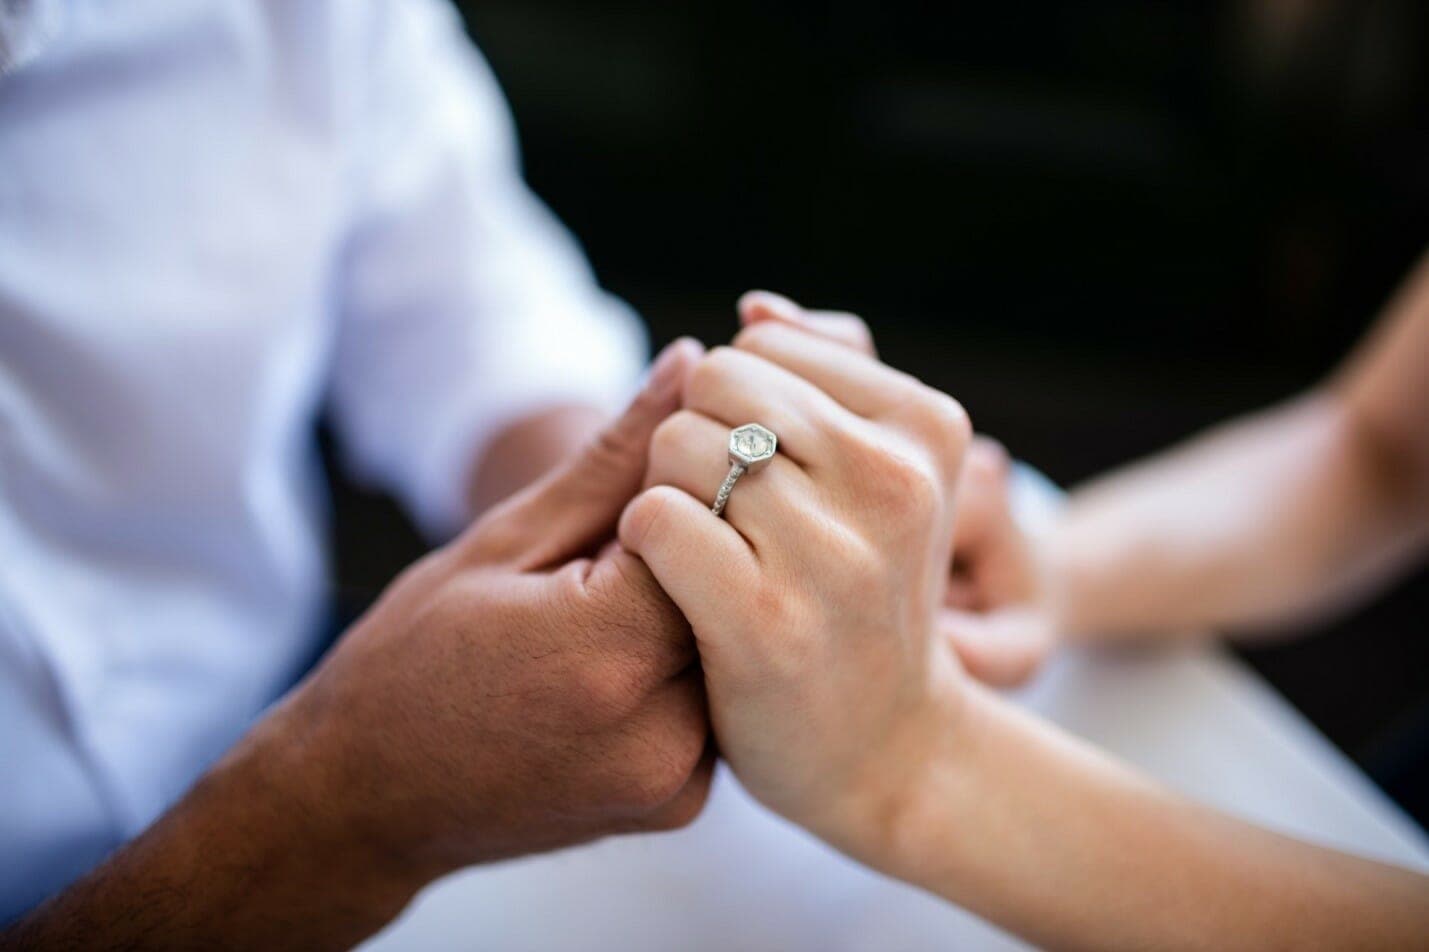
Choose sparkle or security: prongs lift a diamond for maximum light, bezels and flush settings offer armour-like protection, this guide maps the trade-offs and shape pairings.

1. Prong
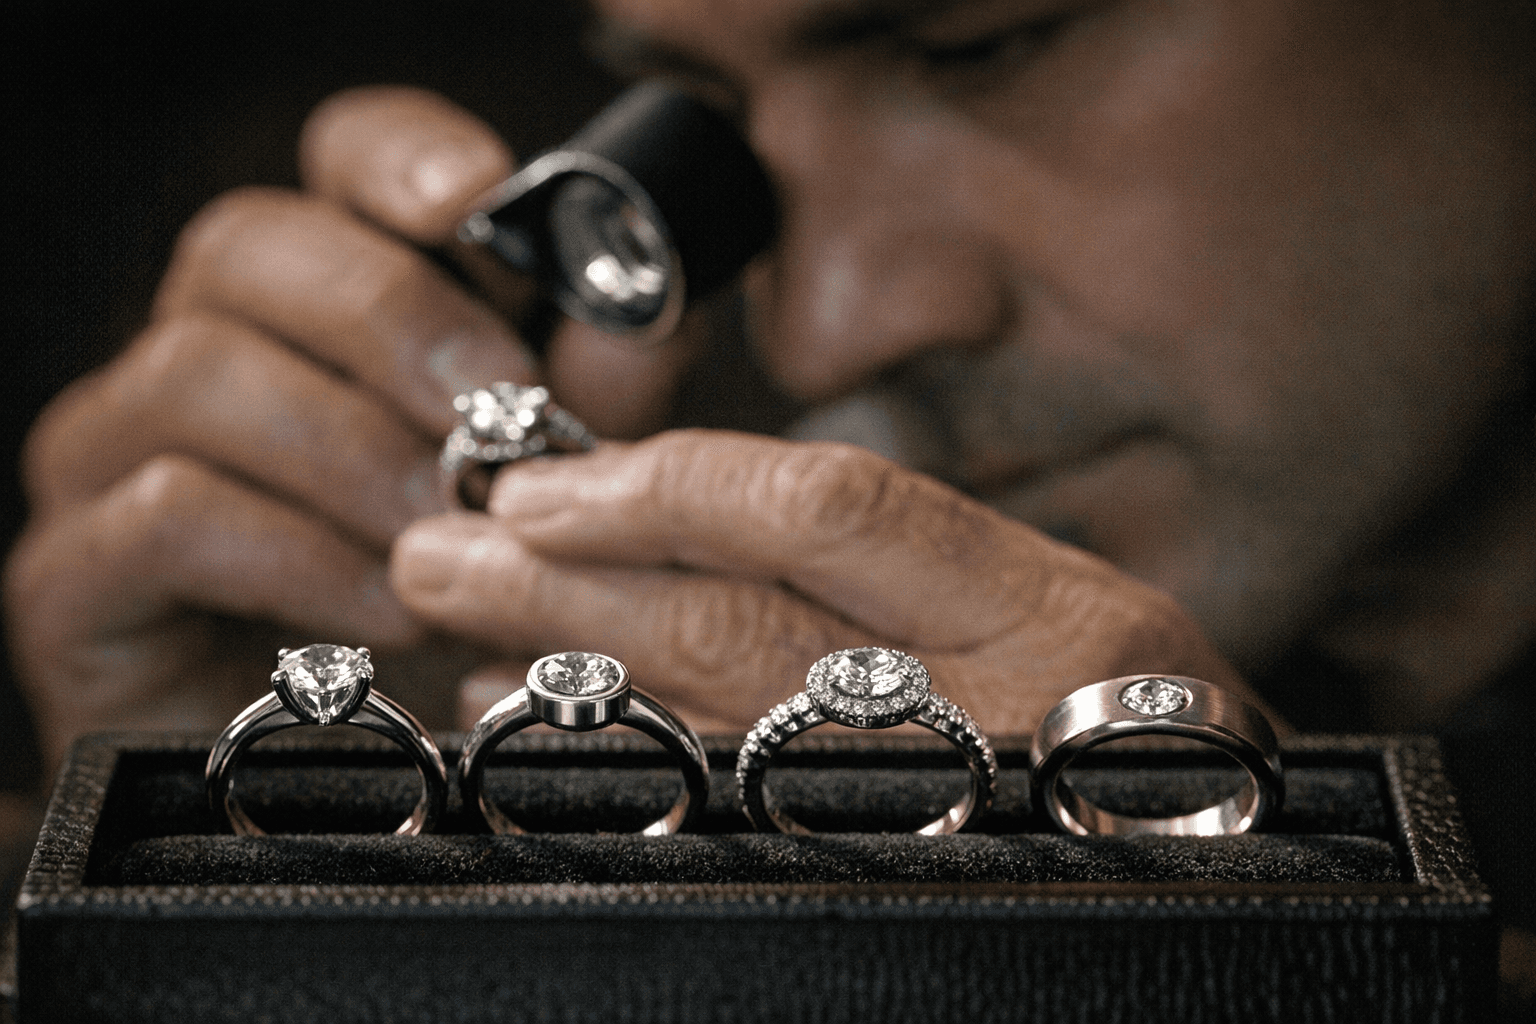
Prong settings are “the classic engagement ring setting,” built from a number of tiny metal prongs, usually four, though more are used for larger or unusual shapes, that hold the stone aloft and “allow the diamond to catch and reflect plenty of light.” That elevation is the point: prongs maximize side light and give round and brilliant-cut stones their full dazzle, which is why “Round diamonds are the ultimate team players. They look great in literally any setting you choose.” The trade-offs are practical: prongs wear and need attention, Bradley Gough advises occasional retipping, while Frank Darling’s table bluntly recommends you “hit up your jeweler every six months for a tightening.” Prongs also raise the risk of snagging and impact, which makes them better suited to someone with a more sedentary, office-based life who can consider “higher-profile and more delicate settings” like cathedral or pavé.
2. Bezel
A bezel is “a bit like a cup that cradles the diamond,” its lip wrapping the girdle so the center stone “sits flush against the finger.” The result is protection and a distinctive silhouette: Frank Darling’s marketing captures the spectrum, half‑bezels such as “The Clutch” offer a slim, airy look, while multi‑stone executions such as “The Triple Bezel” flank a center with tapered baguettes “all wrapped in clean, fuss‑free bezels.” Security is bezel’s calling card; in Frank Darling’s words, “If you’re looking for the most secure engagement ring setting, the bezel is the undisputed champion,” a “suit of armor” that keeps fragile stones safe and is “virtually snag‑free.” That protection does change the optics: full bezels “reflect bounce light right back‑atcha,” and because they cover more of the diamond they can slightly reduce side light, so Frank Darling recommends half bezels or open variations when you want more visible sparkle. Bradley Gough and Ourosjewels also list bezel as ideal for active wear and name it “best for: Round, oval, or cushion cut diamonds.”
3. Halo
A halo multiplies presence by surrounding a center stone with a ring of smaller diamonds, an arrangement that “makes your center diamond look bigger and add[s] some serious sparkle.” Bradley Gough’s phrasing notes a halo “contains a single diamond in the center, with lesser diamonds surrounding it that catch light from every angle,” and Brilliance‑style references call it a “shimmering circle of smaller” stones, the language underscores the halo’s optical intent. Halos work beautifully to amplify modest centers (including lab‑grown stones) and pair naturally with solitaires, three‑stone arrangements, and cushion cuts in vintage halos. The trade-off is design complexity and, depending on the profile and pavé work, an increased need for maintenance: intricate halos and pavé bands are better suited to less physical daily routines, matching Washington Diamond’s guidance that sedentary lifestyles can “explore higher‑profile and more delicate settings.”
4. Flush
Flush settings recess the diamond into the band so “the metal [is] pressed around its girdle,” leaving only the table exposed and creating a smooth plane against the finger. Washington Diamond describes flush as “very secure” and an archetypal low‑profile option, Ourosjewels explicitly classifies both Bezel and Flush as “low profile diamond settings” that “sit close to the band.” That security comes at the predictable optical cost: flush styles “offer less sparkle than other styles because light entry is restricted.” For hands‑on professions or active hobbies, flush (and channel or basket designs) are recommended because they minimize snagging and damage; aesthetically they read minimalist or vintage, and they pair well with simple shapes that don’t rely on heavy side light, think princess, emerald, or any cut where a smooth silhouette is desired.
5. Tension
“Tension” appears in the title but the provided source material does not include a description, pros/cons, or recommendations for tension settings. Because the other entries are grounded in explicit source detail, prong construction and maintenance, bezel’s “cup” and “suit of armor,” halo’s surrounding stones, and flush’s recessed security, this omission is notable: it prevents an evidence‑based treatment of tension here. That gap aside, the throughline of every available source is clear and immediately useful: durability and brilliance are a trade‑off, “Durability vs. Brilliance: This is a key trade‑off to consider”, and the right setting is the one that balances how you live with how you want your diamond to perform. Choose prong for maximum light and celebration of shape; choose bezel, channel, or flush if you need armour and a low profile; and choose halo when you want optical size and collective sparkle, then plan maintenance (prong retipping, six‑month checks, and extra cleaning for bezels and pavé) so that your ring keeps delivering its promise over a lifetime of wear.
This article was produced by Prism’s automated news system from verified source data, official records, and press releases, then run through automated quality and moderation checks before publishing. The system is built and supervised by the people who set the standards it runs under. Read our full AI policy.
Did this article answer your question?