Build and Maintain a Resilient Sourdough Starter for Home Bakers
A healthy, active starter gives reliable rise, consistent flavor, and tolerance to schedule slips or temperature change — feed, mark, test, and experiment with the explicit weights and routines below.

A healthy, active starter gives reliable rise, consistent flavor, and tolerance to schedule slips or temperature change. Maurizio Leo puts maintenance into a daily routine: “Once you have a healthy starter showing the same signs of fermentation every day, you will be able to adopt a consistent sourdough starter maintenance schedule. I work this into my daily routine: I refresh my starter when I eat breakfast in the morning, and then I refresh again in the evening as I’m cleaning up the kitchen getting ready for bed. It only takes a few minutes (see my tips later on tools to make things easier).”
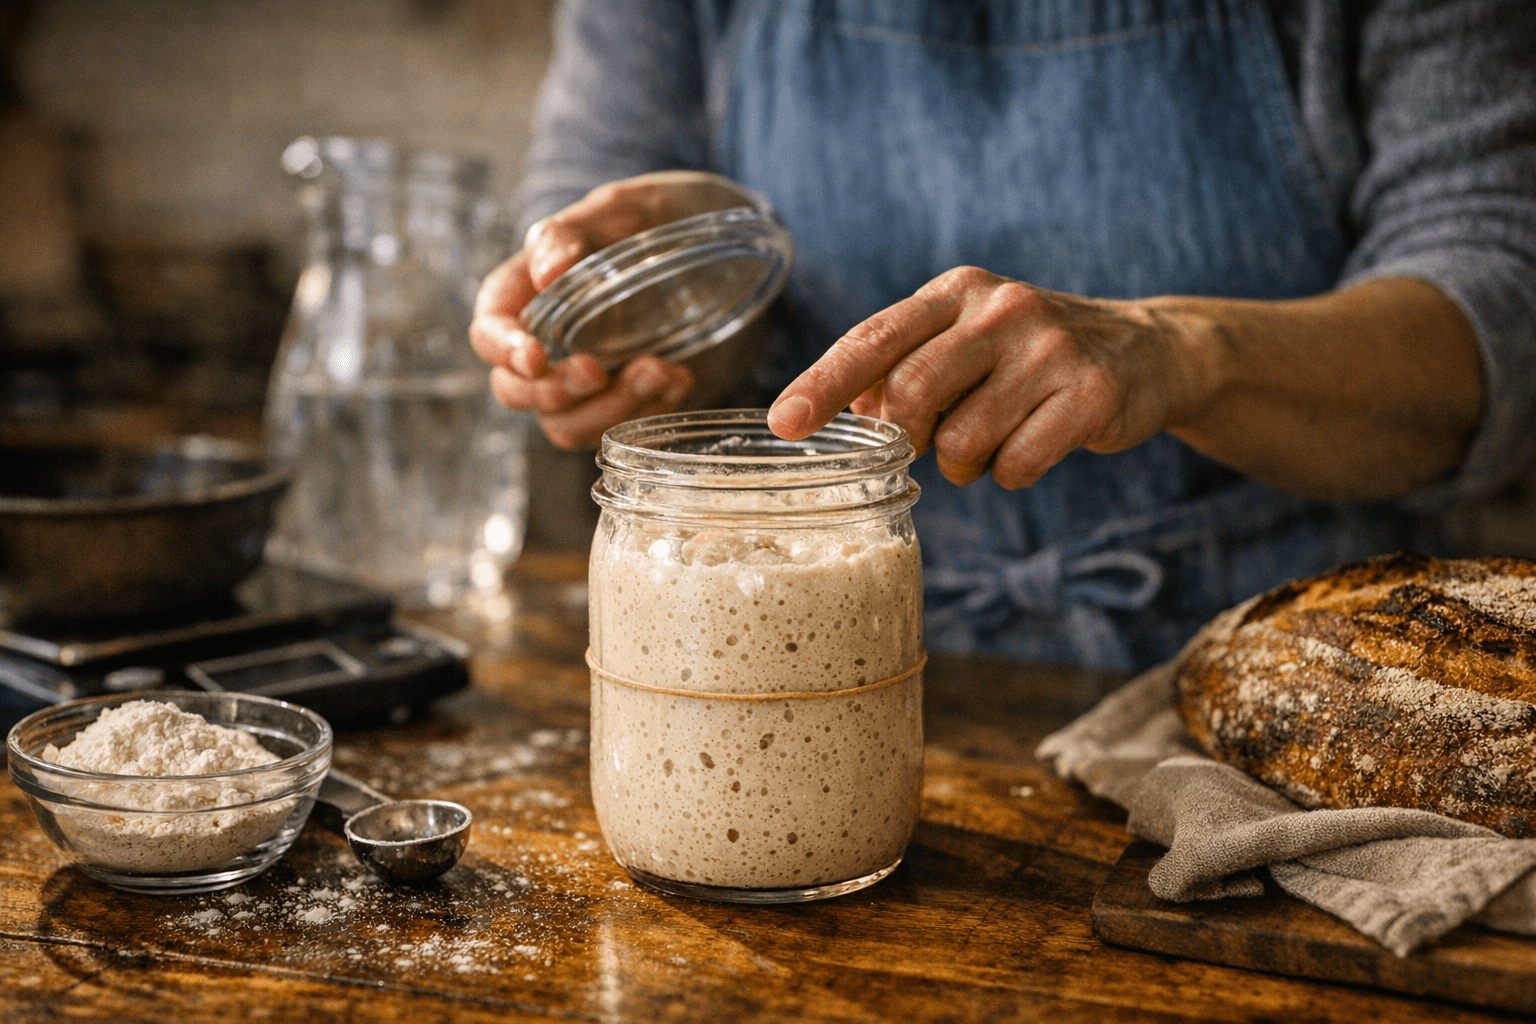
For a concrete refresh example, follow the time-stamped Theperfectloaf entry: “10:00 a.m. – Sourdough starter maintenance beginning.” Use 70g white flour, 30g rye flour, 20g mature starter, and 100g room temperature water in a kitchen around 75°F (23°C). “The first step is to take your mature sourdough starter, discard some part of it, refresh it with fresh flour and water, and cover (I only loosely cover with a glass lid that does not seal tight).” Mix until “completely smooth with no visible clumps of dry flour,” and place a rubber band to mark the starting level so you can track rise.
If you prefer a scale-based routine, Alexandracooks lays out a simple feed: place the vessel on a scale, add 45 g flour, add 45 g water, stir, and mark the top with a rubber band. “Wait until the starter doubles or nearly doubles,” then perform the float test: “If your starter floats, and you’re ready to start baking, measure the required amount into a bowl and proceed with the recipe.” Alexandracooks notes preferred storage in a deli quart container, using the container lid for refrigeration and a breathable lid for room-temp sits.
Feeding ratios and timing vary among trusted bakers. Theclevercarrot instructs to “Remove and discard half of your sourdough starter” then “Feed what’s left in the jar with equal parts flour and water by weight (1:1:1 feeding ratio).” Let rise at room temperature—ideally 75+F—until “bubbly, active and double in size (2-12 hrs).” In a reader exchange, Cynthia asked about continuing a 60g feed after day five; Emilie Raffa replied, “No. Once you’re starter is ready and fully established, you’ll switch to a different feeding ratio (e.g. 1:1:1 or 1:2:2) for ongoing maintenance and care.”
Wildthistlekitchen covers storage and revival. “There will most likely come a time when you need a break from sourdough baking and maintaining an active starter,” the author writes, and provides a staged timeline: Day 3–7 repeat daily feeds, Day 7–14 continue and monitor for doubling and a “pleasantly tangy, sour smell.” For a sluggish established starter, the explicit revival method is to “discard almost all of it - like take it down to what clings to the jar after you pour it all out - and then feed it,” and note that “a bit of rye flour can really give it a boost!” Wildthistlekitchen also recommends finding a cooler area such as a basement or pantry, using cool water from the fridge, refrigerating between feedings and taking the jar out a few hours before the next feed, or using a proofing box.
Littlespoonfarm reinforces the float test: “take a small amount of your active starter and drop it into a bowl or glass of water. If the starter floats on the surface, it indicates that there is sufficient gas production ... it is active and ready to leaven bread.” Littlespoonfarm explicitly recommends daily feeding “for the first two weeks after you've gotten it established.” The site’s metadata lists “4.97 from 253 votes (86 ratings without comment).”
To manage fermentation speed, follow Theperfectloaf’s explicit variables: “temperature of the water, inoculation percentage (amount of ripe starter left in the jar), flour selection (whole grain flours increase fermentation), and ambient temperature.” “If your starter is sluggish, increase these to speed things up or decrease them to slow things down.” Finally, remember Theperfectloaf’s practical nudge: “Now that your starter is on a regular maintenance schedule, don’t forget you can use the daily starter discard in many delicious things in the kitchen! Buon appetite!” Note: Alexandracooks references purchasing starters from three places and Theperfectloaf mentions tools to make things easier, but the specific vendors and tools were not provided in the excerpts and merit follow up.
Know something we missed? Have a correction or additional information?
Submit a Tip