Creating and refining geometric tattoo stencils using manual and digital workflows
A practical primer for making repeatable, high‑fidelity stencils for geometric, sacred‑geometry, and precision linework tattoos using both hands‑on and digital methods.

When precision is the point, the stencil is the contract between concept and skin. This primer walks through a workflow that blends manual drafting and vector‑based digital steps, with repeatable techniques, built‑in quality control, and practical tips to prevent the small errors that blow up on long, thin linework.
1. Define design constraints and placement before you draw
Start by translating the concept into measurable constraints: target final diameter, axis lines, and whether the piece is radial, tessellated, or strict bilateral symmetry. For sacred‑geometry and precision linework, establish primary axes and key intersection points on paper or a digital canvas so every subsequent construction references the same grid. Note client placement variables—muscle curvature and stretch—so the stencil is drafted with the body’s topology in mind rather than as a flat ornament.
2. Choose the workflow: manual, digital, or hybrid
Decide upfront whether you’ll draft fully by hand, fully in vector software, or combine both. Manual workflows favor tactile adjustments and immediate on‑skin mockups; digital workflows offer node‑level control and exact repeatability for commissions that require multiples. Hybrid workflows—hand sketch to scan to vector—let you preserve the creative looseness of a hand draft while enforcing geometric precision in the final stencil.
3. Manual drafting essentials for geometric work
When working by hand, use a ruled grid, compass, straightedge, and layered tracing paper to build forms from primitives (lines, circles, polygons). Keep construction lines light and use a technical pen for final outlines so scans translate cleanly. For repeatability, annotate your manual drafts with reference measurements and rotation counts (for example, “6× radial at 60° increments”) so another artist or a future session can reconstruct the geometry exactly.
4. Digital vector workflow fundamentals
Work in a vector application with a consistent unit system and visible construction guides: set up grids, snap to intersections, and build shapes from boolean operations rather than freehand strokes. Minimize anchor points and keep strokes as hairline vectors that can be scaled without changing geometry; this preserves clean line joins for precision linework. Save master files in an editable vector format and export flattened PDFs or PNGs only for transfer and printing.
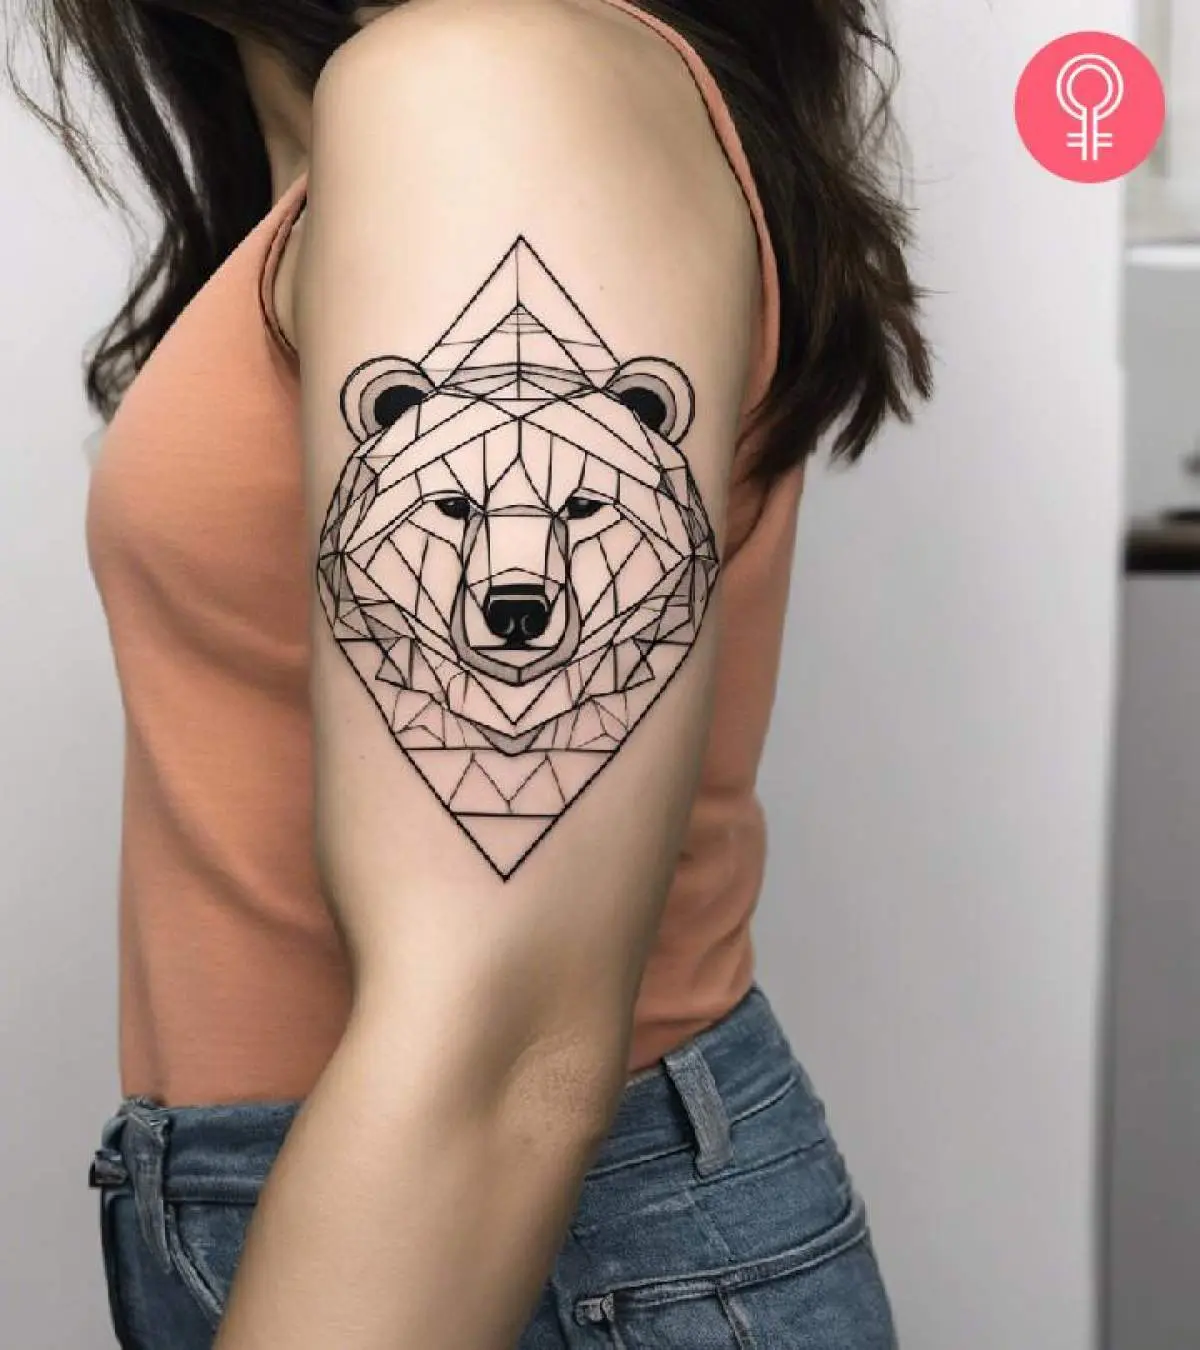
5. Constructing sacred‑geometry and rotational systems
For mandalas, seed‑of‑life, and other radial constructs, build using a repeatable seed: one circle and a set rotation step, then replicate using precise transforms. Whether you draft with a compass or use the rotate/duplicate command in software, track the seed radius and rotation increment so you can recreate the same pattern at another size. If the design depends on measured relationships, document them explicitly (for example, “outer ring = seed × 3”) so scaling preserves proportion.
6. Preparing stencils for printing and transfer
Prepare a dedicated stencil layer that contains only the final tattoo lines—no construction marks—so the transfer is unambiguous. For thermal or carbon transfers, rasterize at a print‑ready resolution and ensure connected line continuity to avoid gaps in the carbon layer. Test a on‑paper transfer to confirm scale and line weight translate; the goal is a stencil that reads on skin as the vector reads on screen.
7. Test printing, mockups, and on‑skin checks
Always print a test and perform a mock transfer on paper or transfer film placed over a three‑dimensional object that mimics the client’s anatomy. Check for symmetry drift, line breakages, and unintended offsets at key intersections; tiny misalignments that are invisible on screen become obvious when wrapping around a limb. If you use a temporary skin marker for a live mockup, photograph the placement with a ruler or caliper visible so you have a reproducible reference.
8. Iterative refinement and quality control steps
Create a checklist for every stencil that includes symmetry verification, node count inspection, and line‑width consistency across repeats. Compare the printed transfer to the master vector by overlaying or using a lightbox; confirm that intersections hit within your acceptable tolerance and that no node has been accidentally smoothed. Keep a change log for each revision so refinements are reversible and traceable—this is a core quality control step for commission work and apprenticeships.
9. Naming, versioning, and archiving for repeatability
Adopt a file‑naming convention that encodes scale, orientation, and revision (for example: clientname_design_v03_120mm_R). Store both the editable master (vector) and the flattened transfer copy together; include a short .txt note with the construction parameters used (seed radius, rotation increments, measured proportions). This habit lets you reproduce exact sizes or flip orientation without reconstructing geometry from scratch.
- Label front and back of multi‑piece stencils and include an orientation arrow on every sheet.
- Keep stroke consistency: decide stroke width for outline vs. detail and lock it across exports.
- Preserve node counts and avoid auto‑smoothing before final export—smoothing alters intended intersections.
- Use a single “final” stencil layer for printing and never print directly from construction layers.
10. Practical tips to prevent common failures
These small controls prevent the kind of micro‑errors that show up as wobbly lines or misregistered mandala points once ink hits skin.
Final point: think of your stencil pipeline as geometry plus documentation. For geometric, sacred‑geometry, and precision linework tattoos, the artistry happens in the drafting; the tattooing executes the math. When your workflow enforces repeatable techniques, clear quality control steps, and straightforward file/version habits, you convert fragile, one‑off designs into dependable, transferable stencils that respect the pattern and the person who will wear it.
Know something we missed? Have a correction or additional information?
Submit a Tip