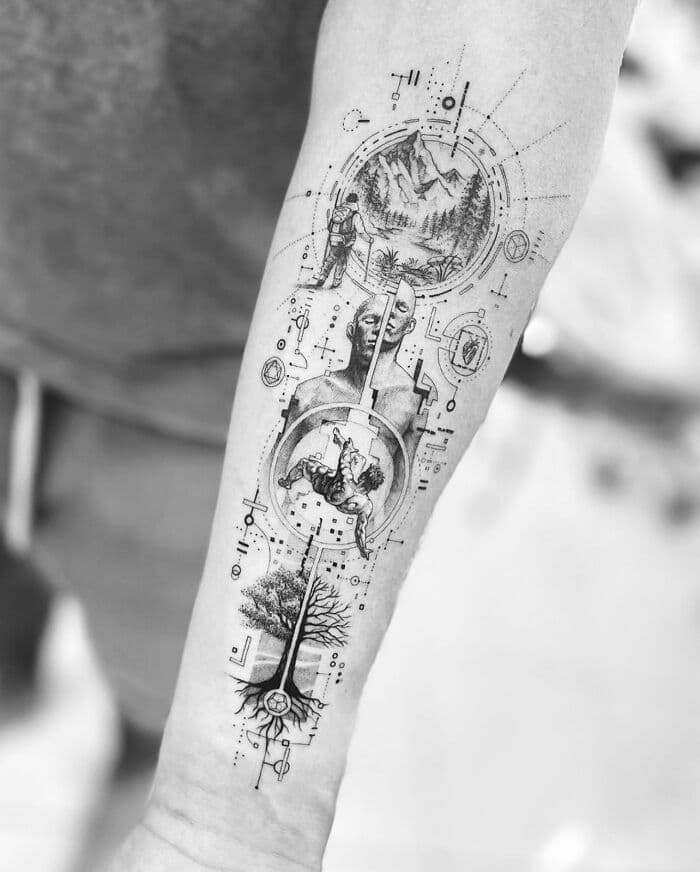
Needles, Lineweight, Spacing and Shading for Long-Lasting Geometric, Dotwork, Fine-Line Tattoos
Pick needle types and sizes to match the skin and the job, keep lineweights conservative, space lines/dots with future migration in mind, and stage shading and sessions to avoid blowouts.
1. Needles
Picking the right needle family is the single most practical decision you make. Use round liners (RL) for crisp geometry—1RL for hairlines and micro-details, 3RL–5RL for the majority of fine-line geometry, and 7RL+ when a bolder anchor line is required. For dotwork, I default to single-needle (0.25 mm taper) or tight 3RL/5RL clusters for controlled stippling; for soft gradients and fills choose tight magnums (M1/stacked mags in 5–9 configurations). Needle taper matters: short tapers (sharper point) give snappier, cleaner lines but can sting the client more; long tapers are forgiving for shading. Stick with reputable needle brands (Kwadron, Cheyenne, Bishop) and standard 0.25–0.35 mm diameters depending on whether you need micro detail or durable saturation.
2. Lineweight
Lineweight is defined by the needle configuration and how you run the machine—not by a vague “thin” or “thick.” For long‑lasting geometric lines I aim for two tiers: very fine structural lines at 0.25–0.35 mm (single needle or 3RL at light depth) and primary construction lines at 0.35–0.6 mm (5RL–7RL). Run your liner at a steady hand speed and modest voltage—rotaries around 6–7 V for most fine liners; coil machines typically slightly higher—so you deposit pigment shallowly and consistently. Avoid overworking lines to darken them; a second pass to correct a missed hairline is okay, but repeatedly chasing a line will cause blowout and scar tissue that ruins geometry long term.
3. Spacing
Spacing is where future-proofing happens: allow for skin migration, scar contraction, and pigment spread over decades. As a practical rule, keep parallel lines at least 1.5–2 mm apart when they’re done with single-needle or micro-linework; if you’re using 5RL–7RL expect to need 2–3 mm. For dotwork, initial dot spacing of 1–1.5 mm yields visible texture without merging into gray as the skin ages; tighter grids (<1 mm) look dense now but will often bleed together. Consider anatomy: thin-skinned areas (inner arm, sternum, neck) need extra separation and lighter deposition; fleshier surfaces (thigh, calf) tolerate denser layouts. Always leave intentional negative space—don’t try to force optical joins that depend on perfectly preserved skin.
4. Shading approach
Shading for longevity is about pigment load, needle selection, and machine tempo. For stippling/dot gradients, use single-needle or 3RL at a consistent tap rhythm and a light depth; build density in multiple short passes rather than one heavy pass. For smooth gray transitions use tight mags (5–9M1) and run at lower voltage with shallow depth to avoid packing black in a way that spreads later—think three short passes at decreasing saturation rather than one deep pass. Dilute blacks for softer mid-grays: 70% black for deep gray, 40–50% for mid-gray, and 20–30% for light washes; mix on-site so you can judge saturation against the client’s skin tone. Avoid heavy black block fills under fine geometry—those create tension that can distort lines as the skin settles.
5. Session planning and technique limits
Plan conservative sessions: fine-line and dotwork sessions should be shorter and spread out. I cap initial passes at 2–3 hours for delicate linework and stippling to limit swelling and trauma; larger geometry with heavier lineweights can be split into 3–5 hour blocks across two visits. Touch-ups and saturation passes belong at least 6–8 weeks after the primary session to let the dermis settle and evaluate migration. Work in controlled passes: one intentional pass for primary lines, a second to correct or deepen no more than 10–20% of the total line length, and separate days for shading. When clients want “one-and-done” marathon fills, push back—dense work increases scar risk and kills the crispness that makes geometric tattoos read well from a distance.
- Practical warm-up: spend 5–10 minutes on practice skin getting your needle depth and machine feel dialed before touching the client’s piece.
- Skin test zone: if a client’s skin looks particularly thin, fragile, or scarred, do a small test dotwork patch to observe how pigment holds after initial healing.
Conclusion If you prioritize conservative deposition, the right needle family, deliberate spacing, and staged shading, geometric, dotwork, and fine-line tattoos survive much better over time. Plan sessions around the skin’s tolerance, use measured dilutions and tight magnums for gradients, and resist the urge to overwork lines—those choices are the difference between crisp geometry in year one and a washed‑out blur a decade later.
Know something we missed? Have a correction or additional information?
Submit a Tip