All3DP updates temperature-tower guide for Bambu, Prusa and Orca users
A temperature tower is still the fastest way to stop wasting filament on guesswork, and All3DP’s update makes it easier for Bambu, Prusa and Orca users.
The cheapest calibration print that keeps paying for itself
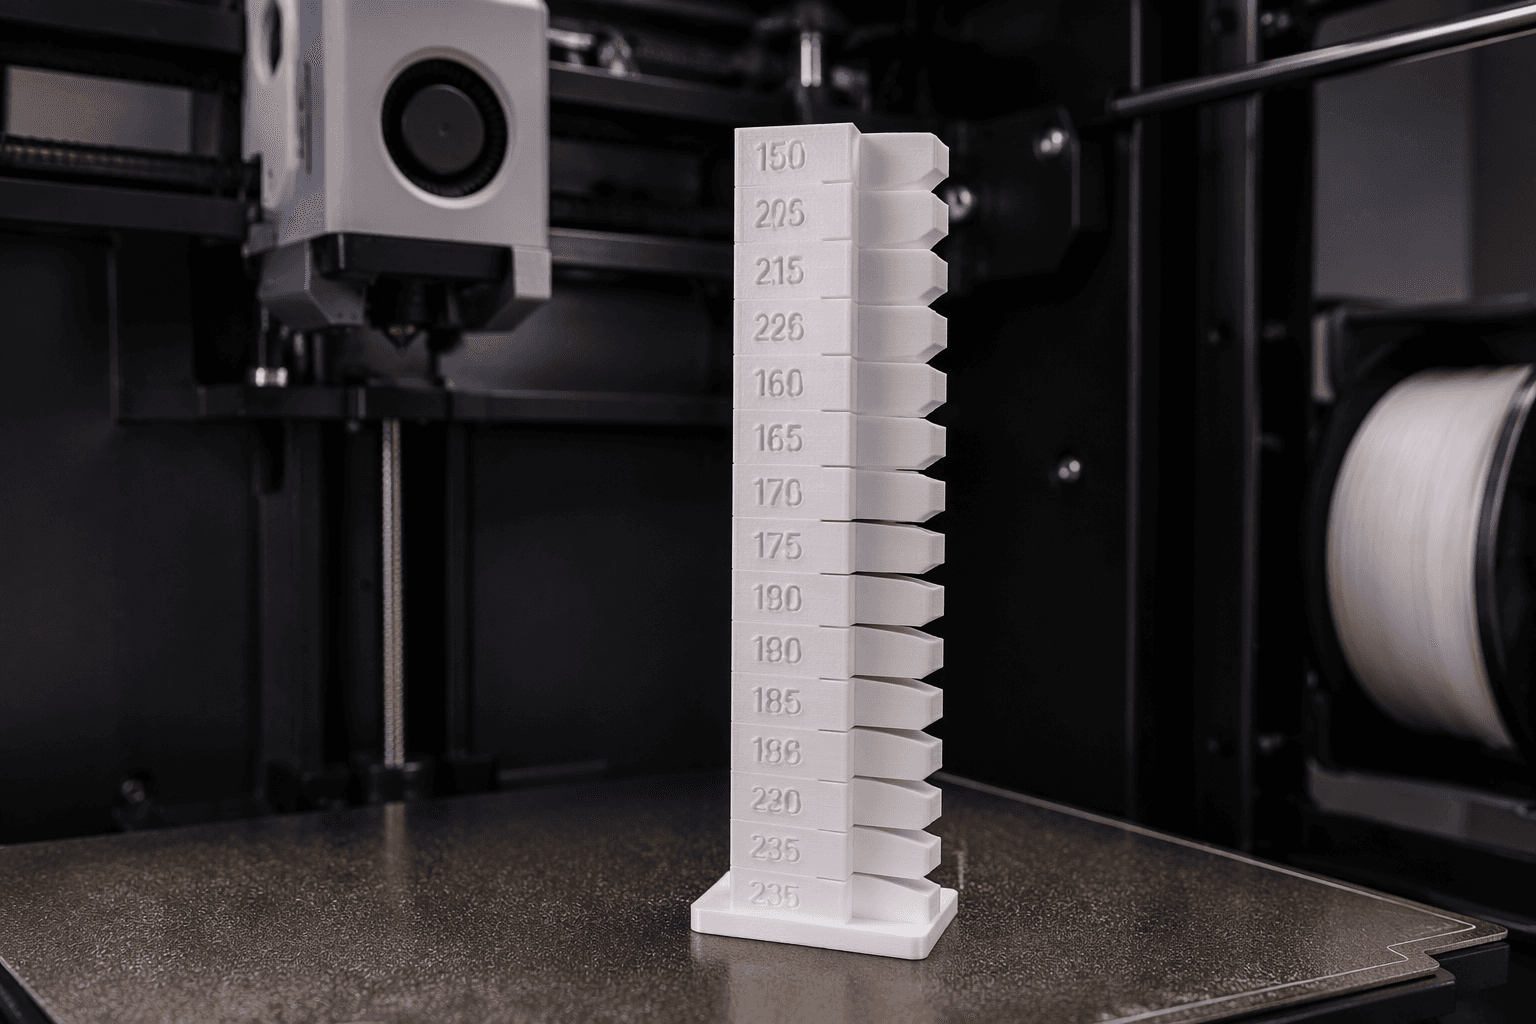
If you are tired of burning through half a spool just to find a decent starting temperature, the temperature tower is the fix that actually earns its keep. All3DP’s updated guide puts the spotlight on the one calibration print that gives you real answers fast: a small model that steps through nozzle temperatures section by section, so you can see what your filament is doing instead of guessing.
That matters because the biggest print problems usually show up before you ever finish a full part. A tower makes those failures obvious early. You can spot where stringing finally drops away, where bridging starts to sag, where layer adhesion looks strongest, and where the surface stops looking like it was dragged through a bad day.
Why this print still matters in a world of better defaults
Modern printers ship with better presets than they used to, but defaults are not the same thing as dialing in a specific roll of filament on a specific machine in a specific room. A PLA spool that behaves perfectly in one setup can turn messy in another, and the same goes for PETG, TPU, and the tougher materials that need more care. A temperature tower is the fast, low-cost way to narrow down the right nozzle temperature without gambling on a full-sized print.
That is the real value of All3DP’s update. It is not treating the temperature tower like an old-school ritual. It is presenting it as a practical habit for the way people actually print now: faster machines, more automation, and a growing expectation that profiles should be repeatable instead of improvised.
What you are actually looking for when the tower prints
A good tower is less about admiring the model and more about reading the signs. Each temperature band tells you something different about the filament and the machine setup, and the best result is rarely the highest or lowest temperature on the chart. You want the section where the print looks stable without the usual side effects creeping in.
Pay attention to these first:
- Stringing: If fine hairs disappear at a certain temperature, that is a strong clue you are getting closer to the sweet spot.
- Layer adhesion: If the parts of the tower at one temperature look more solid and better fused, that tells you where the filament is bonding best.
- Bridging: If bridges start to fail at lower temperatures or get sloppy at higher ones, that helps you avoid a setting that looks fine on walls but falls apart in midair.
- Surface quality: If one band has cleaner edges and fewer blotches, that is often the simplest sign you have landed in the right range.
That combination is why the tower beats random test prints. You are not chasing one symptom. You are comparing several at once, which is exactly what you need when a spool is the thing on the line.
Why Bambu Studio, PrusaSlicer, and OrcaSlicer users should care
All3DP’s update is especially useful because it speaks to the slicers many hobbyists actually use every day: Bambu Studio, PrusaSlicer, and OrcaSlicer. That matters because each of those workflows is built around tuning, profiles, and getting consistent results from consumer machines that can move a lot faster than the printers people were using a few years ago.
The tower is a good fit for that world. If you want repeatable profiles instead of endless trial and error, a temperature tower gives you the cleanest starting point. It helps you stop treating every new spool like a mystery and start treating it like a known material with a defined range.
That is especially useful when you jump between filament types. PLA might reward one temperature window, PETG often needs another, and TPU usually demands its own compromise. A tower helps you stop carrying over settings that worked on the last roll but make the new one stringy, weak, or ugly.
The payoff is bigger than one good print
The best part of this calibration habit is how quickly it saves both time and material. You do not need to run a giant part just to discover that your nozzle is too hot, your bridges are drooping, or your layers are not locking together properly. A tower surfaces those problems early, when the fix is still cheap.
That is why it remains one of the smartest things you can print first on a new spool. It gives you a real answer on temperature, not a hopeful guess, and it does it with far less waste than brute-force trial and error. In a hobby where a bad first print can send you straight back to generic settings, that kind of shortcut is worth more than it sounds.
When the temptation is to trust defaults and hope the filament behaves, the temperature tower is the better move. Print the small test, read the stringing, the bridging, the adhesion, and the surface finish, and let the spool tell you where it wants to run.
This article was produced by Prism’s automated news system from verified source data, official records, and press releases, then run through automated quality and moderation checks before publishing. The system is built and supervised by the people who set the standards it runs under. Read our full AI policy.
Know something we missed? Have a correction or additional information?
Submit a Tip

