Beginners discuss Saturn drift capture as thin rings return in 2026
A 10-inch Dob, no tracking, and only 1,500 frames still opened a useful Saturn workflow for beginners chasing the planet’s thinning rings.
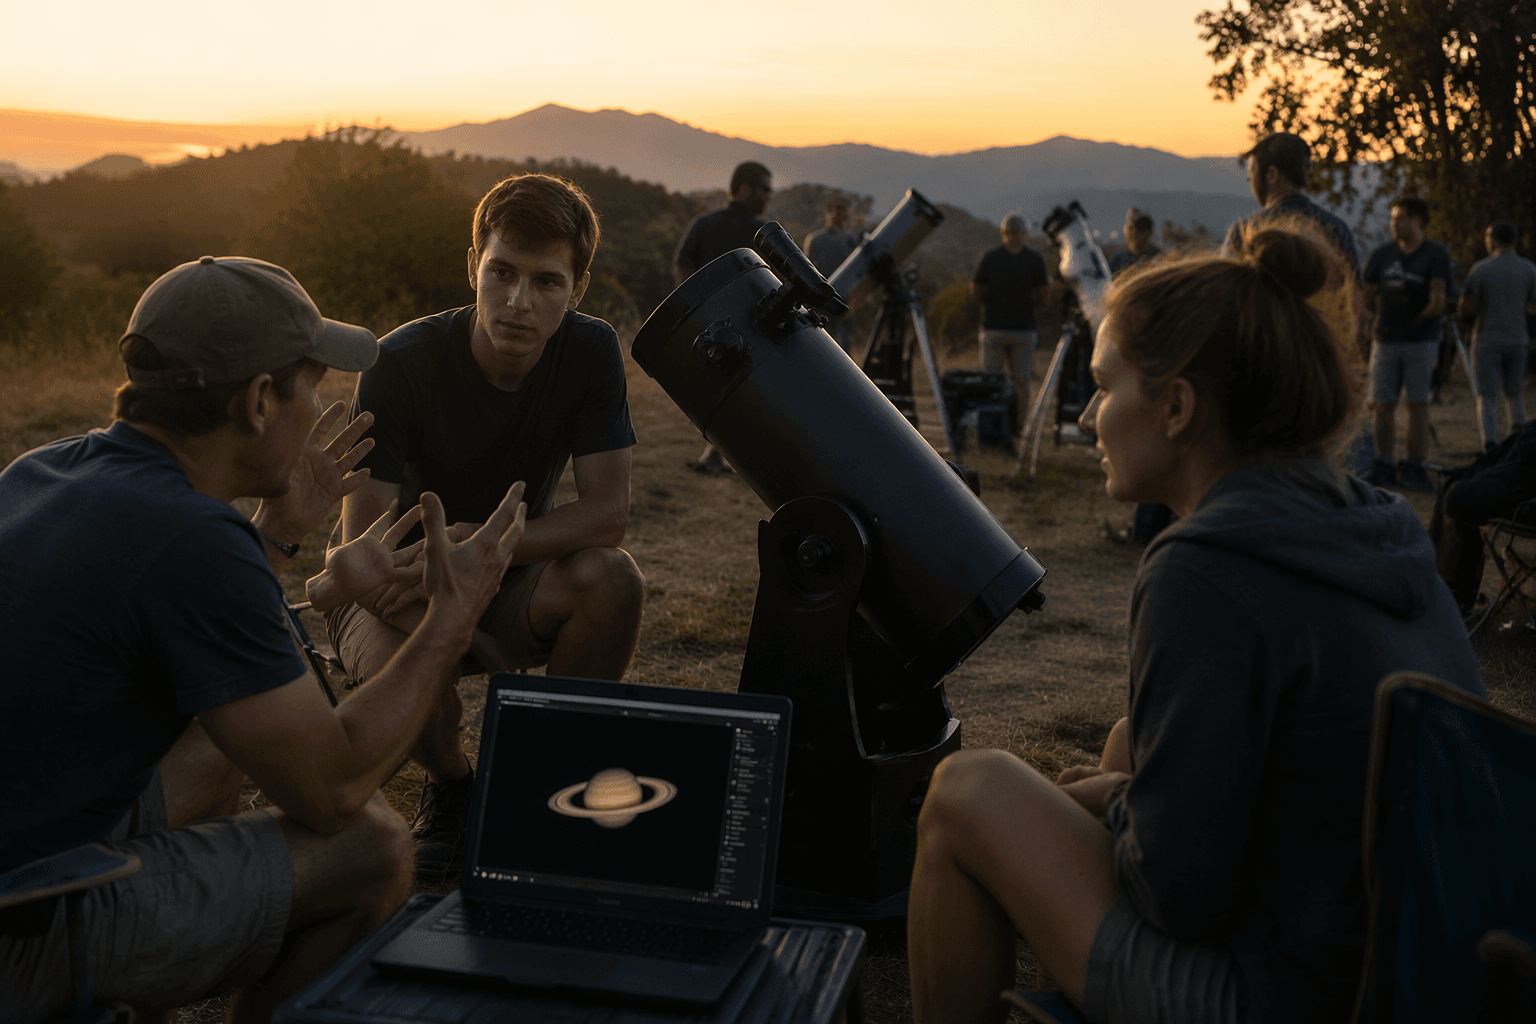
A 10-inch Dob without tracking is a brutal teacher, but it can still put Saturn on the screen. On Cloudy Nights, gavinb-astrophotography showed two Saturn captures made by letting the planet drift across the sensor and collecting just 1,500 frames, then ran into the familiar wall: push exposure lower and gain higher, and the image turns ugly fast. You do not need perfect gear to start learning, but you do need a capture plan that respects drift, noise, and the limited time Saturn stays clean in the field.
What a no-tracking Saturn session really looks like
With a manual Dob, Saturn is not held still for you, so every capture is a compromise between frame count, brightness, and how much the planet wanders before it exits the useful part of the sensor.
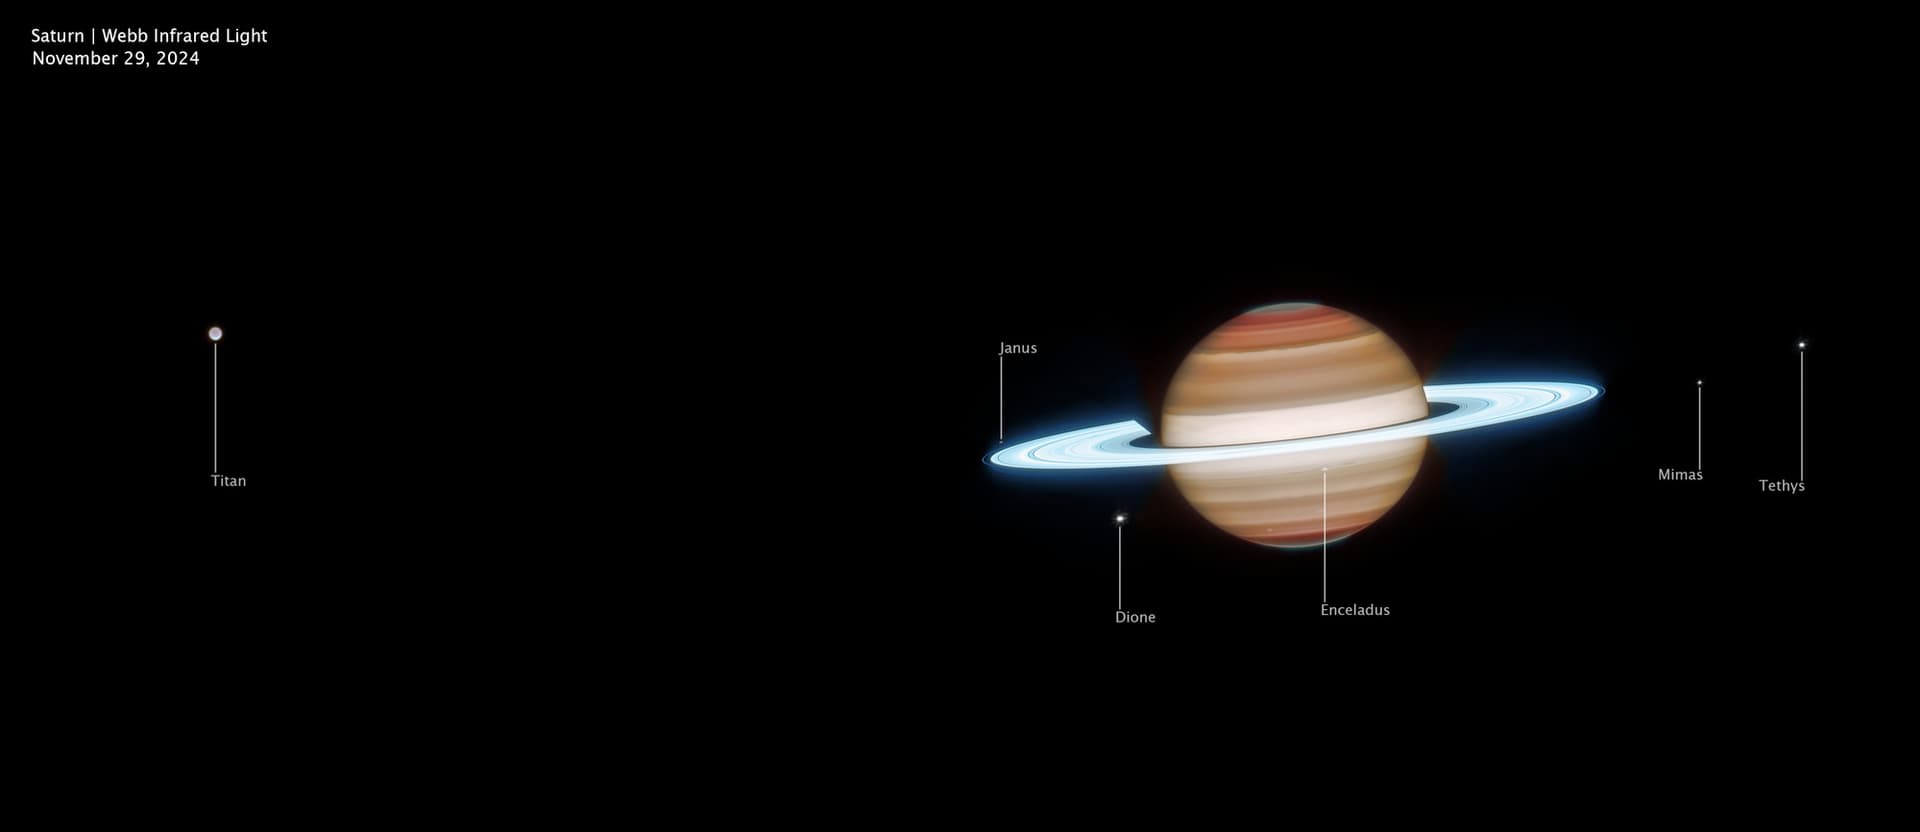
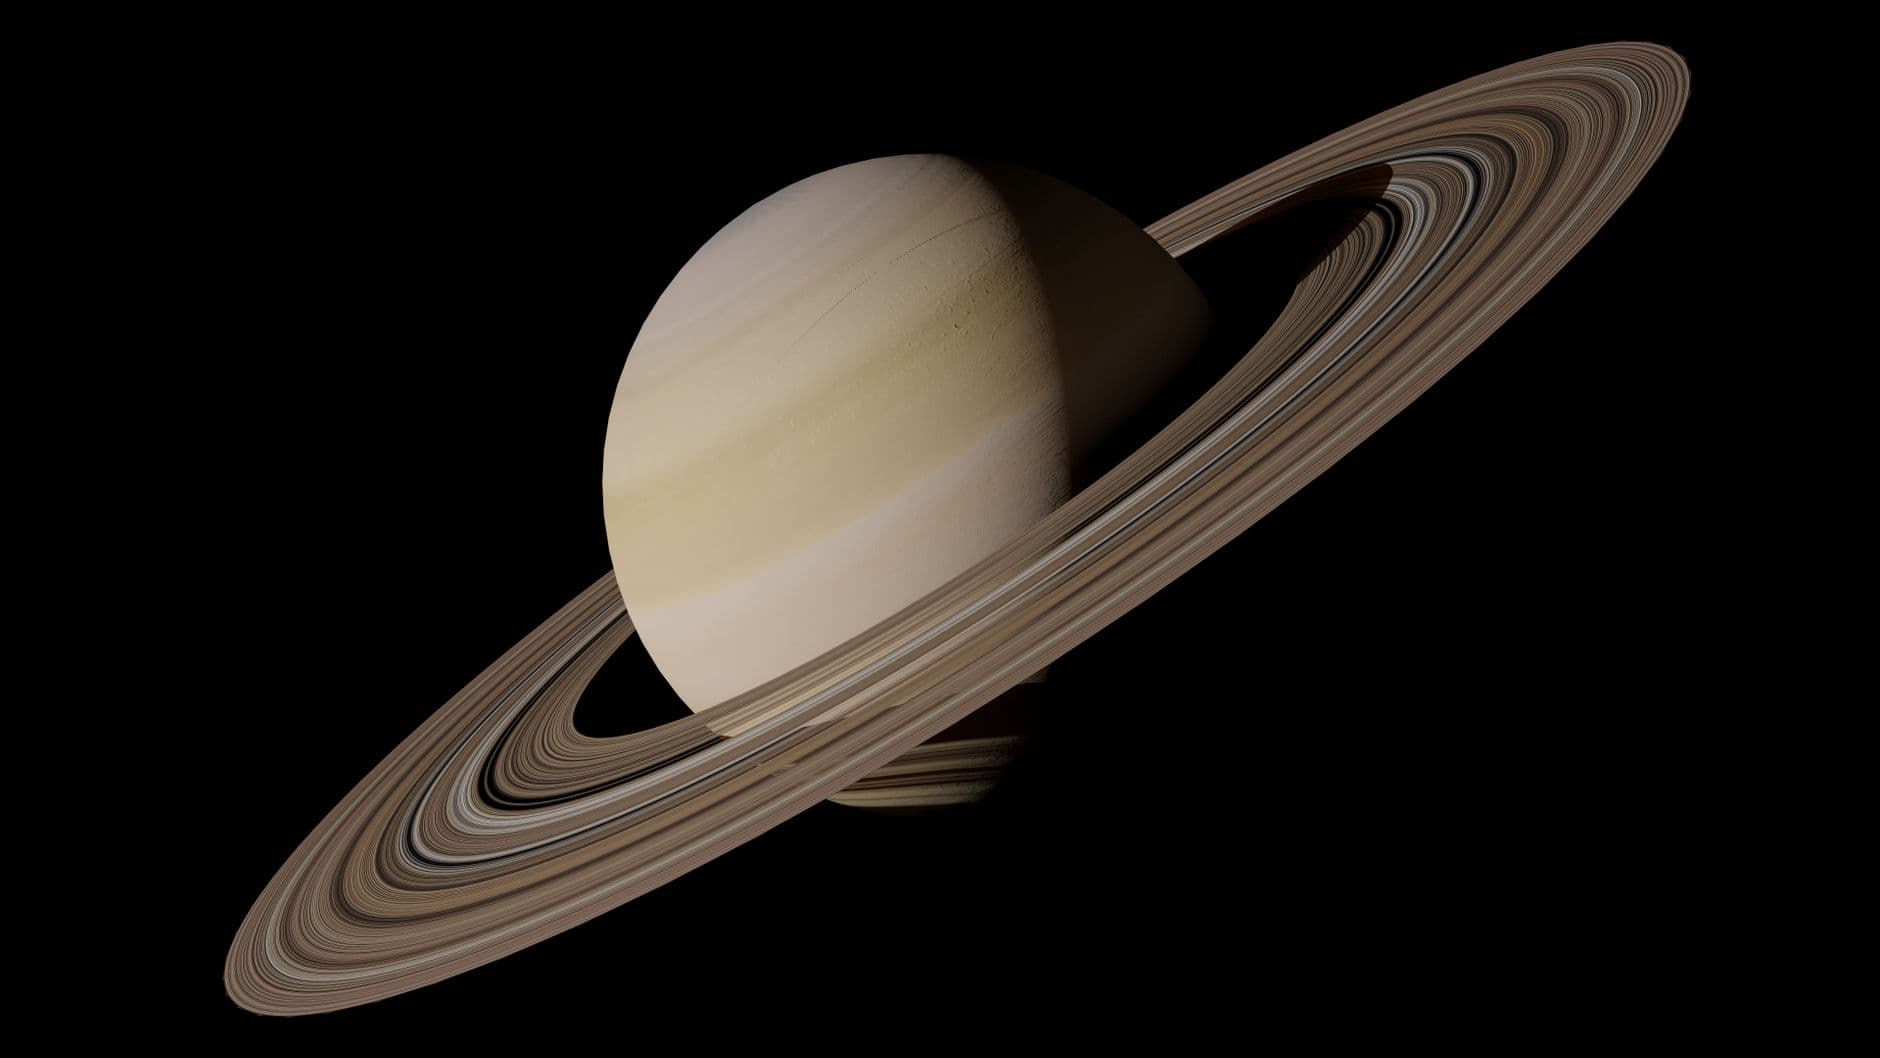
Saturn’s rings were edge-on in 2025 and are gradually opening again in 2026. NASA’s July 2026 skywatching notes still flag Saturn as a rewarding telescope target later in July. ALPO’s Saturn Section lists the 2026 opposition as October 4, 2026, with the rings still only about 7 degrees to 7.5 degrees open.
How to keep drift capture from falling apart
The first practical fix in the thread is simple: work with the drift instead of pretending it is not there. One experienced reply recommends starting around 4 milliseconds and using whatever gain is needed to reach about a 70 percent histogram. That gives you a concrete target when you are trying to keep the planet bright enough without blowing out noise or smearing detail.
Another useful trick is to pause, reposition the scope, and keep the same capture sequence running. That sounds basic, but it matters with a non-tracking Dob because the object can still contribute useful frames even if it does not stay centered for the whole clip. If you are only getting short runs before Saturn slides away, stack enough decent frames from each pass that the final result keeps detail in the globe and ring edges.
A second reply recommends about 10 milliseconds, five-minute captures, and a 33 percent stack. That is a more relaxed starting point for someone whose mount and seeing can support longer clips, but the logic is the same. Record a sequence, trim the worst edge frames later, and treat each run as one piece of a larger dataset rather than expecting a single perfect video to do everything.
Capture settings that actually matter
For beginners, planetary imaging gets easier once you stop thinking in terms of a single magic exposure and start thinking in terms of balance. The thread keeps circling back to the same variables: frame rate, gain, region of interest, and stack size. With Saturn drifting through the sensor, a tighter region of interest can help you keep the planet in the useful part of the frame longer and avoid wasting frames on dead space.
The thread’s 70 percent histogram target is especially practical because it gives you a repeatable brightness target instead of a vague feeling. If the image is dim, it is tempting to crank gain until Saturn looks visible, but that is where the noise starts to claw back the detail you need later. The better habit is to set exposure and gain together, then keep an eye on the histogram so you are not underexposing into mush or overcooking the signal just to buy a little time.
Stacking is where the beginner workflow becomes usable
AutoStakkert! sits at the center of this kind of workflow for a reason. Emil Kraaikamp’s software automatically analyzes, aligns, and stacks planetary, lunar, and solar image sequences. In practical terms, it is the tool that turns a noisy drift-capture clip into something you can sharpen and actually learn from.
The thread advice centers on using AutoStakkert’s RGB alignment and the 70 percent histogram setting when stacking. That is the sort of detail that helps when the channels are not perfectly lined up or the capture is a little rough around the edges. From there, the usual Saturn workflow is familiar: stack in AutoStakkert, sharpen with WaveSharp or a RegiStax-style tool, then use WinJUPOS if you want to combine multiple runs and squeeze more signal out of changing seeing conditions.
A single five-minute clip may be fine on a good night, but Saturn often benefits from several shorter runs that can be stacked individually and then combined later. WinJUPOS becomes the bridge between those runs, especially when you want to improve total signal without pretending the atmosphere was steady the whole time.
What this Saturn season gives you
Saturn’s 2026 apparition starts in the dawn sky in mid-April and becomes an all-night object after the October opposition. That gives planetary imagers a long runway to practice, and the rings remain relatively thin through the season. Sky & Telescope and ALPO both chart Saturn with relatively thin rings through 2026, not the classic wide-ring Saturn most beginners imagine from old photos.
Thin rings make the image less forgiving, yet they also make mistakes easier to spot. When the planet is bright, the rings are nearly edge-on, and the seeing changes from run to run, your processing choices show up fast.
This article was produced by Prism’s automated news system from verified source data, official records, and press releases, then run through automated quality and moderation checks before publishing. The system is built and supervised by the people who set the standards it runs under. Read our full AI policy.
Did this article answer your question?