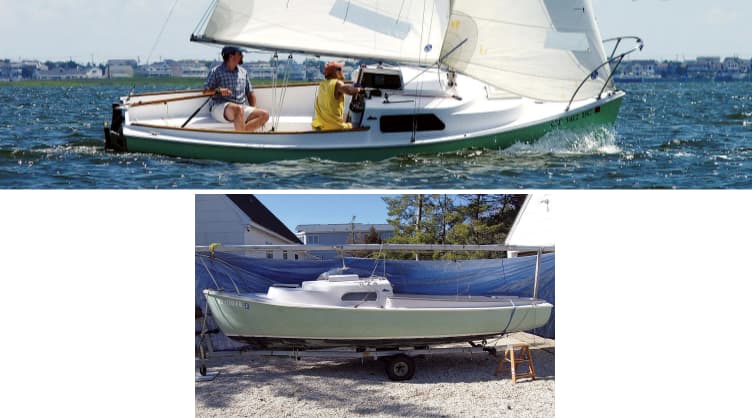
DIY Fiberglass Boat Repair, From Gelcoat Fixes to Structural Work
Gelcoat scratches you can fix yourself; structural hull damage demands a proper bevel. Here's where the line is and how to work both sides of it.

Fiberglass is forgiving material — until you treat a structural crack like a cosmetic scratch. The gap between a quick gelcoat touch-up and a proper laminate repair is wider than most new boat owners expect, and crossing that line without knowing it produces patches that look fine at the dock but fail under load. Getting comfortable with both ends of the spectrum is one of the most practical skills you can build as a boat owner.
Know What You're Dealing With Before You Touch It
The first move on any repair is assessment, and it genuinely determines everything that follows. Small cracks and scratches can be fixed with a gelcoat repair, while larger damages may require a more extensive fiberglass repair process. That's a simple dividing line, but it carries real weight. A surface crack that hasn't penetrated through the gelcoat into the laminate is a cosmetic job. A crack that flexes when you press it, shows spider-webbing radiating outward, or goes soft and spongy underfoot is structural, and it needs to be treated as such.
Damage to the hull, scratches, dings, and blisters are not just aesthetic problems; they can affect the performance and safety of the boat. That's worth taking seriously rather than deferring until the end of a season.
Osmotic Blistering: The Problem That Hides Below the Waterline
One issue that catches owners off guard is osmotic blistering, also known as boat pox. This happens when water seeps into the fiberglass, creating blisters on the hull's surface. Left untreated, it can lead to serious structural damage — not just a cosmetic headache. If you're buying a used boat or pulling one out for winter storage, run your hands along the bottom below the waterline. Soft blisters that weep a vinegary liquid when punctured are a red flag that needs proper remediation, not just a coat of bottom paint over the top.
Gather Your Kit Before You Start
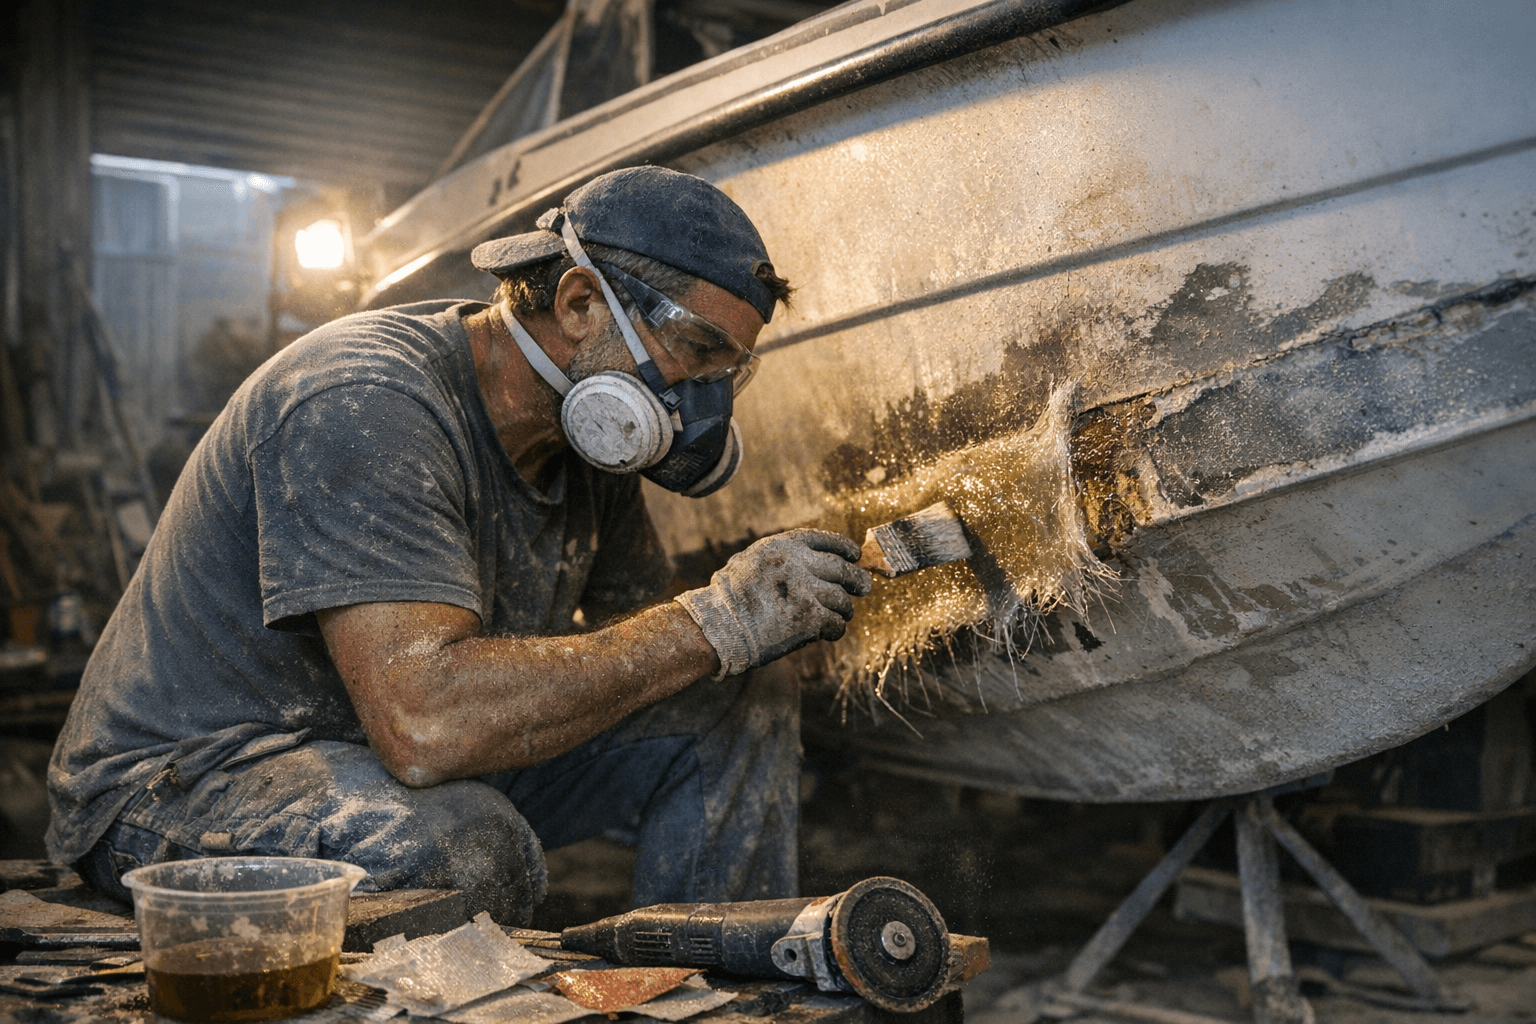
There's nothing more frustrating than getting a repair half-prepped and realizing you're missing something. The core materials list isn't long: a fiberglass repair kit, sandpaper, a grinder, a paintbrush, and protective gear. For structural work, add fiberglass cloth, mixed resin, fairing compound, and gelcoat to finish. Jonathan Eldridge's guide on Better Boat specifies one tool that makes a genuine difference at the grinding stage: an angle grinder fitted with a 36-grit flap disc. It chews through damaged material quickly and helps you shape the bevel, which is the part of the prep work that most DIYers underestimate.
The Bevel Is Where Structural Repairs Succeed or Fail
If you take one thing away from this guide, make it the bevel. As Eldridge puts it: "That bevel is everything. A straight, vertical edge on your patch creates a butt joint with very little surface area for bonding, making it a serious weak point. A long, gentle taper, however, creates a massive surface for the new fiberglass to bond to, making the repair incredibly strong."
The geometry here matters precisely. For any structural repair, you want a bevel ratio of at least 12-to-1. In plain terms, for every 1/8 inch of hull thickness, your taper should extend back 1.5 inches from the edge of the damage. When you're done grinding, the repair area should look like a clean, shallow crater with smooth, gently sloping sides — not a punched-out hole with vertical walls.
Step-by-Step: From Grinding to Gelcoat
Once the area is properly shaped, the repair process follows a logical sequence. Here's how it builds:
1. Clean the area thoroughly and remove all damaged material. Any contamination — oil, wax, water — will compromise adhesion.
2. Grind the bevel to shape using your angle grinder and 36-grit flap disc, working to that 12:1 ratio.
3. Apply the tack coat. Take your brush and paint a thin, even coat of mixed resin directly onto the beveled repair area. This initial coat helps that first layer of cloth stick exactly where you want it.
4. Place your smallest piece of fiberglass cloth into the center of the wet resin. Using a brush or a fiberglass roller, apply more resin to the cloth until it becomes totally transparent. This is the wet-out technique. A properly wet-out cloth is fully saturated, with no white, dry spots showing anywhere. Build up additional cloth layers from smallest to largest, working outward to the edges of the bevel.
5. Let the layup cure fully before touching it.
6. Sand the cured repair down, working through progressively finer grits until the surface is fair.
7. Apply fairing compound to level any remaining low spots, then finish with gelcoat, letting each coat cure before the next.
As FishandSki notes, this is a simplified version of the process — the exact steps can vary depending on the extent of the damage and the type of repair needed. The sequence above holds for most mid-size structural repairs, but a deep core issue or a large delaminated section may require a different approach entirely.
DIY vs. Calling a Pro: Where to Draw the Line
Not every repair belongs on a Sunday afternoon project list. The intent behind guides like First Choice Marine's "Fiberglass Repair Basics: From Gelcoat to Structural Fixes" — published March 10, 2026 — is specifically to help boatowners decide what they can safely and effectively repair themselves and when to call a pro. That framing is useful. Cosmetic gelcoat work, small dings, and single-layer laminate repairs are reasonable DIY territory with patience and the right gear. Widespread delamination, keel-stepped mast compression damage, through-hull failures, and advanced osmotic blistering that has penetrated deep into the laminate are jobs where a professional survey and repair will protect both the boat's structural integrity and your own safety on the water.
The practical dividing line is this: if pressing on the damaged area produces any flex, if the damage extends through the full laminate thickness, or if you can't confidently identify where the damage stops, get a second opinion before you start grinding.
The Payoff Is Real
Learning how to repair your own fiberglass boat is one of the most valuable skills you can pick up as an owner. The financial argument is straightforward: doing the work yourself saves a significant amount compared to yard labor rates, especially for the kind of routine dings and scratches that accumulate over a sailing season. But there's a practical confidence that builds alongside it. Once you've done a proper wet-out repair and watched the cloth go clear under the roller, once you've seen a gelcoat blend disappear into the surrounding hull, the boat stops feeling fragile. You know what it's made of, and you know how to fix it.
That's worth more than any single repair job.
Know something we missed? Have a correction or additional information?
Submit a Tip