Troubleshoot 4-Stroke Outboard Electrical Problems, Battery, Wiring, Charging System
A dead outboard at the wrong moment is a bad guess away from a tow. Start with the battery, then work down the wiring and charging system before you replace another part.

The failure that turns a routine departure into a bad afternoon
When a 4-stroke outboard refuses to behave electrically, the problem usually shows up at the worst possible time: slipping a mooring, clearing a crowded harbor, or trying to make home against a rising chop. That is the kind of failure that can turn a simple trip into a drift, a tow, or a radio call you did not want to make.
The fastest way through it is not to guess at parts. Most of these problems come back to three places: a weak or failing battery, corroded wiring connections, or a charging-system fault. That is the useful part of a good diagnostic guide, because it gets you testing in the right order instead of throwing batteries, relays, and solenoids at the boat until something changes.
Read the symptom before you touch the wrench
The first job is to separate the failure into a symptom, because a dead silent motor is not the same problem as one that cranks normally but leaves the battery flat by the next start. A boat can start cleanly and still have a charging fault that slowly drains the battery, which is why so many owners chase the wrong side of the system.
Follow the symptom, not the hunch:
1. Nothing happens when you turn the key.
Think battery, terminals, fuse, safety lanyard, ignition switch, solenoid, or a broken cable before you think starter motor or ECM.
2. It cranks but will not start.
Now you are looking at power supply, safety interlocks, wiring, sensors, or ignition-related issues, not just the battery itself.
3. It starts, runs, then the battery keeps going dead.
That is classic charging-system territory: stator, rectifier-regulator, wiring, or a connection problem that is letting current disappear instead of returning to the battery.
That symptom-based split is the whole game. Once you know which lane you are in, the rest of the diagnosis gets much shorter.
Start with the battery and the connections
The battery check comes first for a reason. A battery can look fine sitting on the shelf and still fall apart under load, and that is why testing under load matters more than staring at a voltmeter for ten seconds and calling it good. If the battery is weak, sulfated, or simply tired, the rest of the electrical system can look guilty when it is really just underfed.
Then inspect the terminal connections. Corrosion, loose lugs, and green crust on a cable end can create enough resistance to stop a start or mimic a bigger failure. Clean, tight battery terminals are not a cosmetic issue on an outboard, they are the difference between a motor that spins and one that makes you reach for the paddle.
Do not stop at the positive post. Check the negative side as carefully, because poor return paths cause as many headaches as failed components. On boats with outboard motors, ABYC E-09 says load return lines should be connected to the battery negative terminal or its bus unless the outboard manufacturer specifies otherwise, which is exactly why the negative side deserves the same attention as the positive.
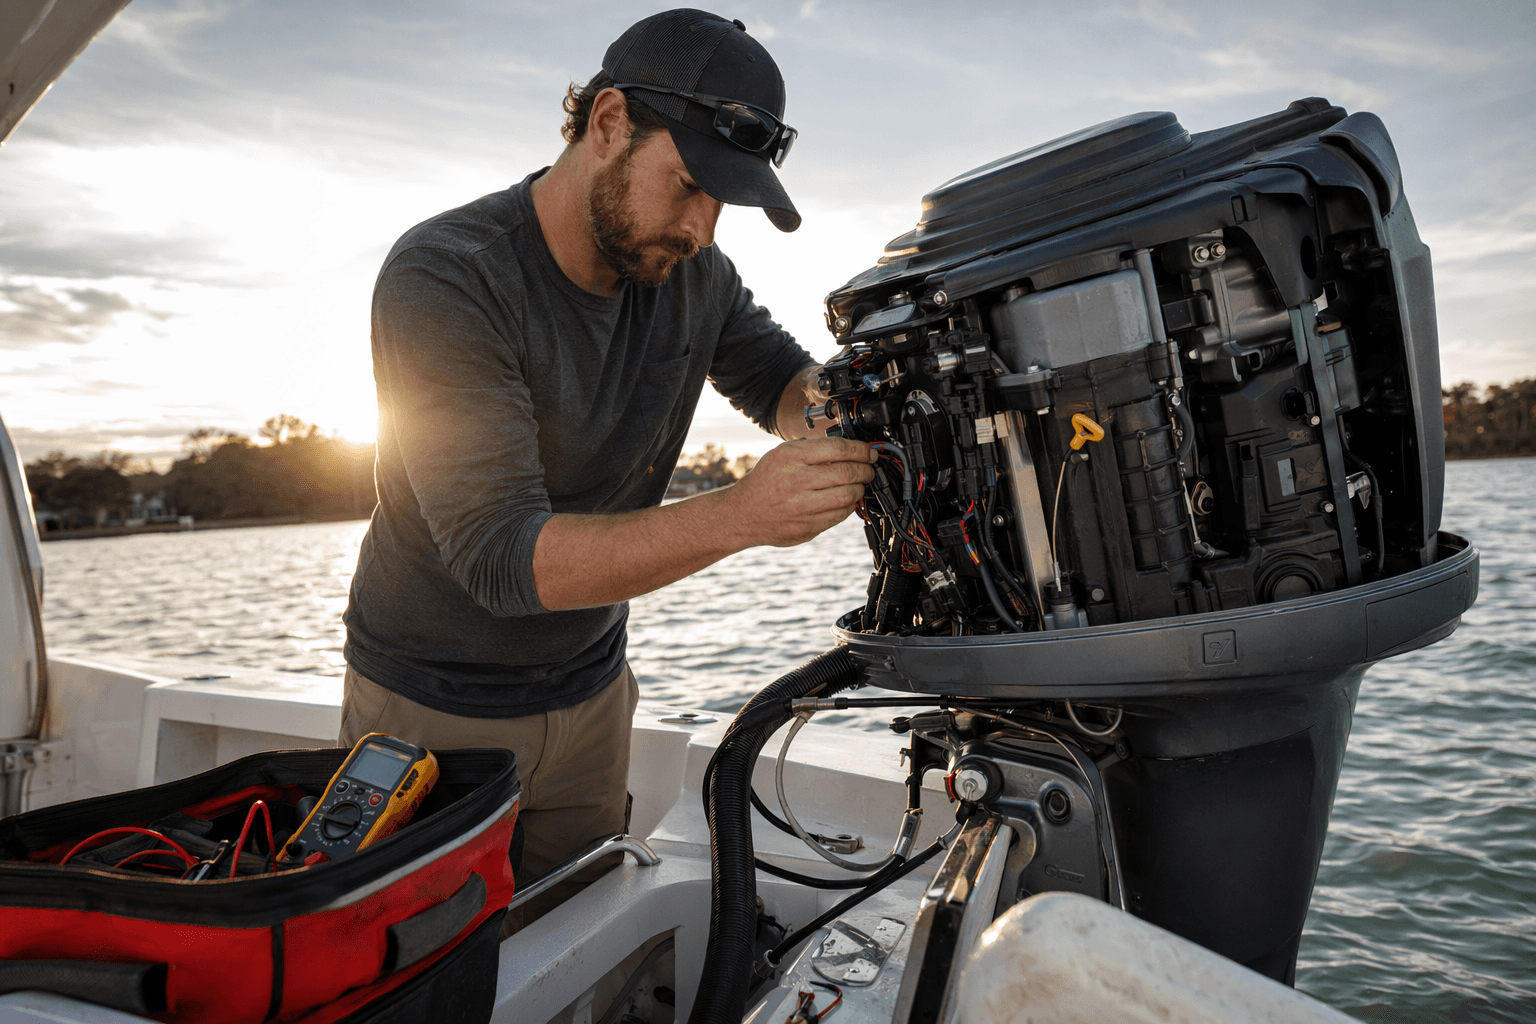
Use the meter to separate charging trouble from starting trouble
If the battery and connections pass, the next step is a systematic electrical check with a digital multimeter, or a volt-ohm meter in Mercury Marine’s language. That is the point where many owners start swapping parts blindly, but the better move is to test the circuit in sequence and let the numbers point you to the fault.
A practical flow looks like this:
1. Check the battery under load.
2. Inspect terminals, cable ends, and grounds.
3. Verify fuses and relays.
4. Test the safety lanyard circuit and ignition switch path.
5. Measure stator output and rectifier-regulator behavior.
6. Check sensors and wiring harness continuity if the basics still do not explain the fault.
That sequence matters because the major components in most 4-stroke systems are all linked: battery, cables, starter motor, solenoid, ignition switch, safety lanyard, stator, rectifier-regulator, ECM, sensors, wiring harnesses, fuses, and relays. If you skip the first half of that list, you can spend money on the wrong half.
A separate service manual example shows why charging faults are easy to miss on the trailer. Some regulator tests may need the engine running continuously at about 5,000 RPM in a test tank or on a marine dynamometer, with a partially discharged battery in the circuit. That is a reminder that a charging system can look fine at idle and still fail when the engine is doing real work.
Corrosion is not a side issue, it is the enemy
Yamaha’s current maintenance guidance gets this right: modern outboards and onboard electronics depend on electrical power, and protective products that help prevent rust and corrosion on exposed metal can help preserve electrical connections in a salty, wet environment. That is not marketing fluff, that is field reality.
ABYC’s grounding guidance explains why. A DC grounding conductor is a non-current-carrying conductor used to connect metallic non-current-carrying parts to the engine negative terminal or its bus to help minimize stray-current corrosion. In plain English, the boat’s electrical system and its corrosion problem are tied together, which is why a sloppy connection can hurt both performance and longevity.
That matters even more now that ABYC updated its E-11 electrical systems standard and E-13 lithium-ion battery standard in 2025. Marine electrical practice keeps evolving because battery tech, charging loads, and onboard electronics keep getting more demanding.
Use the manuals the manufacturers actually wrote
Honda’s BF75-100 troubleshooting guide is not meant to replace the owner’s manual, it supplements it. That is the right mindset for outboard troubleshooting generally: use the owner’s manual for baseline procedures, then use the model-specific troubleshooting guide to narrow the fault with actual tests.
Mercury Marine’s troubleshooting material pushes the same discipline. Use a volt-ohm meter, isolate the failure with specific checks, and avoid complicated equipment unless the diagnosis really demands it. That approach saves time, and it saves you from buying a rectifier-regulator when the real problem was a corroded terminal or a bad fuse.
The habit that keeps the next departure boring
The best electrical repair on a cruising boat is the one you never have to make in a hurry. Clean terminals, correct return connections, protected metal, and measured diagnosis do more for reliability than a drawer full of spare parts. When the outboard has to start now, the boat that has been checked this way is the one that leaves the mooring, clears the harbor, and makes it home under its own power.
This article was produced by Prism’s automated news system from verified source data, official records, and press releases, then run through automated quality and moderation checks before publishing. The system is built and supervised by the people who set the standards it runs under. Read our full AI policy.
Did this article answer your question?


