UK Sail Repair Workshops Teach Sailors Canvas and Hand-Sewing Skills
Skip the sailmaker's invoice: a weekend workshop on palm-and-needle or machine canvas work pays back every season of UV strips, patches, and dodger repairs you handle yourself.
A UV strip that starts delaminating mid-passage doesn't wait for a convenient marina. A dodger seam that opens up on a wet beat to windward won't hold itself together until next week when the loft can take a look. These aren't hypotheticals; they're the regular reality of maintaining a cruising boat, and the gap between sailors who handle them confidently dockside and those who wait for a professional invoice comes down, almost entirely, to one thing: a day of supervised practice on real materials.
That day is increasingly available in the UK, and for most sailors who do any regular offshore work, it is the single highest-return investment in self-reliance you can make on a short budget.
The skills ladder: where to start and where it leads
Sail and canvas repair builds in a clear sequence, and understanding the ladder matters before you book anything.
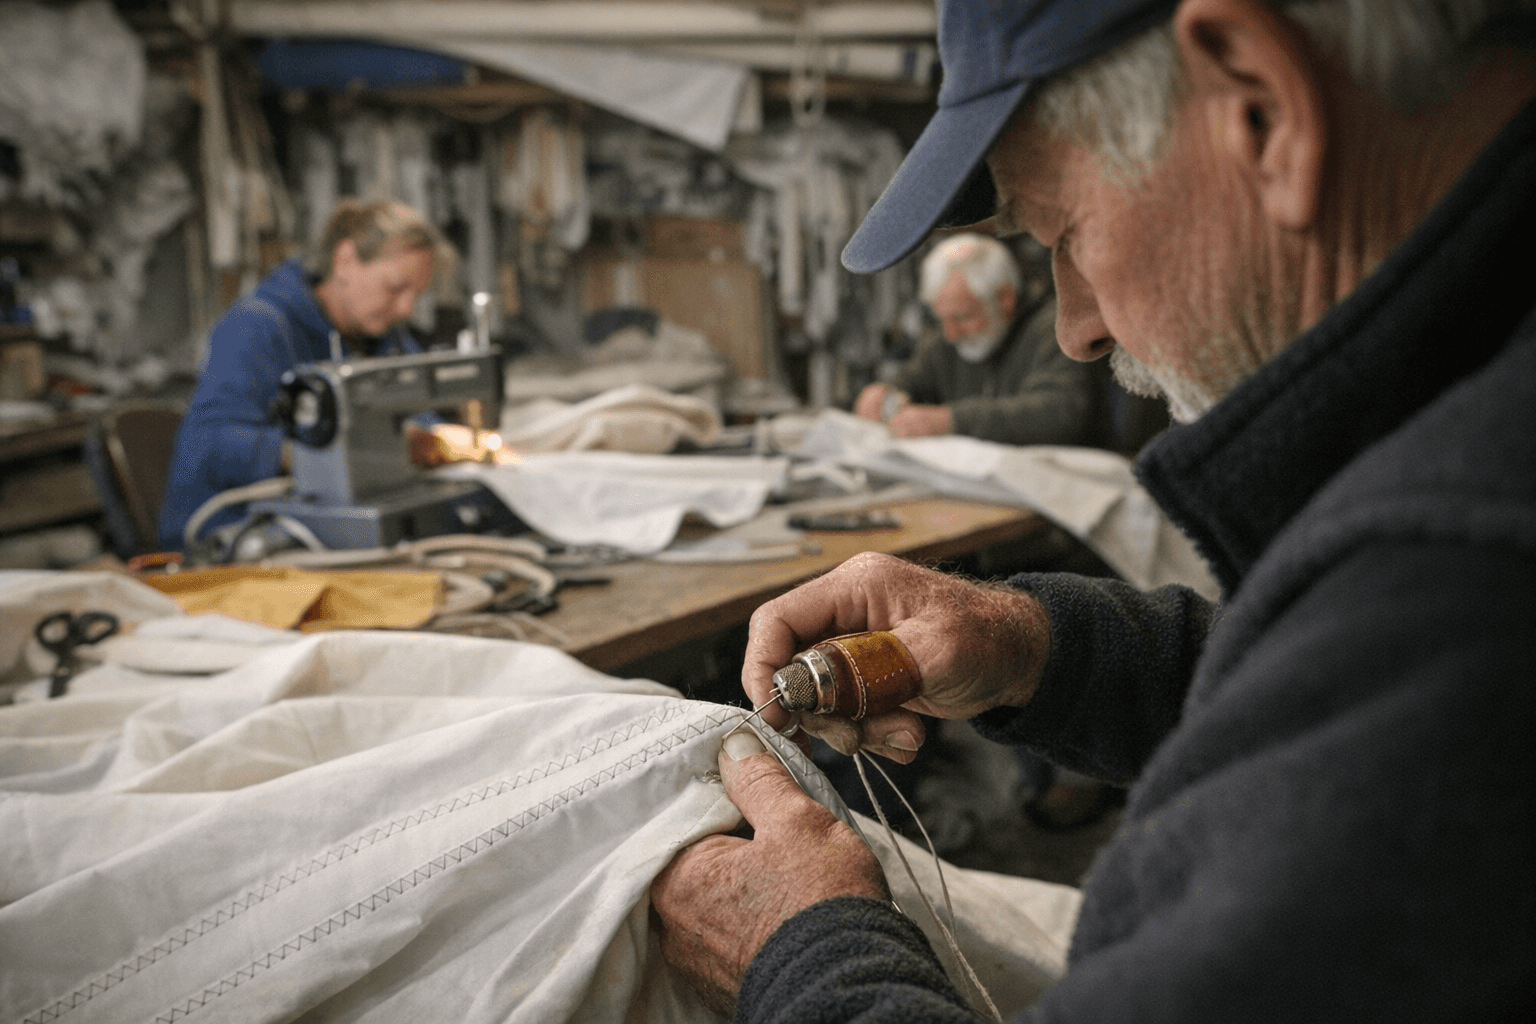
The foundation is palm-and-needle hand sewing. This is the skill set most immediately useful at sea: building a patch, finishing an edge, closing a tear cleanly, or tacking a UV strip back down without a machine in sight. The sailmaker's palm is not optional equipment here; bare-hand pressure cannot drive a heavy needle through multiple layers of Dacron or acrylic canvas reliably, and the palm is what turns the technique from impossible to repeatable. Get this first. Practice it on scrap panels. Understand stitch tension, seam width, and the geometry of a reinforcing patch before anything else.
Once hand stitching is reliable, machine technique becomes the logical next step and the one that unlocks bigger projects. Dodger panels, biminis, sail bags, spray hoods, and cockpit canvas all become achievable DIY territory once you understand how to set up a domestic or even vintage industrial machine for sailcloth tasks: the right thread weight, needle sizing, feed-dog pressure, and how to manage heavy multi-layer seams without a skipped stitch. The two tracks are not separate disciplines; they feed each other, and the best workshops teach both in sequence.
Where to train in the UK
The UK has a small but genuine network of instruction-led workshops for sailors wanting structured, hands-on skill development.
The National Historic Ships Shipshape programme offers two distinct course routes that together cover the full skills range. The Modern Sail Making Techniques course takes students through design, cutting, machine and hand sewing, and maintenance for canvas across the full size range from a small dinghy to a round-the-world yacht. Alongside it, the Traditional Sailmaking course is an intensive week focused on hand-finishing technique: each student works through hand-sewn corners, edges, and a complete gaff-style sail they take home at the end. That take-home project is not a souvenir; it is a physical record of every seam and stitch decision you made under guidance, and it becomes your reference when you replicate the technique at home.
On the south coast, Mark Matthews of MM Sail Solutions in Weymouth runs sail making and repair courses pitched directly at working sailors with practical maintenance goals rather than traditional craft interests. Up in Scotland, the Maritime Studies Department at Orkney College runs a traditional sail making course under course leader Mark Shiner, covering both traditional canvas and modern sailcloth with sewn eyelets and cringles as core practical components. The course's geographical remoteness is, for many sailors making the trip, part of the point: a week of dedicated focus away from the distraction of the home berth.
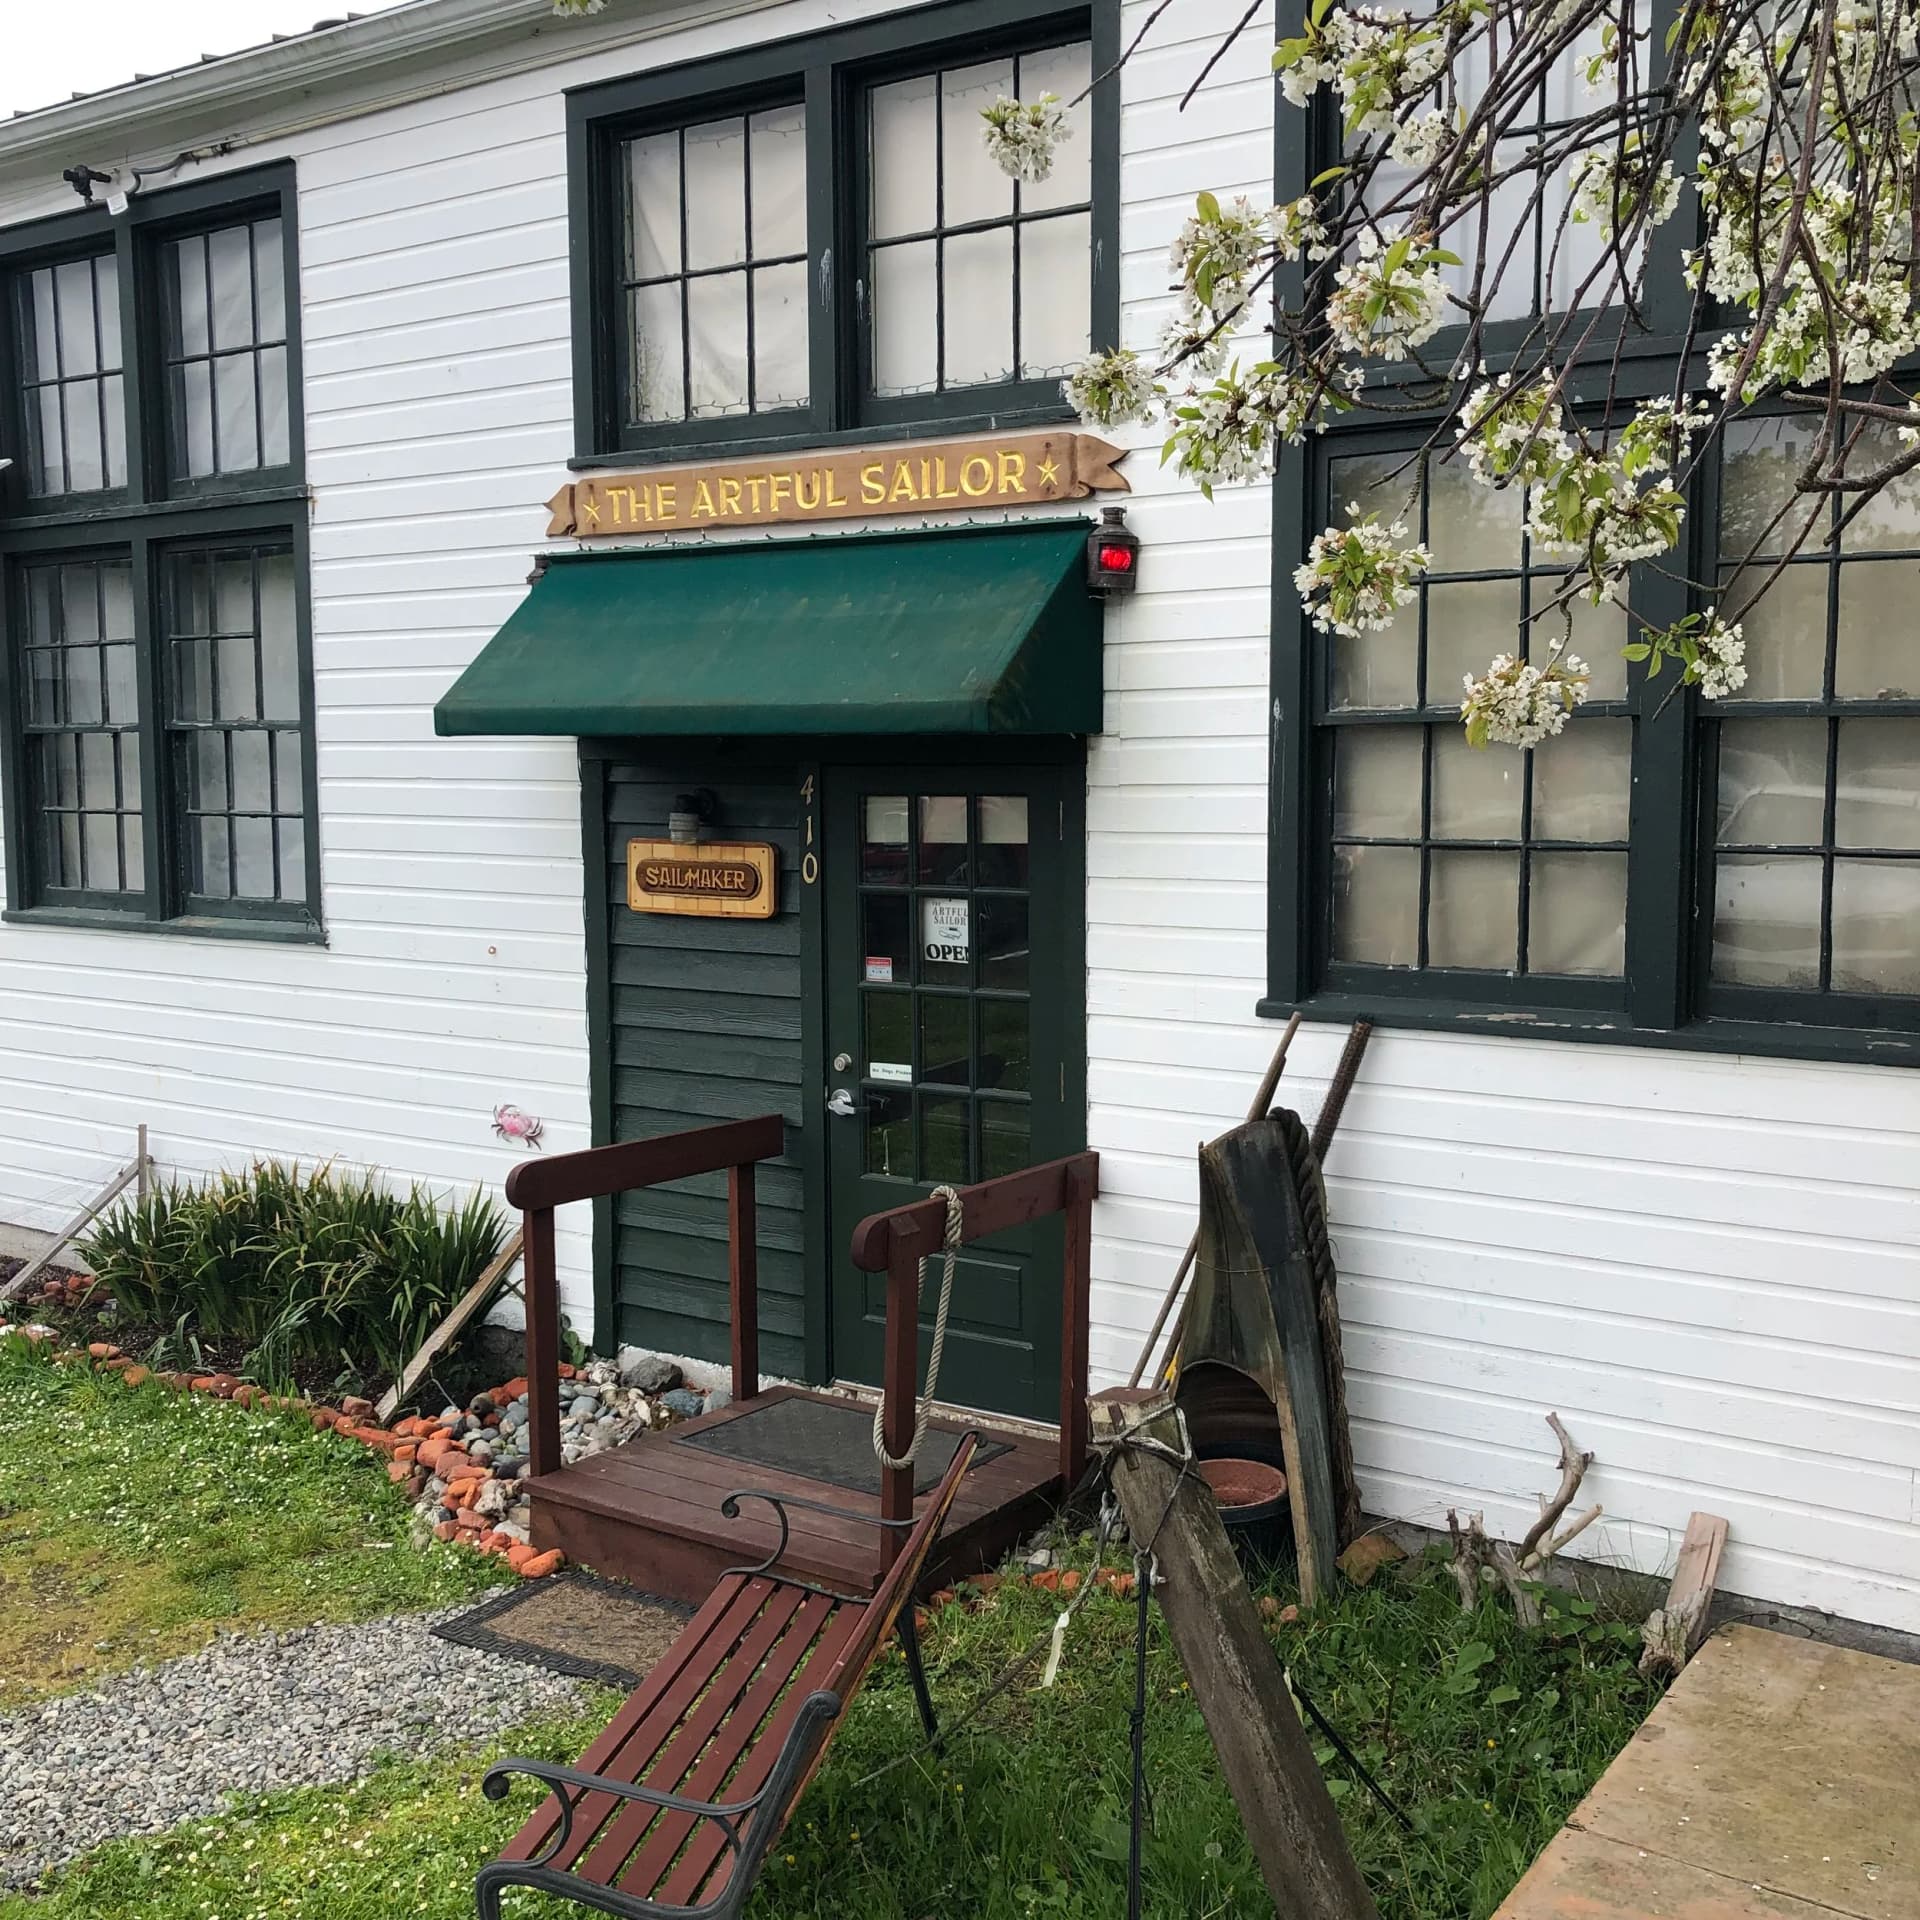
For a reference benchmark on what a tightly designed one-day workshop should deliver, the format pioneered by Emiliano Marino, author of "The Sailmaker's Apprentice" and the driving force behind the well-regarded Artful Sailor sail services operation, is worth understanding. His palm-and-needle workshop runs a full day with a maximum of six students, a class size deliberately chosen to ensure every participant gets immediate feedback on technique. The class project is a sailmaker's apron, a format that rehearses nearly every hand-sewing skill relevant to practical sail repair. His sewing machine equivalent works students through handling 13 oz. canvas with #69 thread and an #18 needle, including how vintage domestic machines can be adapted to canvas tasks at low cost. Small classes, instructor-led corrections, and real-material practice: these are the structural features that make any workshop worth attending, and the benchmark to hold UK courses against when you're evaluating what to book.
The DIY value case
A single professional visit to a loft for a dodger re-seam, a UV strip replacement, or a Dacron patch repair routinely costs more than a day-course fee, often considerably more once you add delivery, waiting time, and the repeat visits that accumulate across a season. The calculation inverts sharply once you can handle common maintenance tasks yourself.
The skills that pay back fastest are not the complex ones. UV strip replacement, Dacron patching, and sail chafe repair are all achievable with basic hand-sewing competence and a compact home kit. The workshop format accelerates the learning curve specifically because reading cannot catch the details that actually matter: the grip angle on the palm, exactly how much thread tension a flat seam needs, the difference between a patch corner that holds for three seasons and one that peels in the first serious blow.
The kit you actually need
Good workshops specify exactly what to buy, and the list is shorter than most sailors expect. A capable home kit covers:
- An adjustable sailmaker's palm (available in right and left-hand versions)
- Assorted sailmaker's needles, roughly sizes 13 to 19
- Waxed thread: Tex-90 or equivalent, or 5-ply polyester sewing twine with a block of beeswax
- Adhesive seamstick, for positioning seams and patches before stitching
- Sail repair tape: 2-inch Dacron and ripstop nylon, kept in a dry bag
- Scrap sailcloth in a few weights for home practice (3.4 oz., 5 oz., and 9 oz. cover most repair contexts)
- A sail spike for opening stitching, working grommets, and coaxing tight seams into position
The whole kit assembles for well under the cost of a single professional repair, and day courses will typically advise you on exactly which items are worth buying new versus which can be sourced secondhand without any quality compromise.
Three stitches to master before anything else
Machine technique and complex canvas work can wait. These three hand-stitching methods cover the great majority of practical repairs and should become automatic before you tackle anything more ambitious.
1. The flat seam stitch: two parallel rows joining panels or attaching a patch flat to a sail surface.
Tension and spacing are where almost every beginner makes their first mistakes; this is the stitch where instructor feedback on seam width is most immediately useful.
2. The round seam stitch: an overhand stitch worked around an edge for bolt rope attachment and edge reinforcement.
It is the fundamental building block of edge finishing, and getting it even and consistent is a matter of repetition on scrap material before you move to a real sail.
3. The herringbone stitch: used to close a tear cleanly without a raised overlap, with each pass interlocking the previous one.
It looks involved on a diagram but becomes intuitive quickly with practice, and it is the repair technique that consistently surprises other sailors when they see a well-executed result.
Your first project
The clearest entry point is a patch repair worked entirely on a sacrificial scrap panel before anything touches a real sail. Cut a patch from 5 oz. Dacron with rounded corners (square corners peel faster under load), position it with seamstick, and work a consistent flat seam stitch around the full perimeter. Add a second row inside the first for a proper two-row reinforcement. Inspect the back: if the stitch spacing is uneven, unpick it and repeat. That second attempt will be better than the first, and the third will be the version you'd trust offshore.
If you attend a workshop before starting this, as anyone who has done both recommends, you will arrive at that first project having already had your palm grip corrected, your needle angle adjusted, and your thread tension set. The gap between a patch that holds through a season of hard sailing and one that fails in the first real gust is exactly the width of that one supervised day.
This article was produced by Prism’s automated news system from verified source data, official records, and press releases, then run through automated quality and moderation checks before publishing. The system is built and supervised by the people who set the standards it runs under. Read our full AI policy.
Did this article answer your question?


